Get geared up for many a Summer evening grill-fest with this delicious Peruvian style chicken from The Scramble*. Beyond the fact that it is best to marinate the chicken between 8 and 24 hours ahead of time, meaning I have remember to get my stuff together a day in advance, this recipe is a cinch!
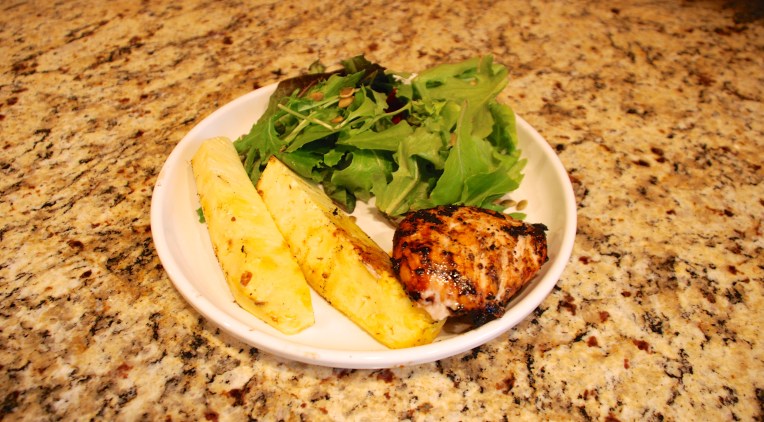
The chicken was flavorful without being too strong, and so moist and delicious. This was our first meal on the grill for the season, and I couldn’t be more pleased with how it turned out.
Make sure that you follow the directions to turn your grill heat down to low, and let the chicken cook slowly. I tried to turn my heat up too high at the beginning and ended up getting a whole lot of GRILL without a lot of COOKING in the middle of my chicken! I remedied the problem by turning my grill down very low for the last 30 minutes or so of cook-time.
I hope you have a delicious Wednesday, and that this meal treats your family as wonderfully as it did ours! Much love.
XX, Megan
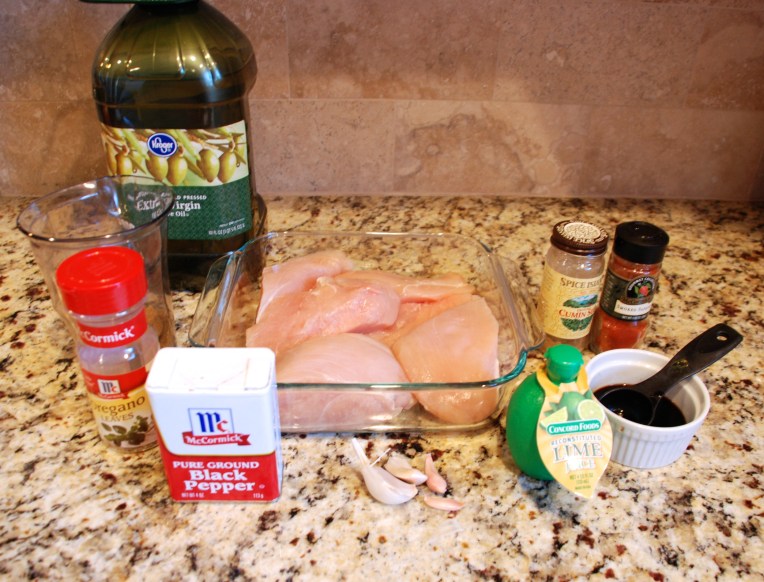
Ingredients
1 Tbsp. brown sugar
2 tsp. ground cumin
1 tsp. paprika
1/2 tsp. black pepper
1 tsp. dried oregano
2 Tbsp. Worcestershire sauce
1 lime, juice only, about 2 Tbsp.
1 Tbsp. extra virgin olive oil
2 tsp. minced garlic, (3 – 4 cloves)
1 whole chicken, quartered


Directions
In a small bowl, whisk together all the ingredients for the marinade. Put the chicken in a large flat container and pour the marinade evenly over it. Flip the chicken a couple times to coat it in the marinade. Then cover it and place it in the fridge. Marinate the chicken for at least 8 hours and up to 24 hours (the longer the better), shaking or flipping it a couple of times. By the time the chicken is done marinating, most of the marinade will have been absorbed.
Preheat the grill to high heat and then turn the back burner to its lowest setting and put the chicken, skin side down, over the back burner, so it is over indirect heat. Grill the chicken for 15 – 20 minutes, then flip it and grill it for 15 – 20 more minutes until the skin is nicely browned and the chicken is cooked through (cut into the thickest part of the breast with a sharp knife to make sure there is no pink remaining). (Alternatively, you can roast the chicken at 450 degrees, covered for 15 minutes and then uncovered for 20 – 25 minutes.)
*The Scramble is a meal planning service to which you can subscribe here. For a fantastic price you will receive 8 weekly meals which means 8 recipes (main course plus a side dish), complete grocery list, the ability to tweak the number of people you are making for, and full nutrition facts.
PLUS tips as to how best to PREP your meal beforehand, add a punch of FLAVOR, and how to SLOW COOK almost every recipe if you’re especially slammed that night. This wonderful service really does live up to it’s name. You can come home at 6 p.m. and be sitting down to a DELICIOUS, HEALTHY, HOME COOKED meal by 6:30 p.m. most nights.


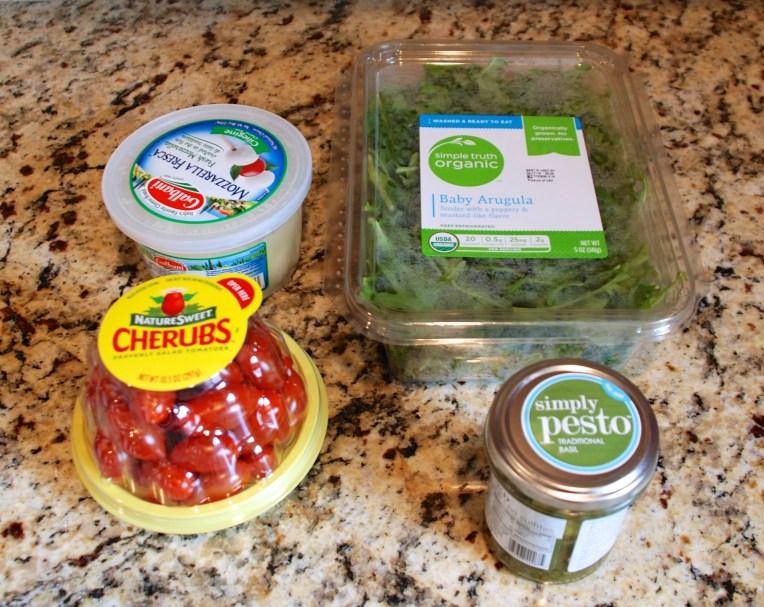
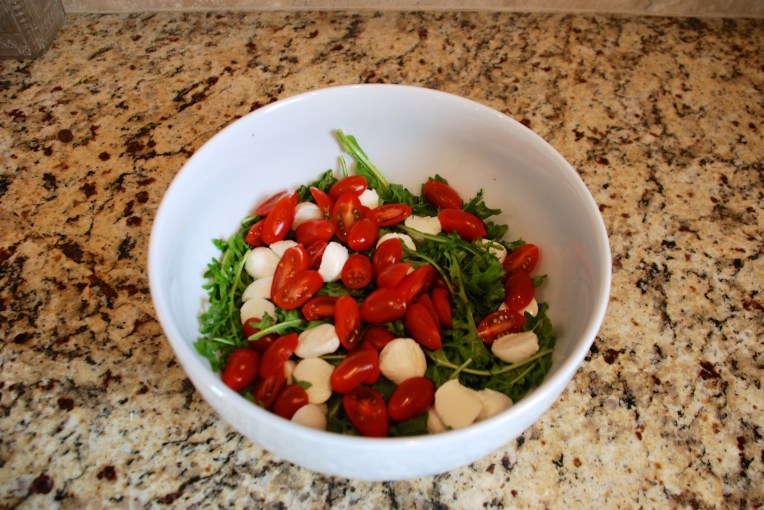 This salad is one of my husband’s all-time favorite eats. It is simple, flavorful, and pairs well with a variety of dishes. But it can easily stand as the main course if you’re feeling the need for something light and refreshing.