Science Friday: Arctic Animal Fat

DSC_0054

DSC_0059

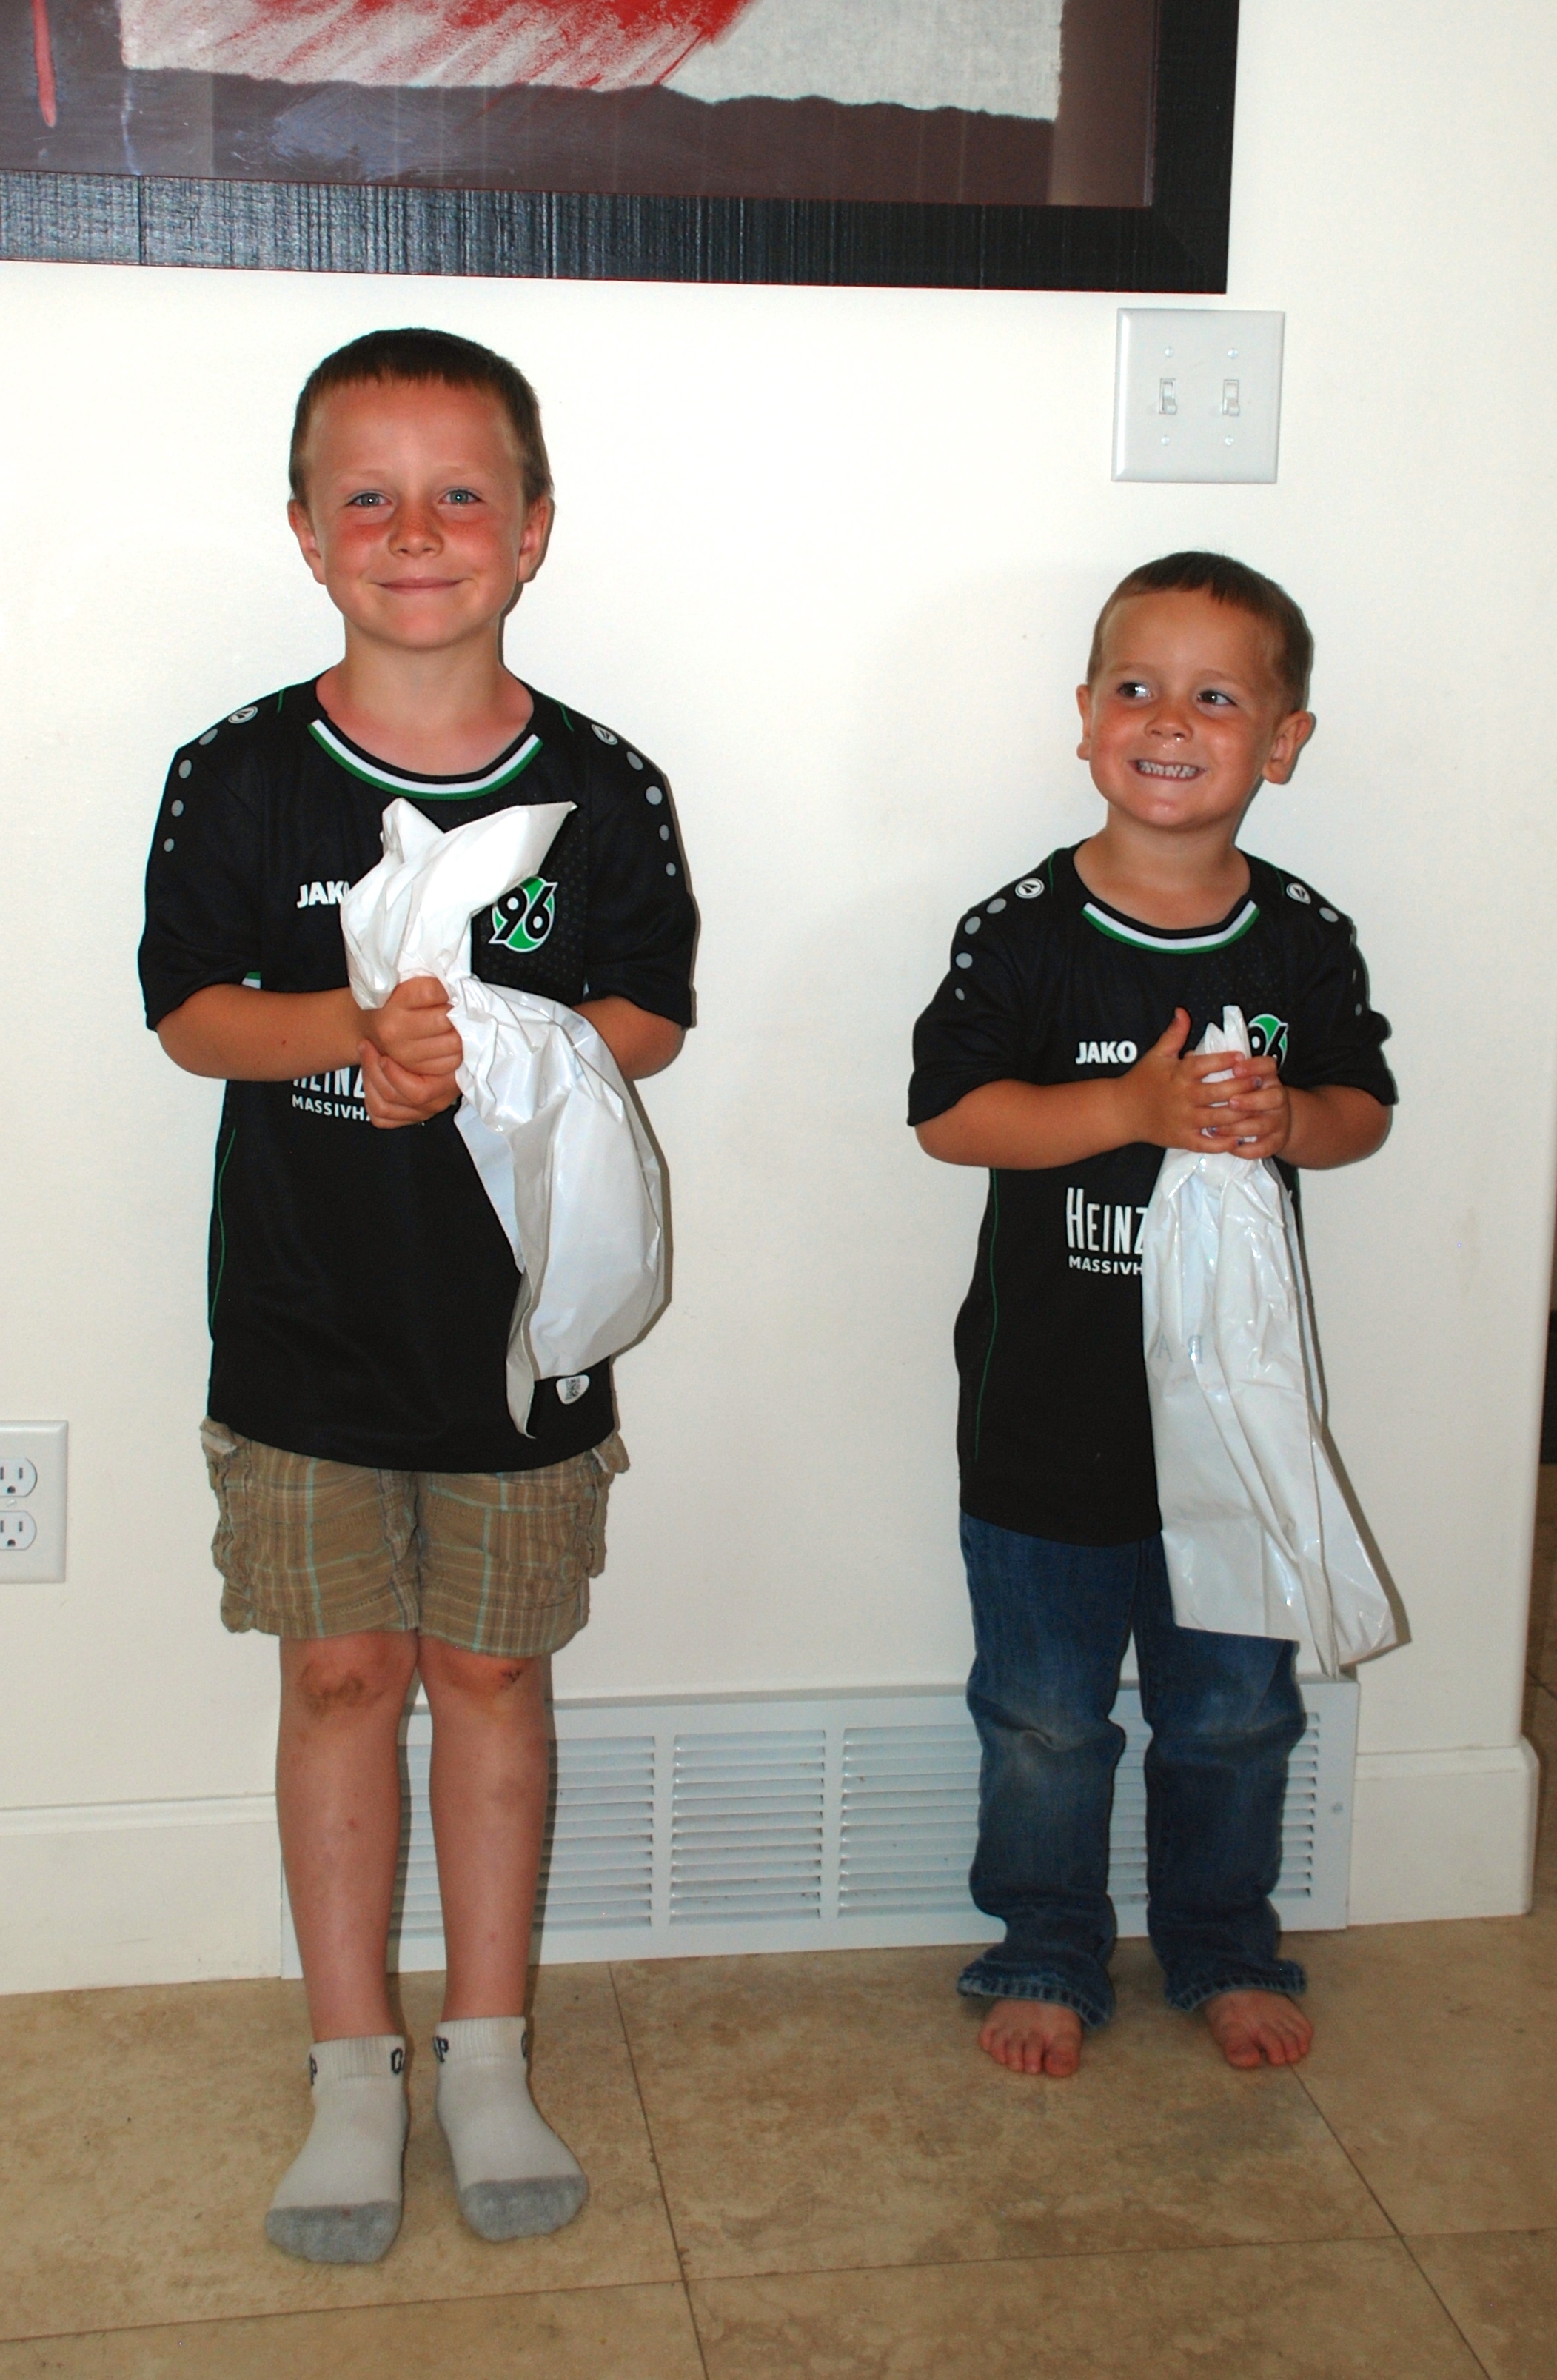
I mentioned in an earlier post that we have a couple friends who are spending time at our house this summer. These two wonderful girls have so much vivaciousness and life packed into them, it is already impossible to imagine what our summer would be like without them! Dull. To say the least.

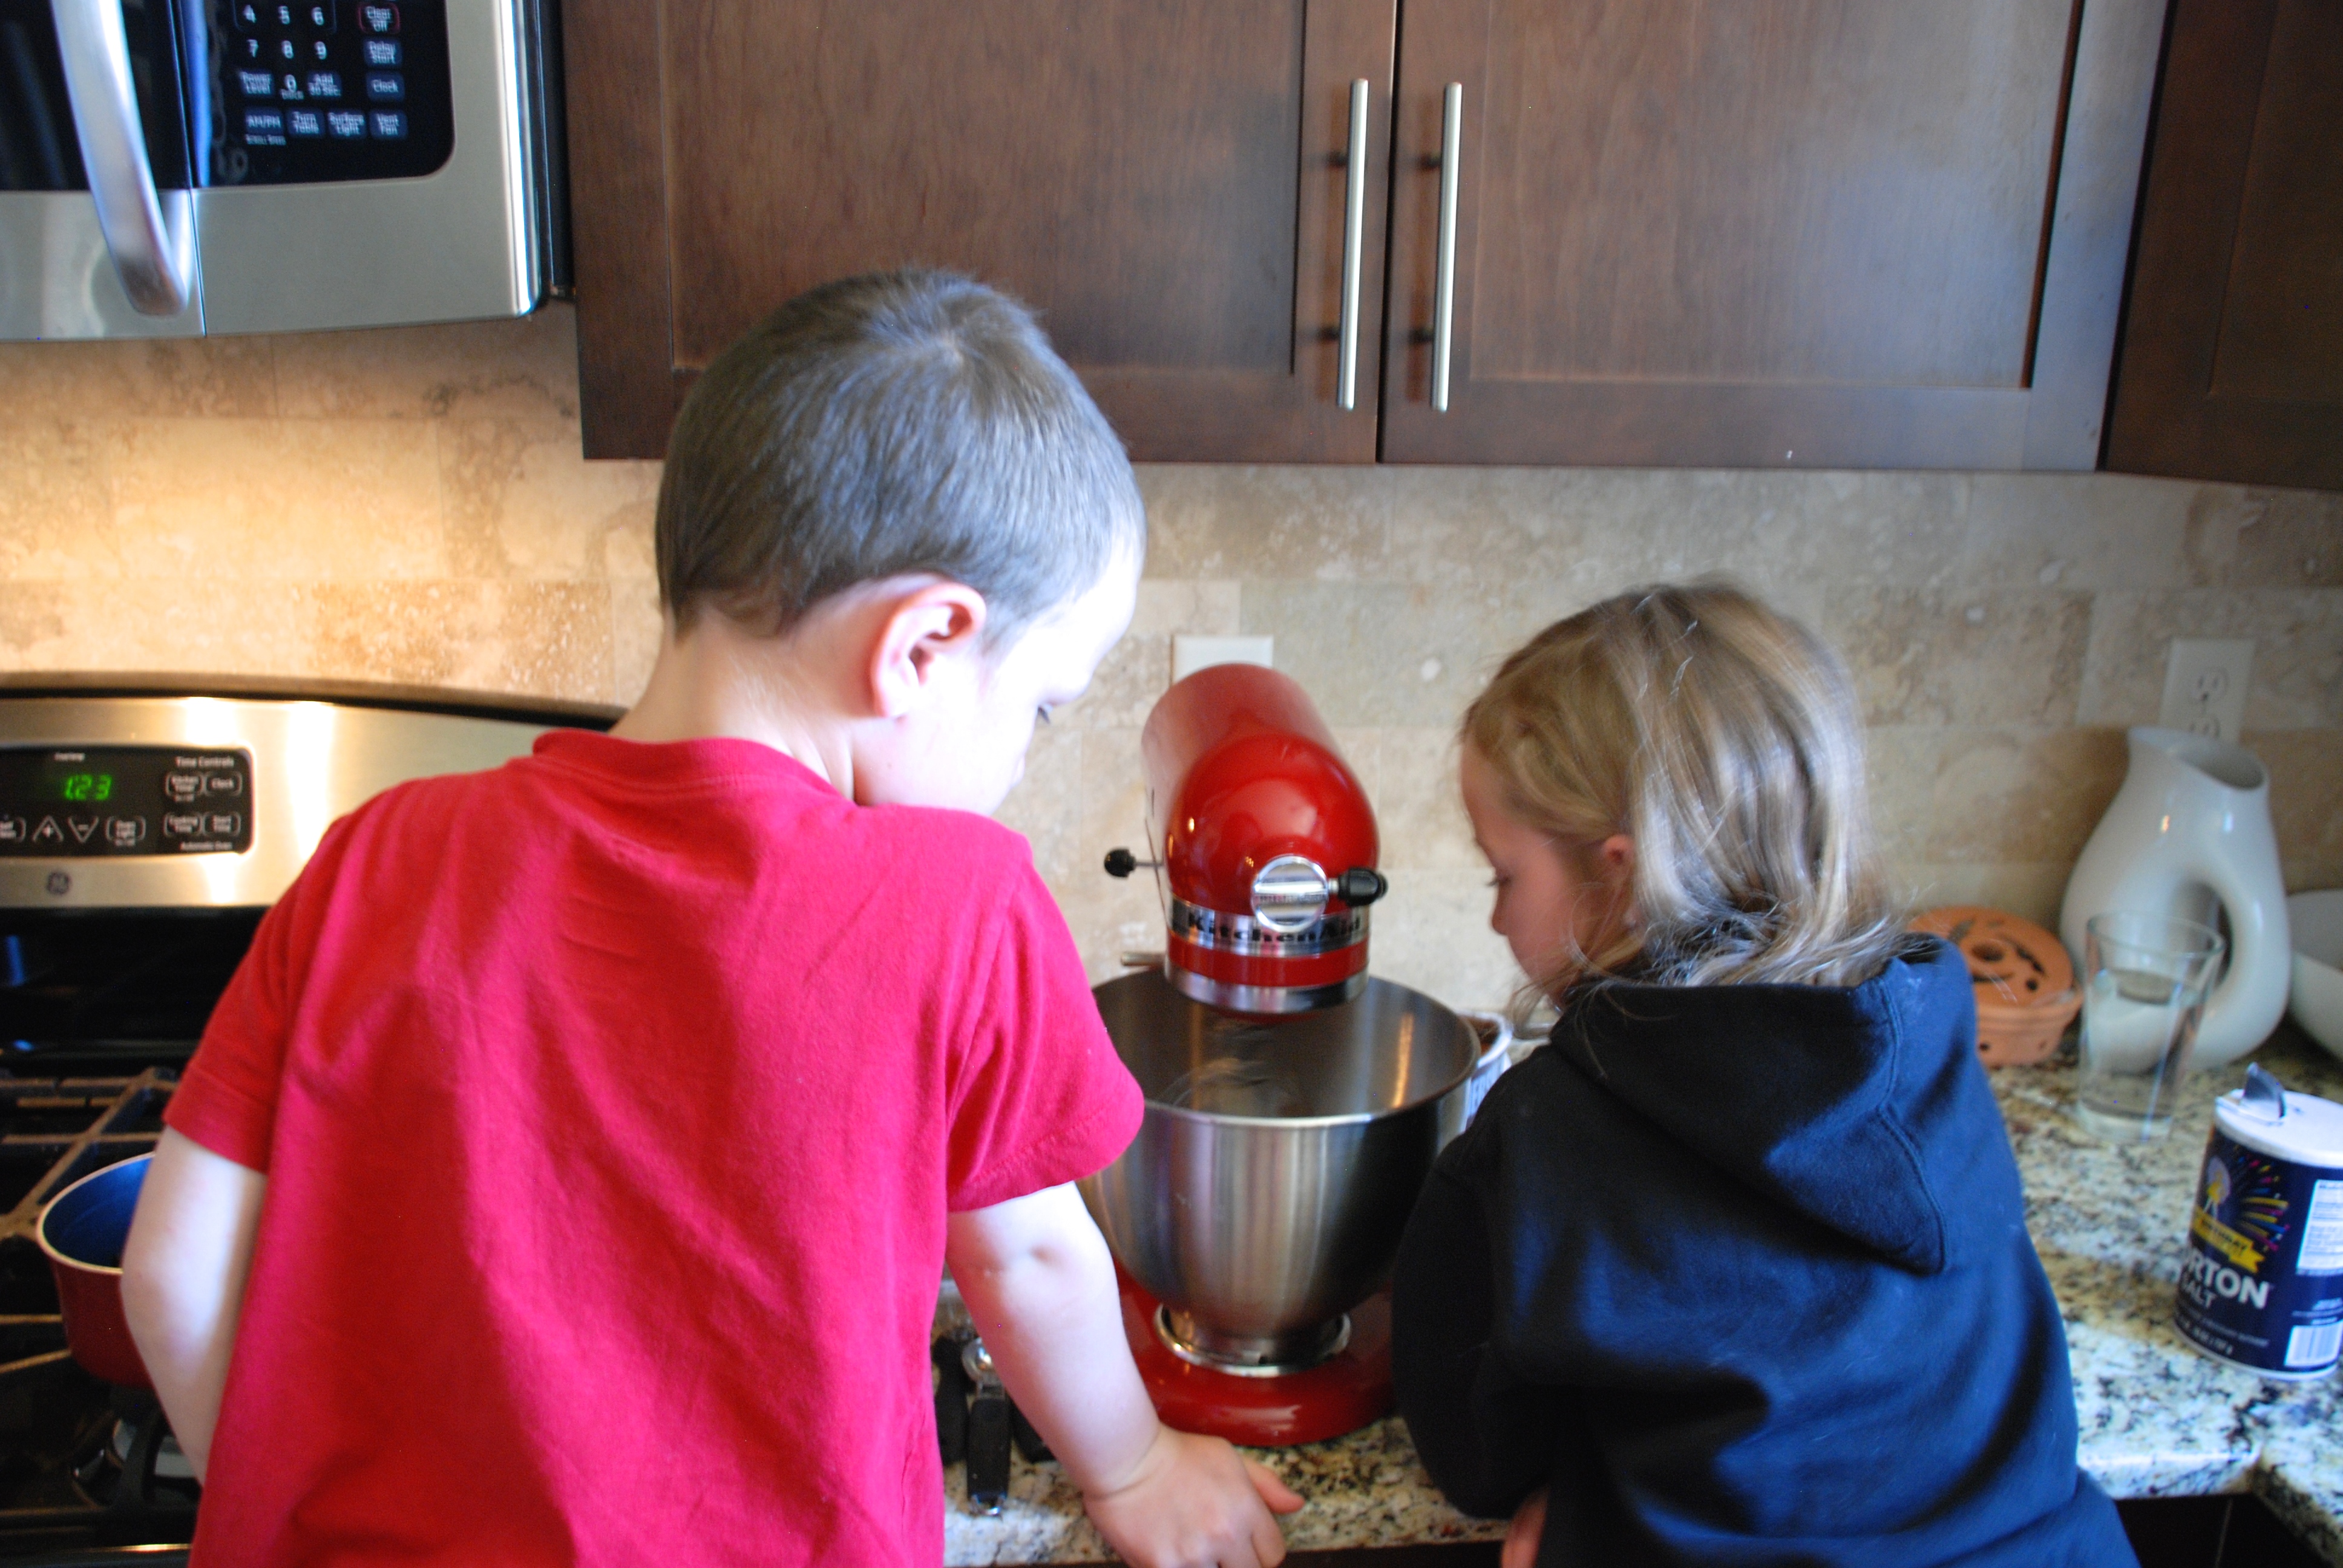
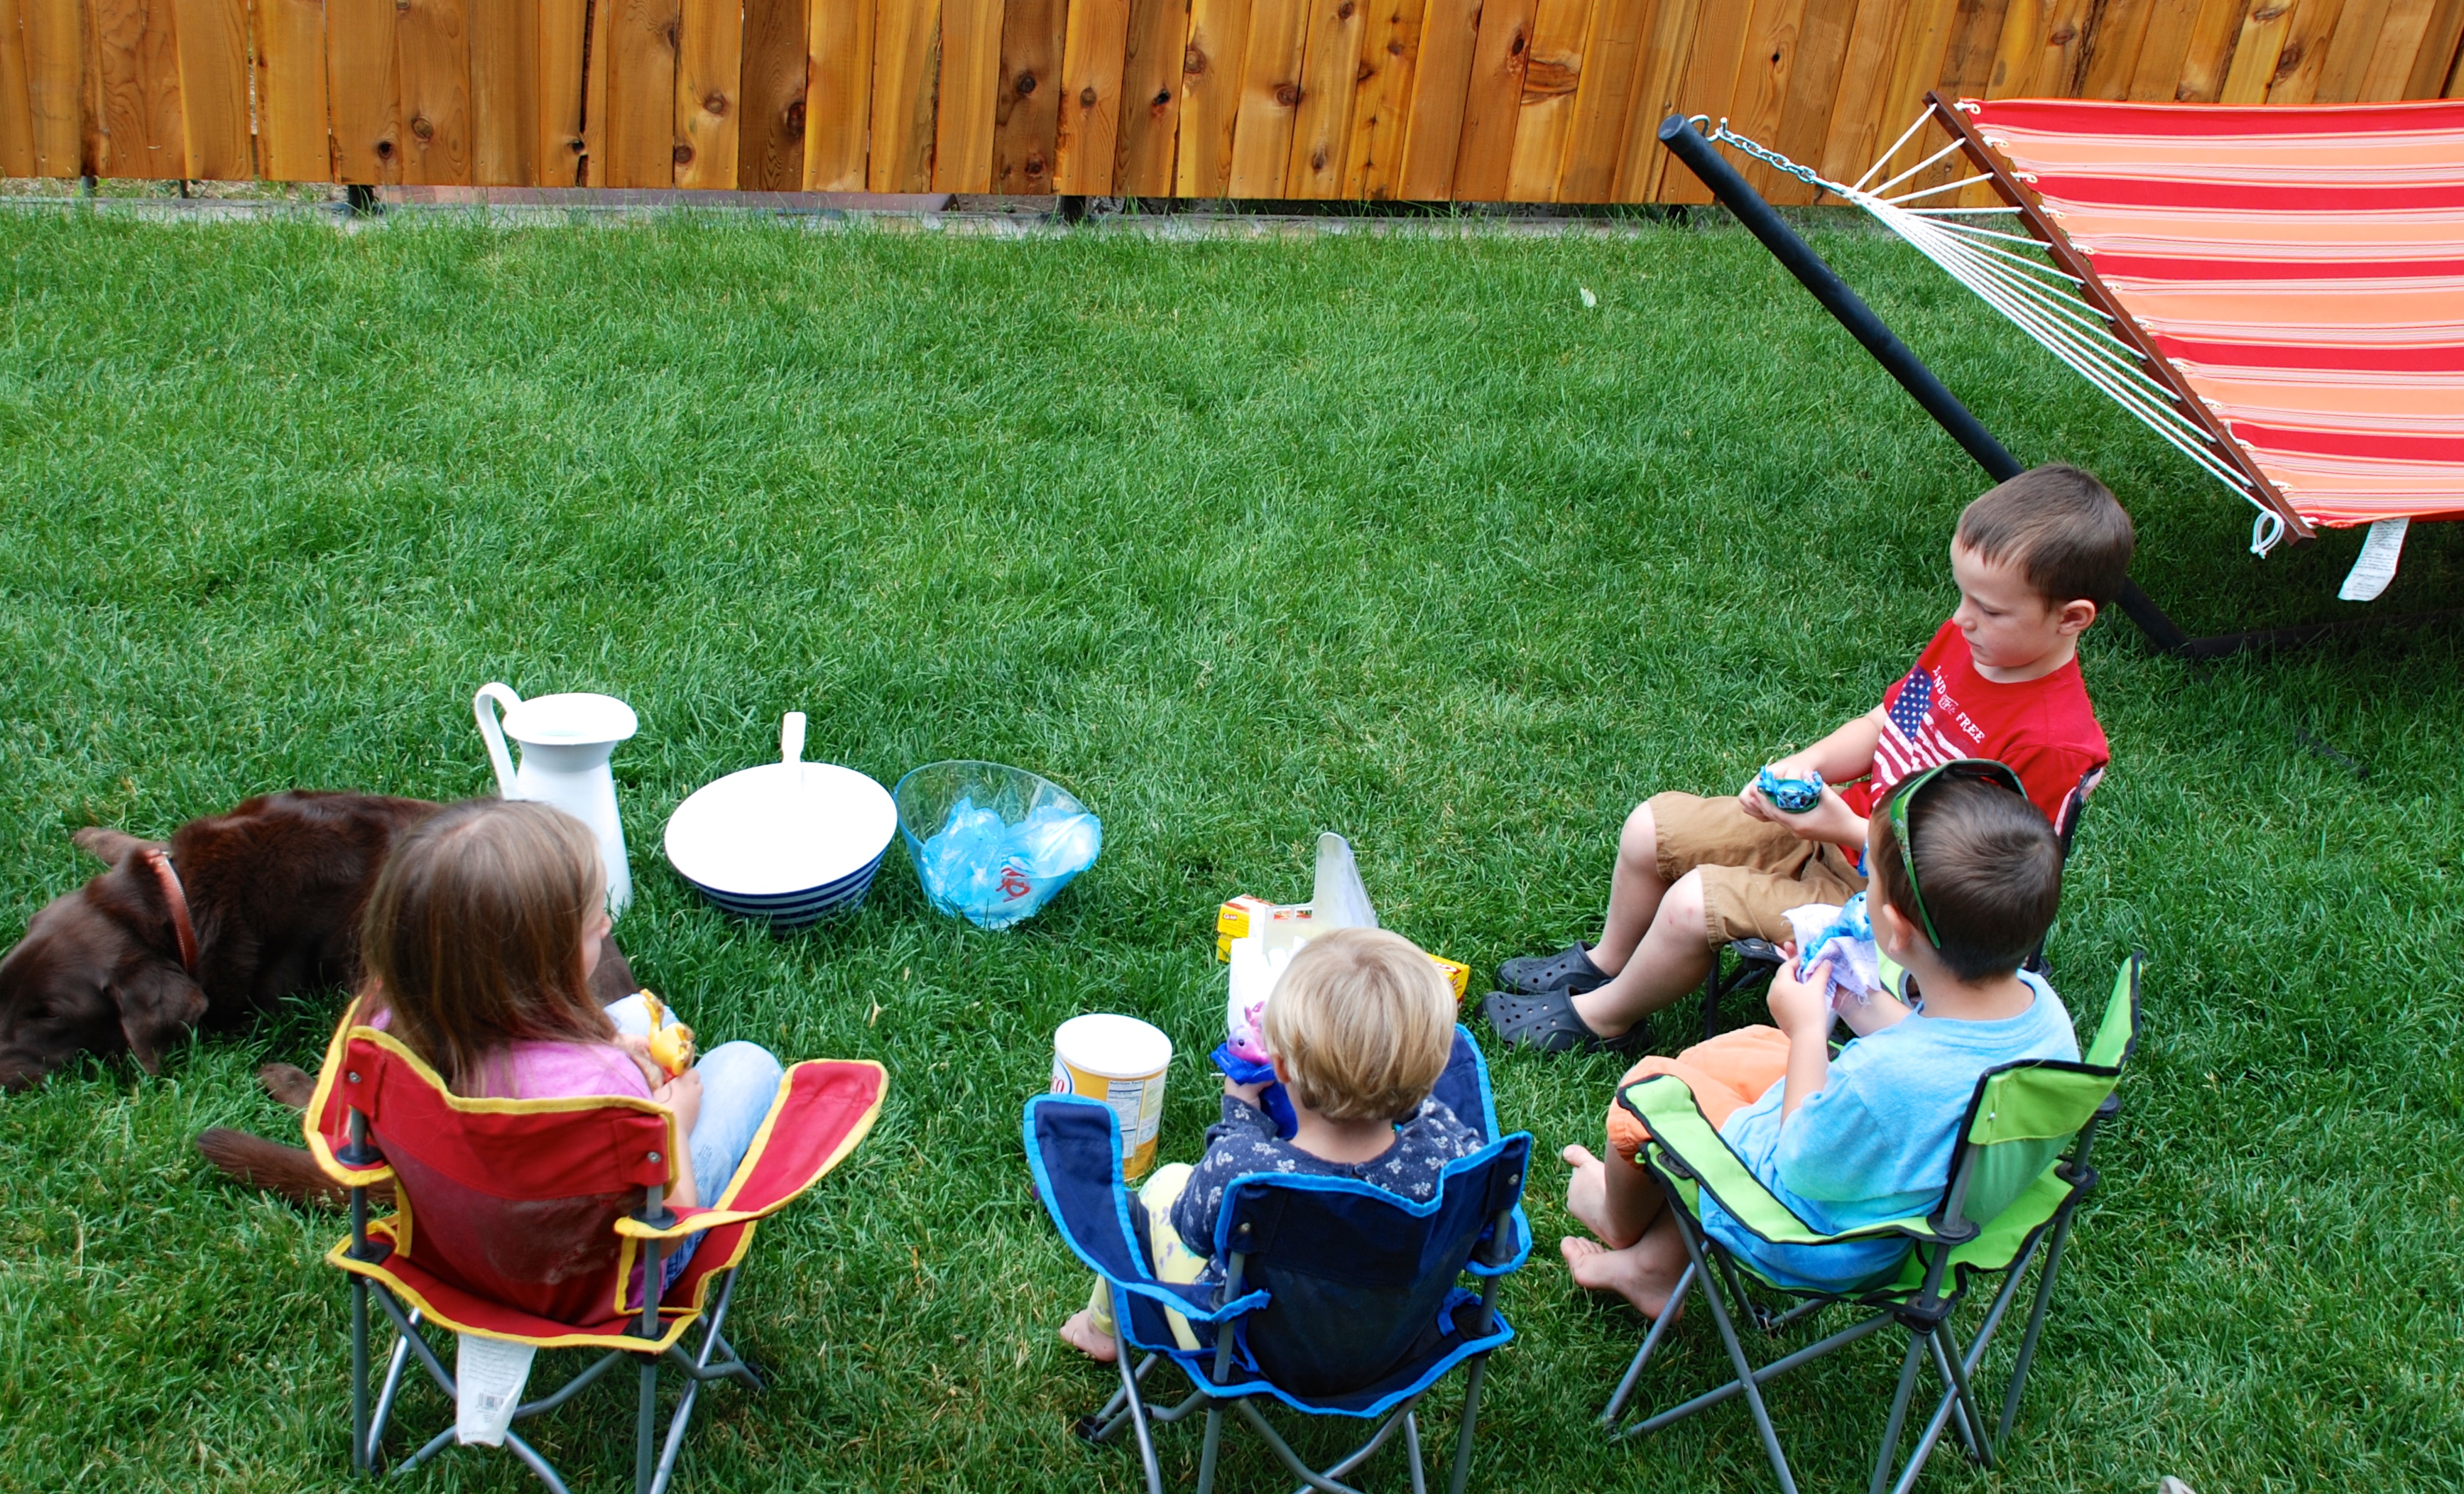
Anyway, these two cuties will be joining us for Science Fridays some weeks here on Refined + Rugged and this was our first Science Friday as a group of 4 littles + 1 mama. It was SO. MUCH. FUN!

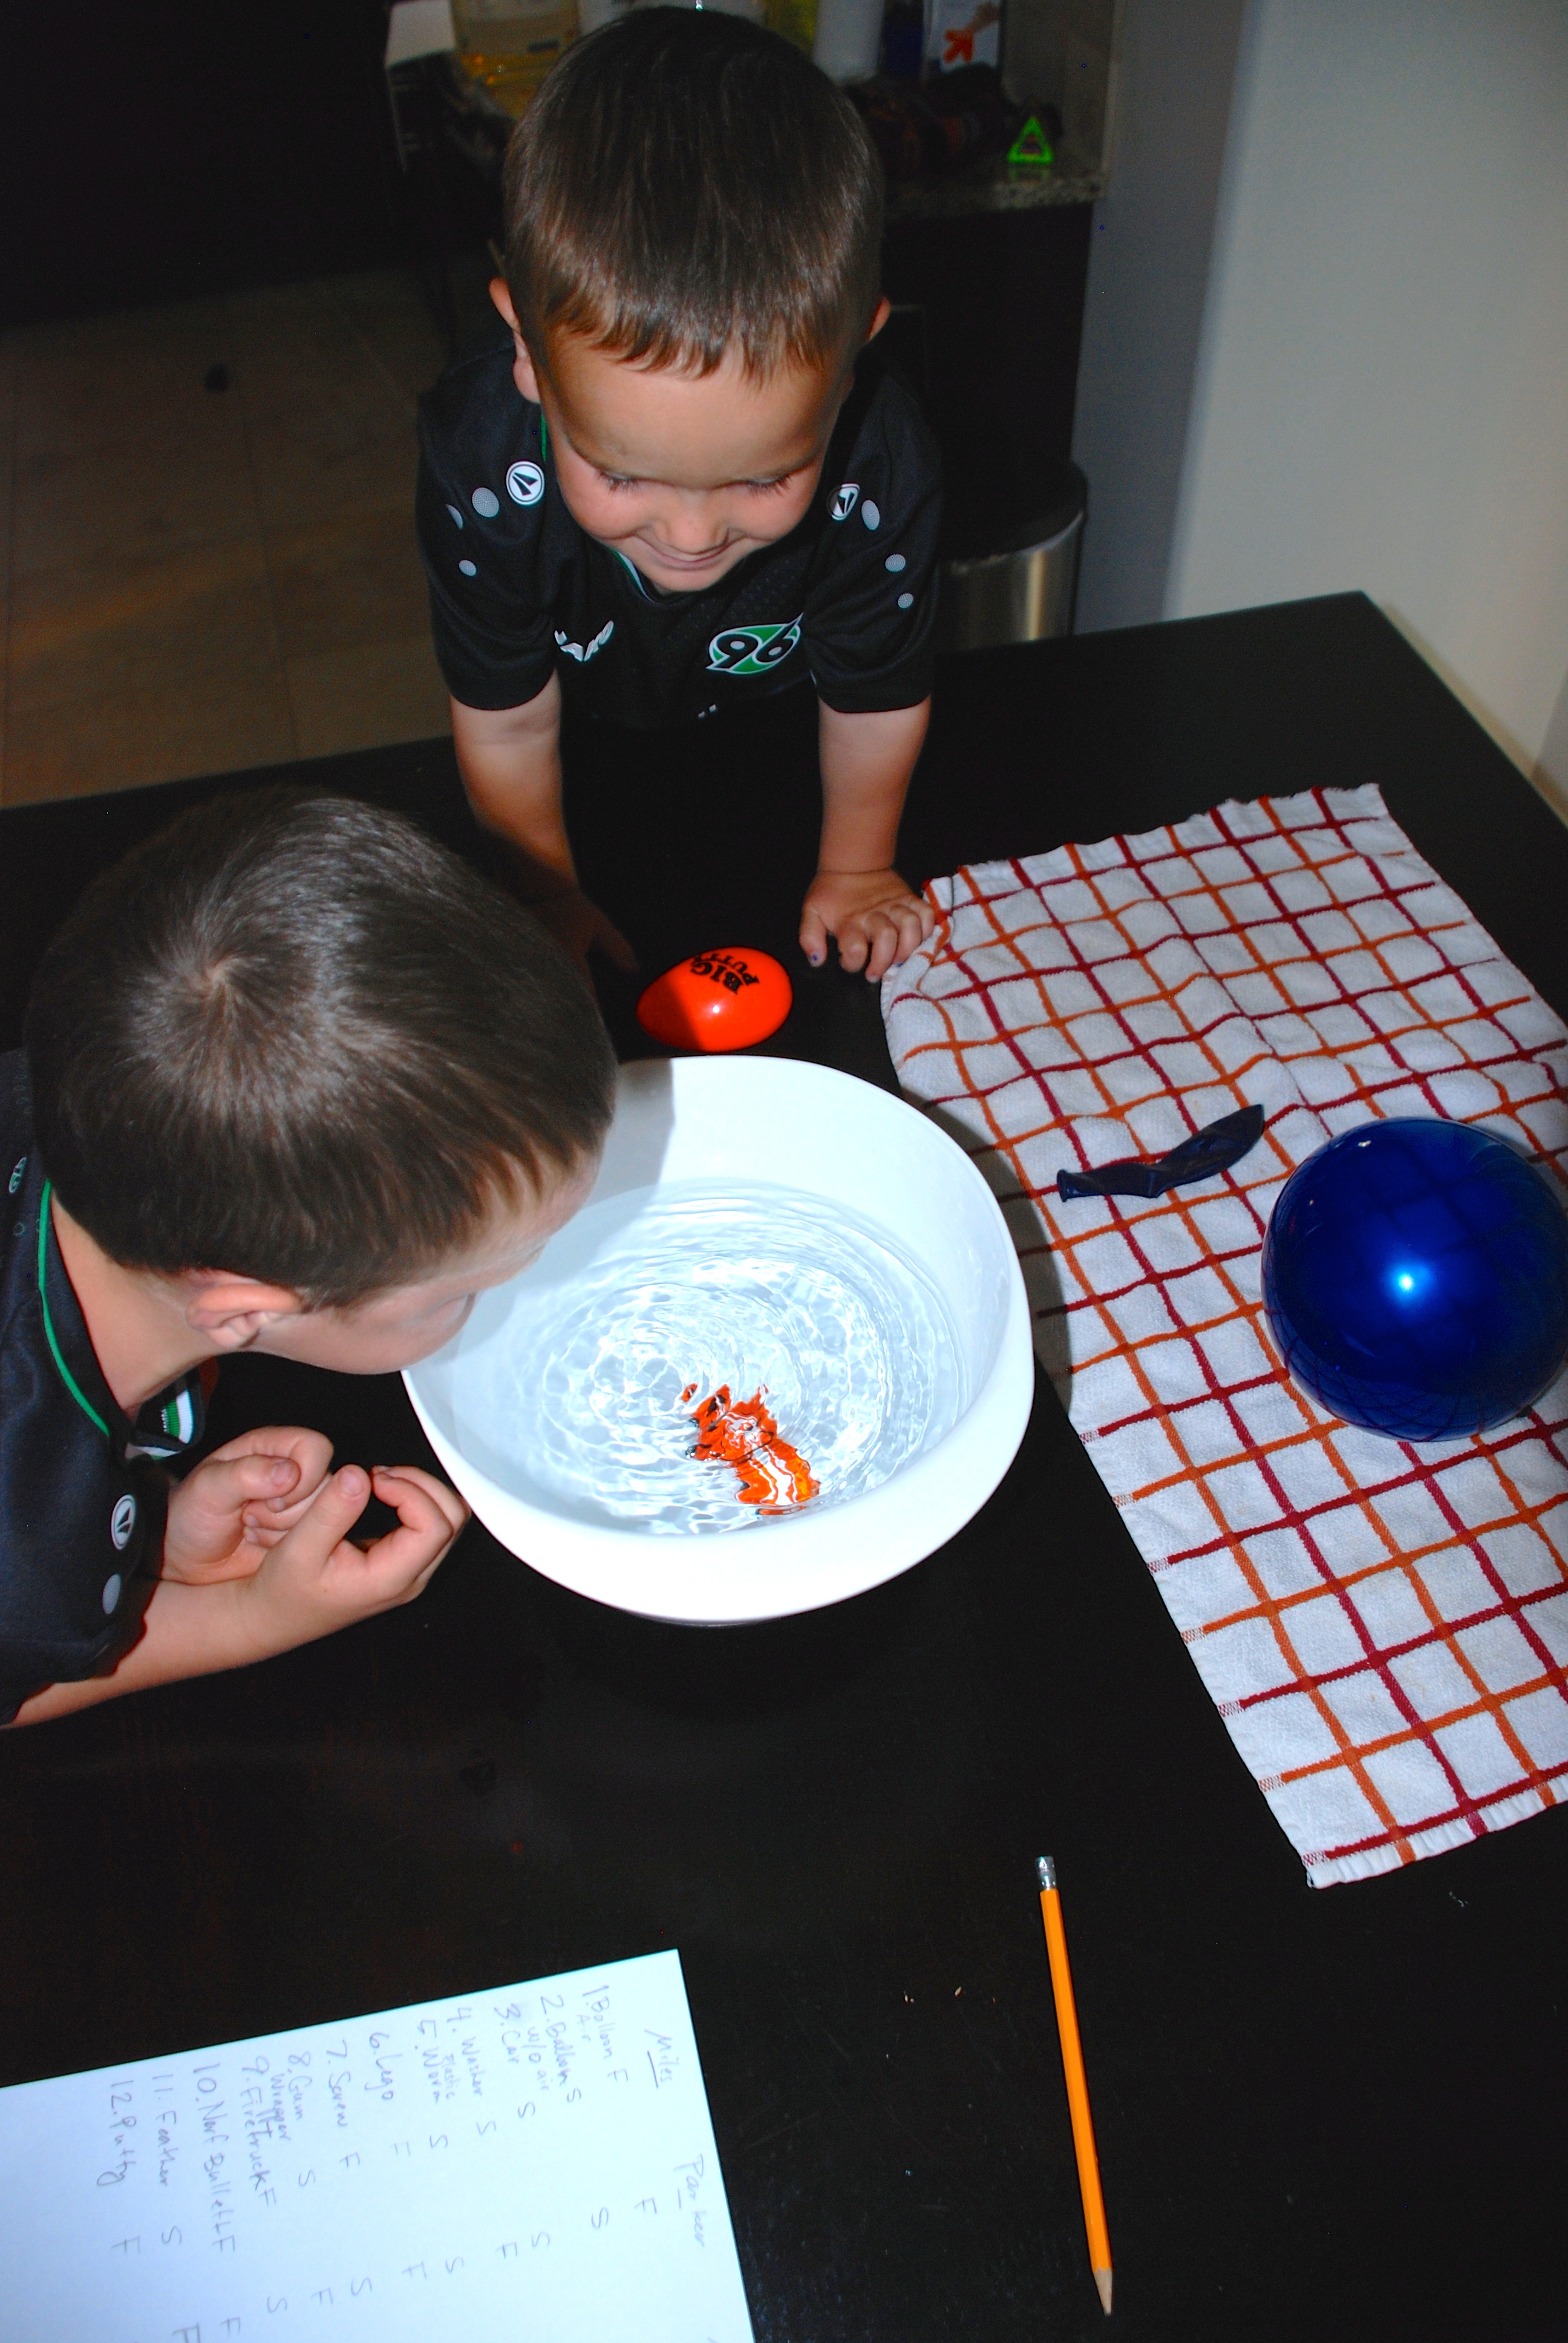
The premise of this experiment is to question how animals stay warm in the arctic where the temperatures are freezing and ice = home. I began this experiment with one of our favorite games. We call it The Animal Game. In short, the person choosing the animals says, “I’m thinking of an animal…” And proceeds to give ONE clue about that animal to get the game started.

In this case, I was THINKING of a Polar Bear, and the kiddos guessed it almost right off the bat. The polar bear was our entrance into a discussion of other arctic animals– arctic hare, arctic fox, ermine, caribou, harp seal, beluga whale, orca, etc. Then I posed the question: How do these animals stay WARM in their frozen environment.

FUR! They all shouted simultaneously. Yes, a thick coat of fur does help some of these animals stay warm in the frigid conditions. What else might keep them warm?

FAT. The answer is fat. So we set about to see how fat keeps these animals warm in arctic home.

Happy Science Friday!

XX, Megan

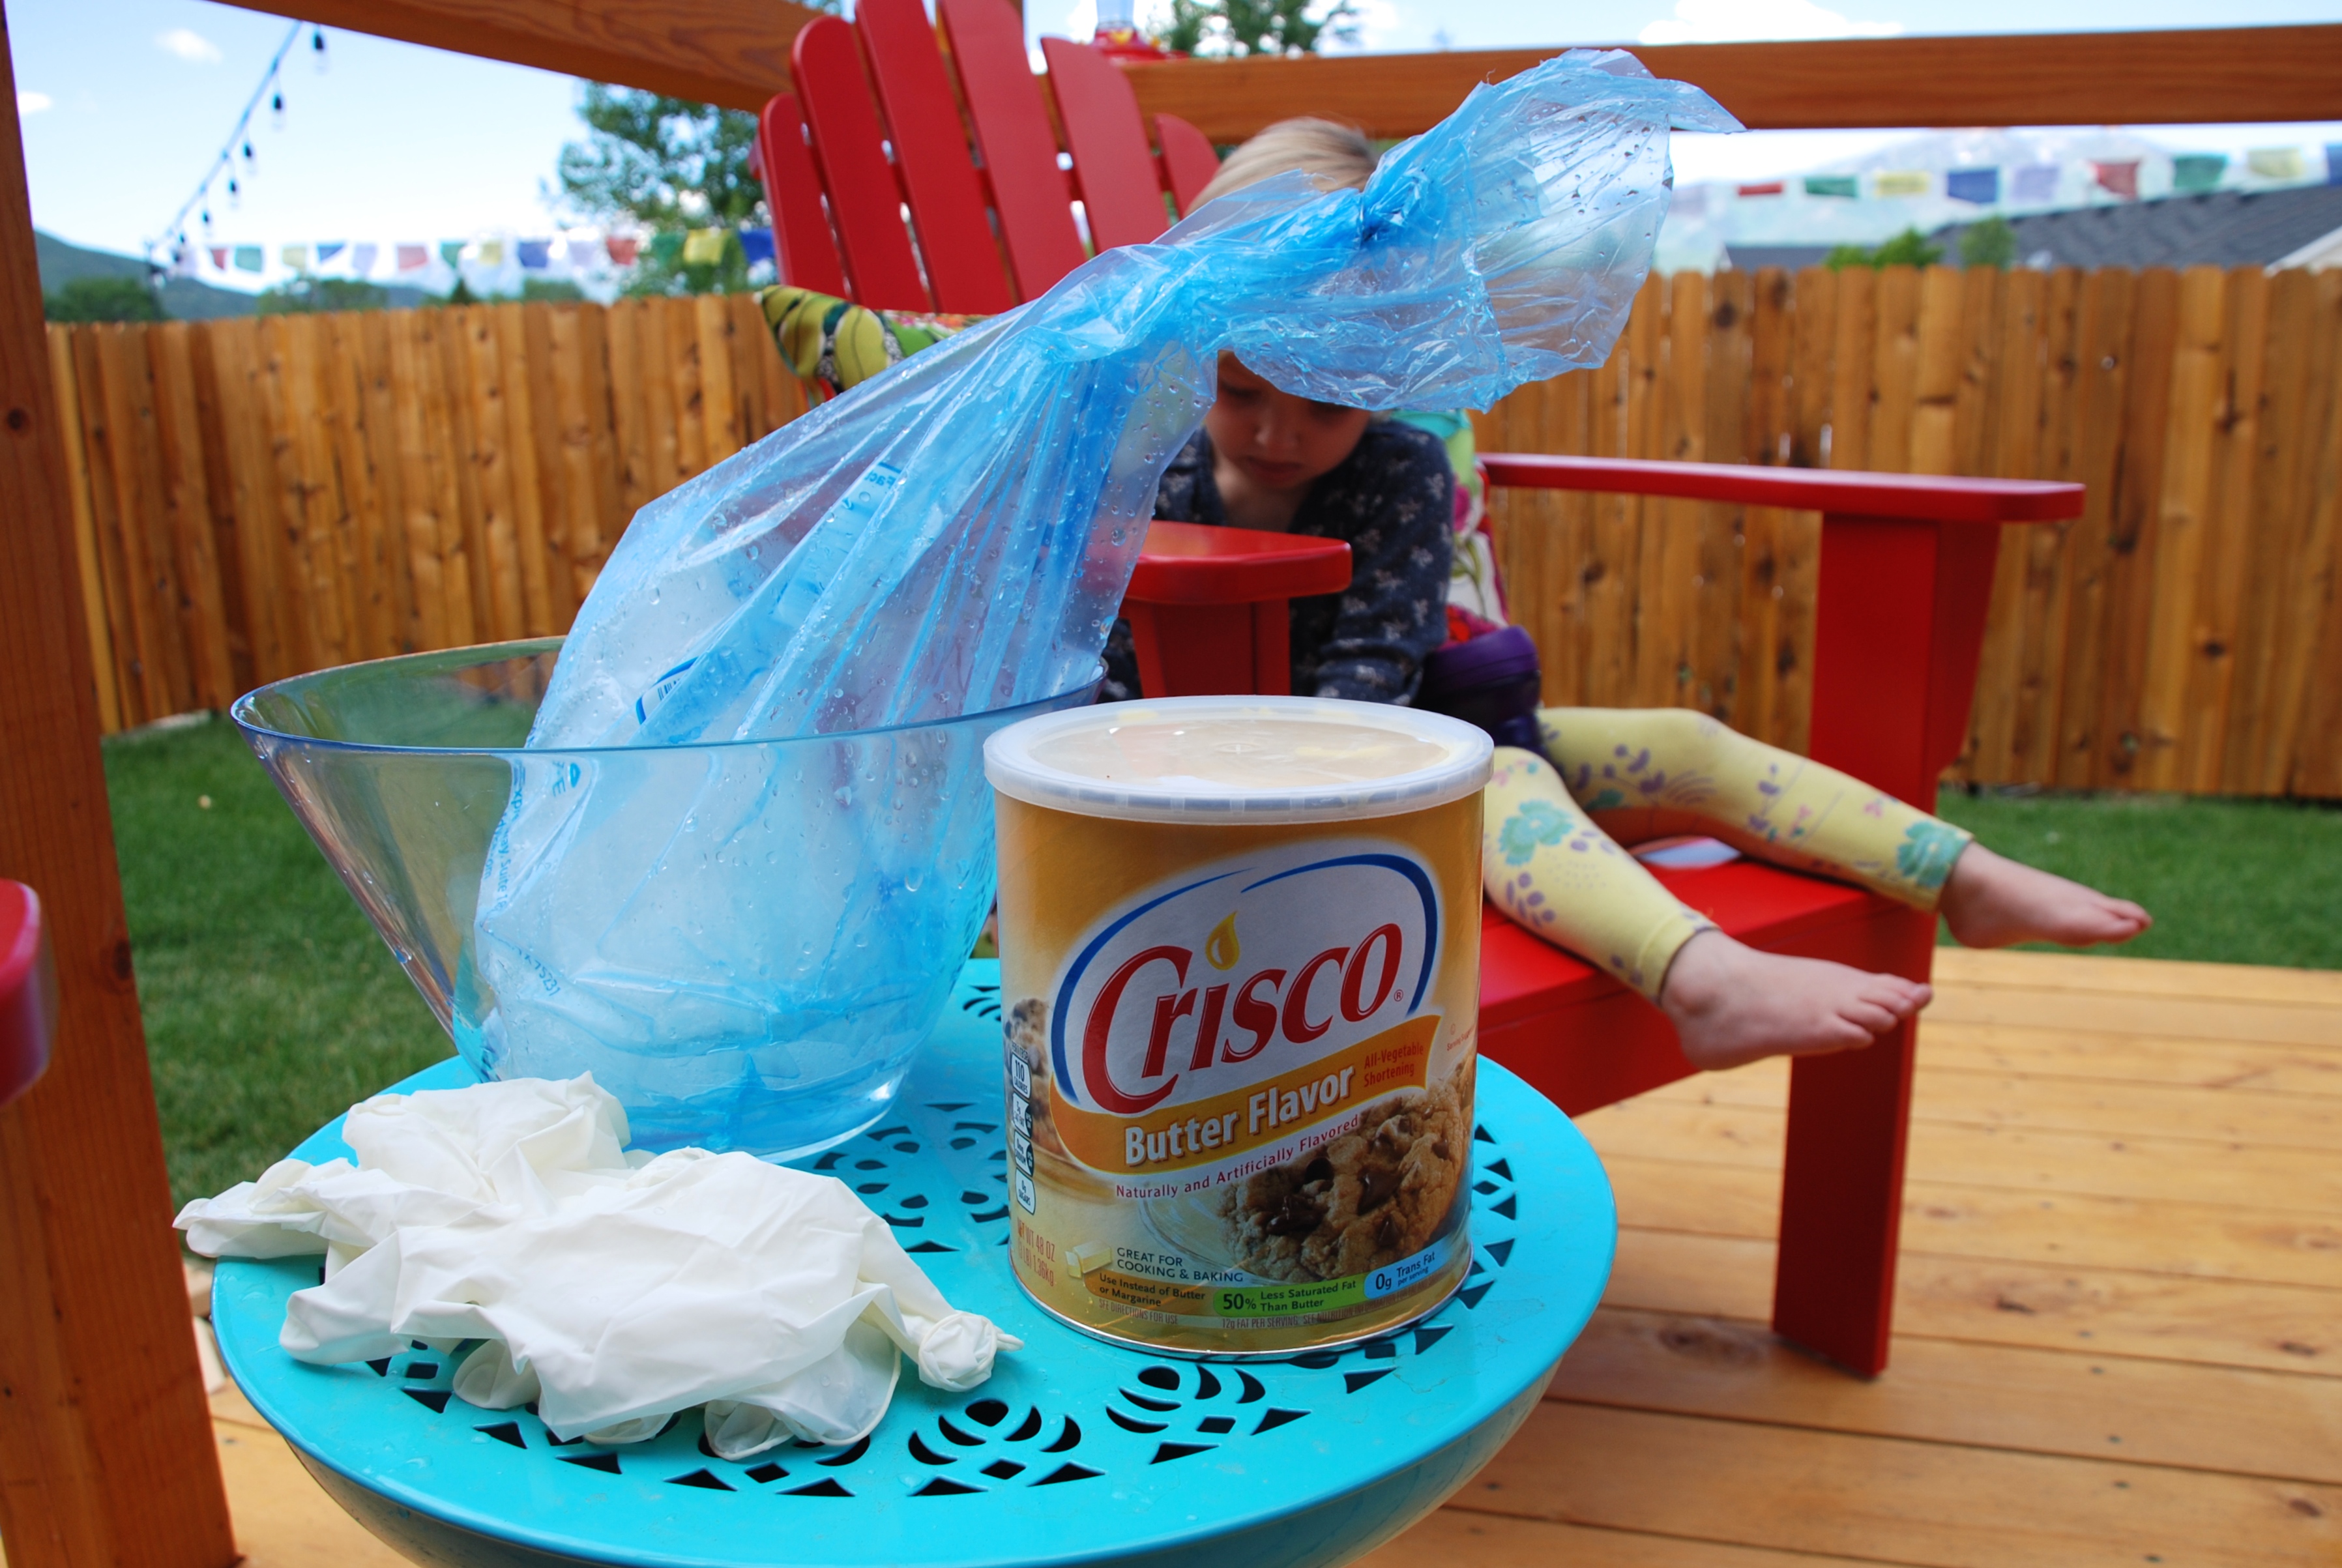
1. First, I gathered the supplies above. Shortening, disposable gloves, a big bowl, ice, water, and plastic wrap (not pictured).

DSC_0057

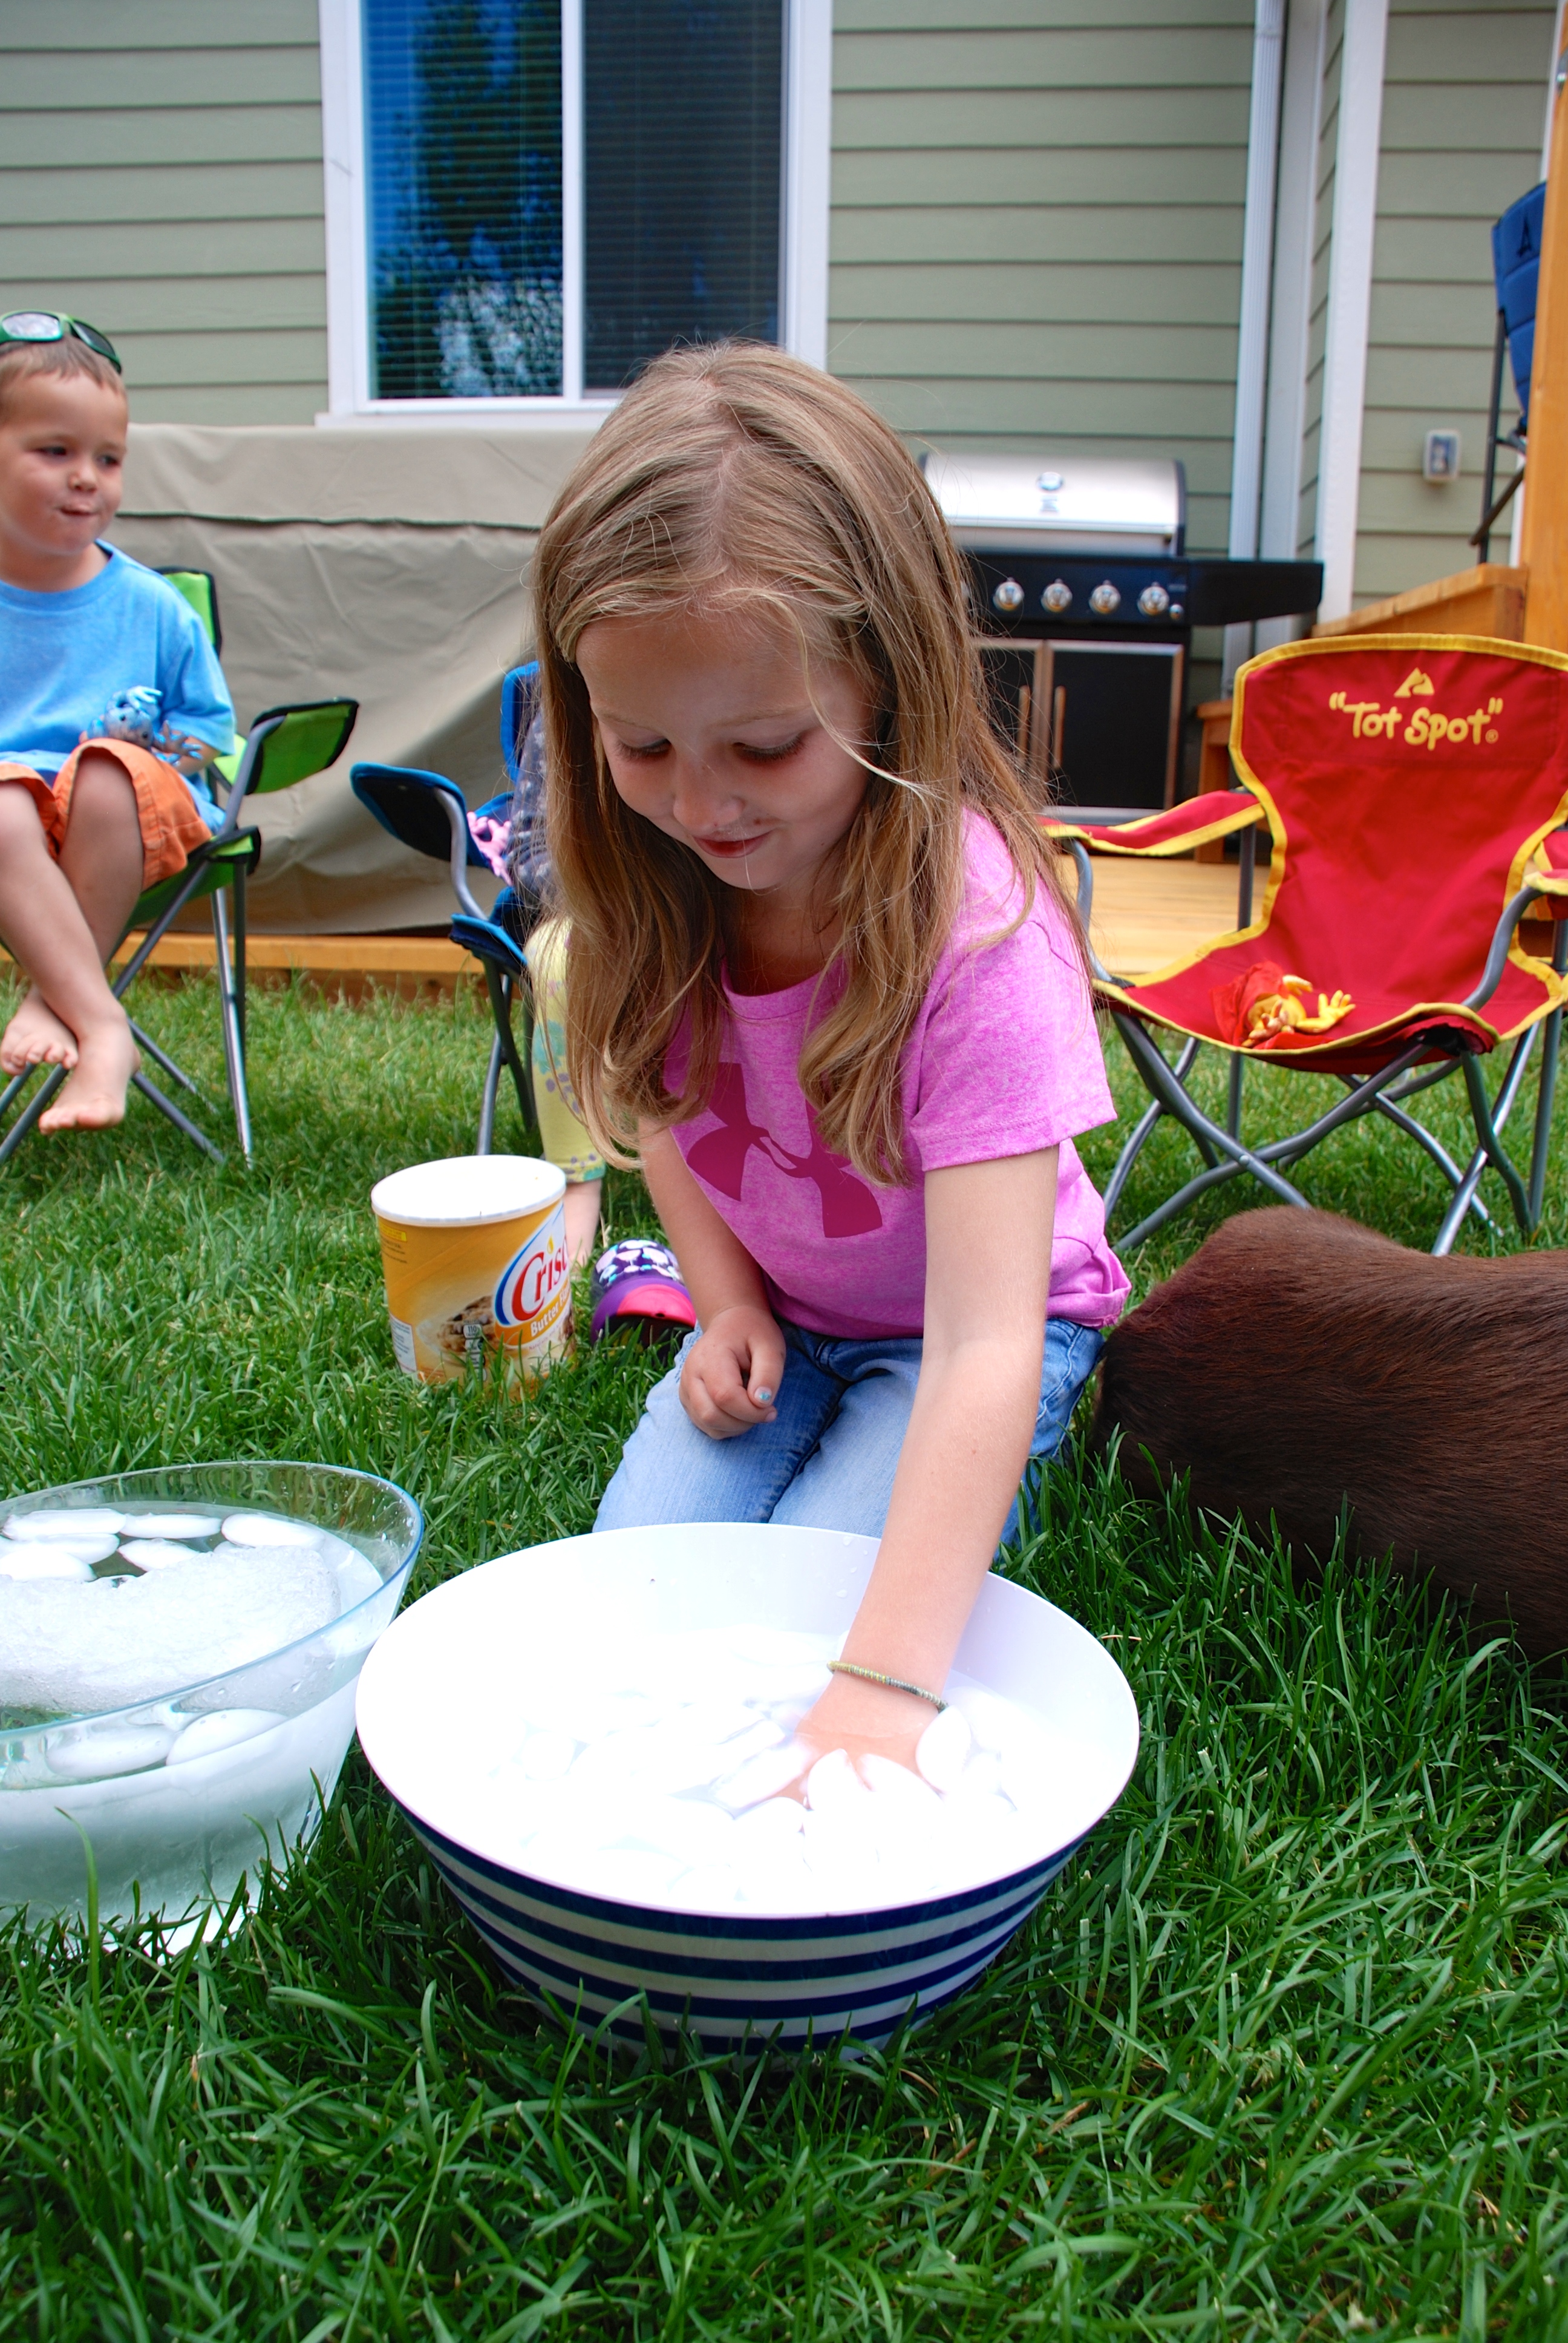
2. We filled the two bowls with water and ice and gave them a good stir to make sure the water was nice and cold.

DSC_0061

3. Everyone got to test their little egos against the COLD water! How LONG can you keep your hand in the ice without protection?!? This one above, a smile for every challenge!

DSC_0063

She swore she was going to make it to 200!!! We counted to 31 and then I called it good. She would have kept going!

DSC_0067

Look at the determination in those eyes. She told us up front she was counting to 20 and she did!

DSC_0064

This little fellow would barely put his finger tips in the water. He just kept yelling about how cold it was! See his hilarious reaction below!

DSC_0065

Ei-eeeeeeeeE!

DSC_0066

“But it’s just. too. cold!” Not a fan of the cold water. I had to hide my laughter. Just a little dramatic, don’t you think?DSC_0070

Then everyone had to play in the ice water just a little more for good measure. We discussed how COLD the water was, how COLD it must be to live on an arctic ice sheet, and how COLD temperatures in the arctic can really reach– negative 50 degrees celsius!

DSC_0071

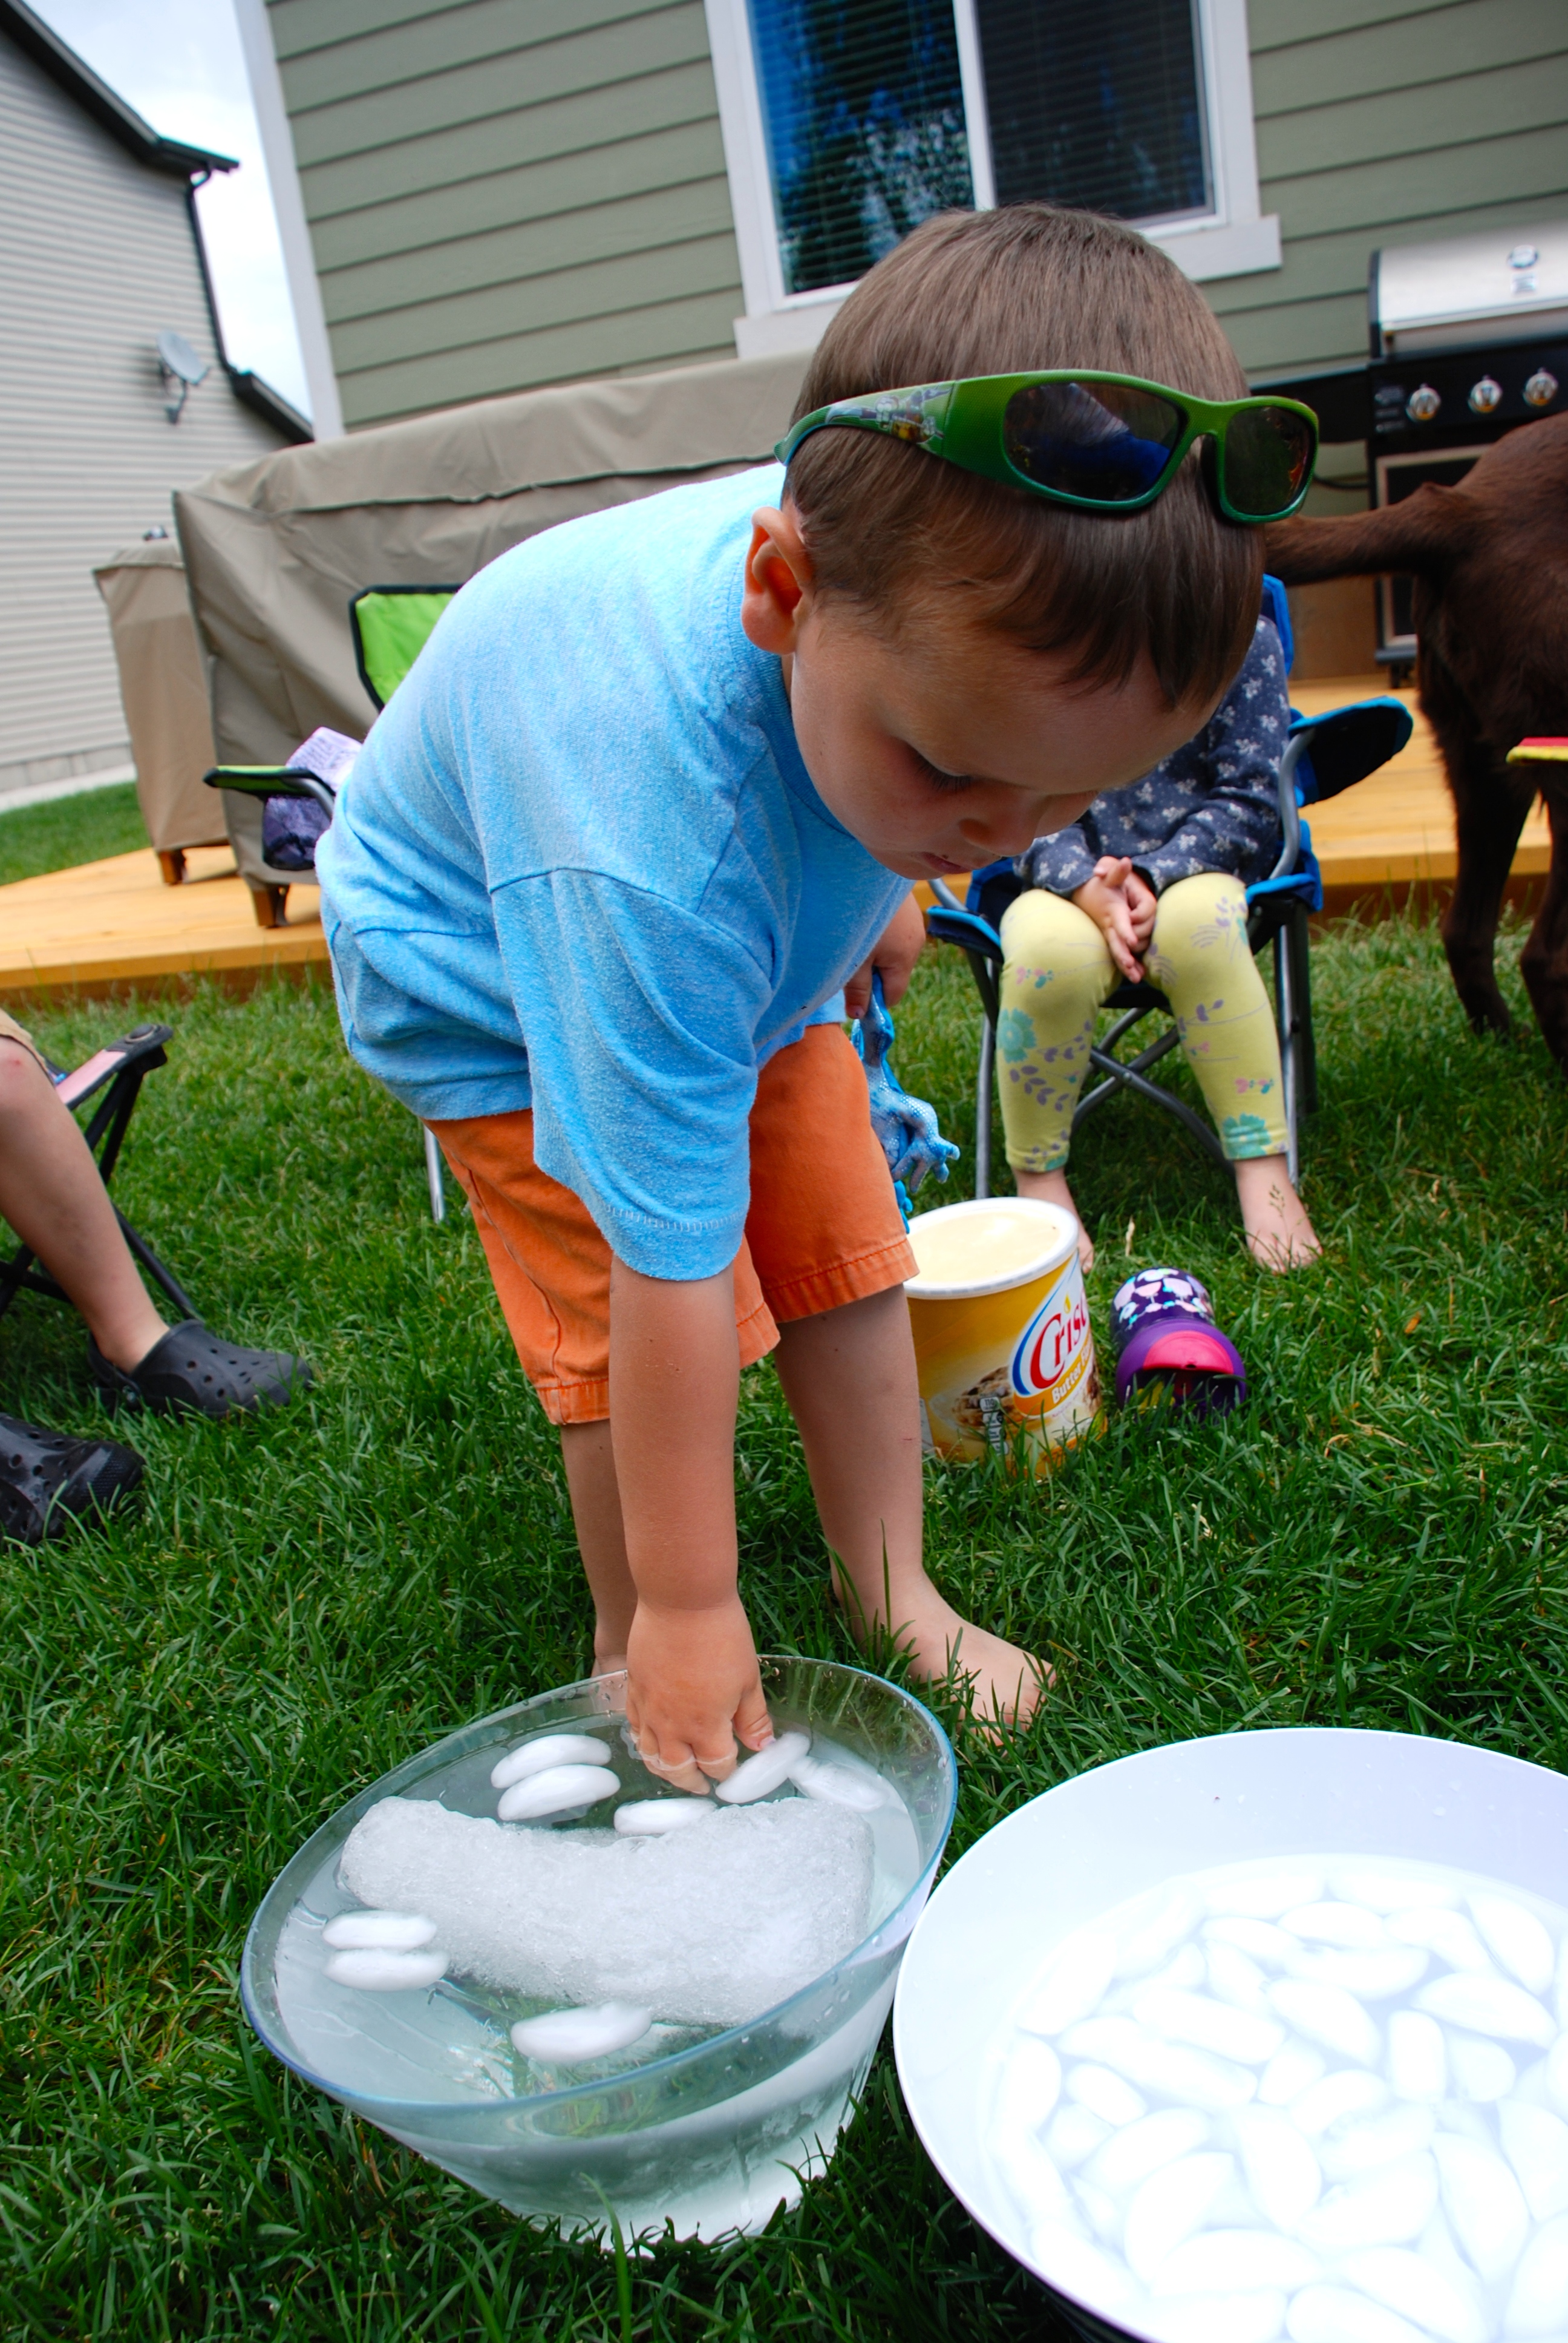
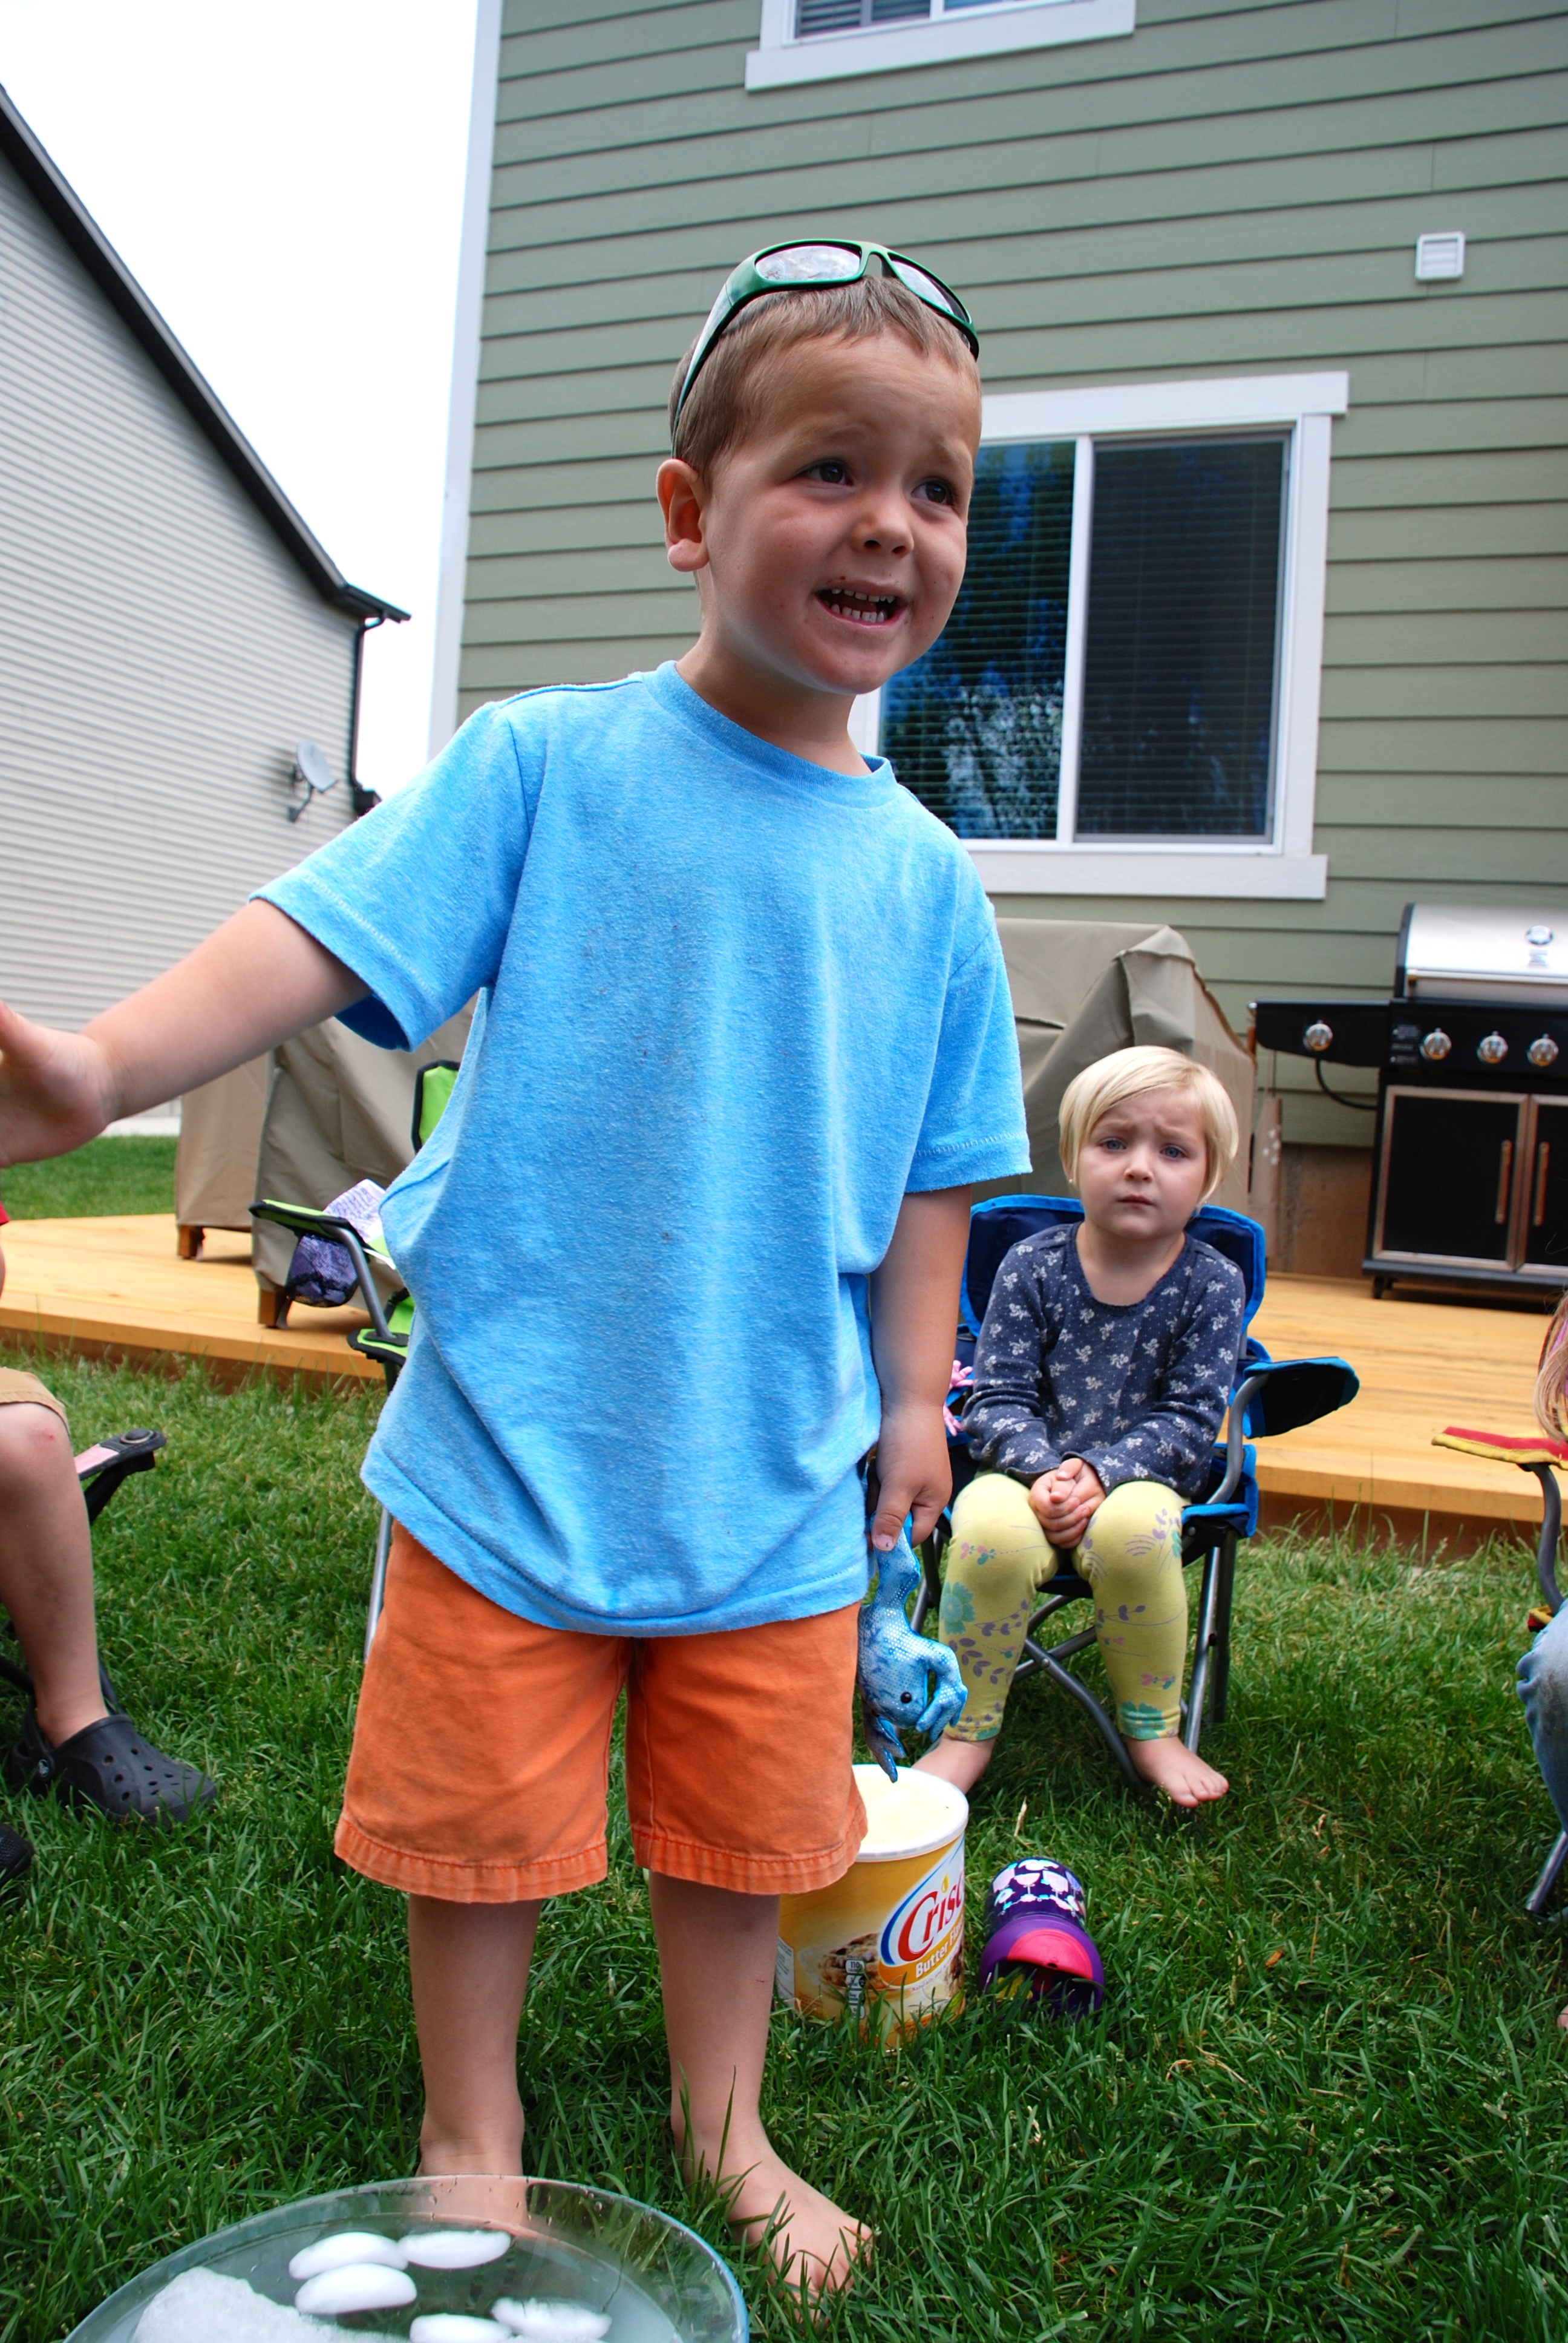
4. Each kiddo put on a disposable glove.

DSC_0078

5. Then I had them make a fist with their hand in the glove. We covered the fist in the glove in a BIG ball of shortening. Like REALLY covered the entire hand.

DSC_0079

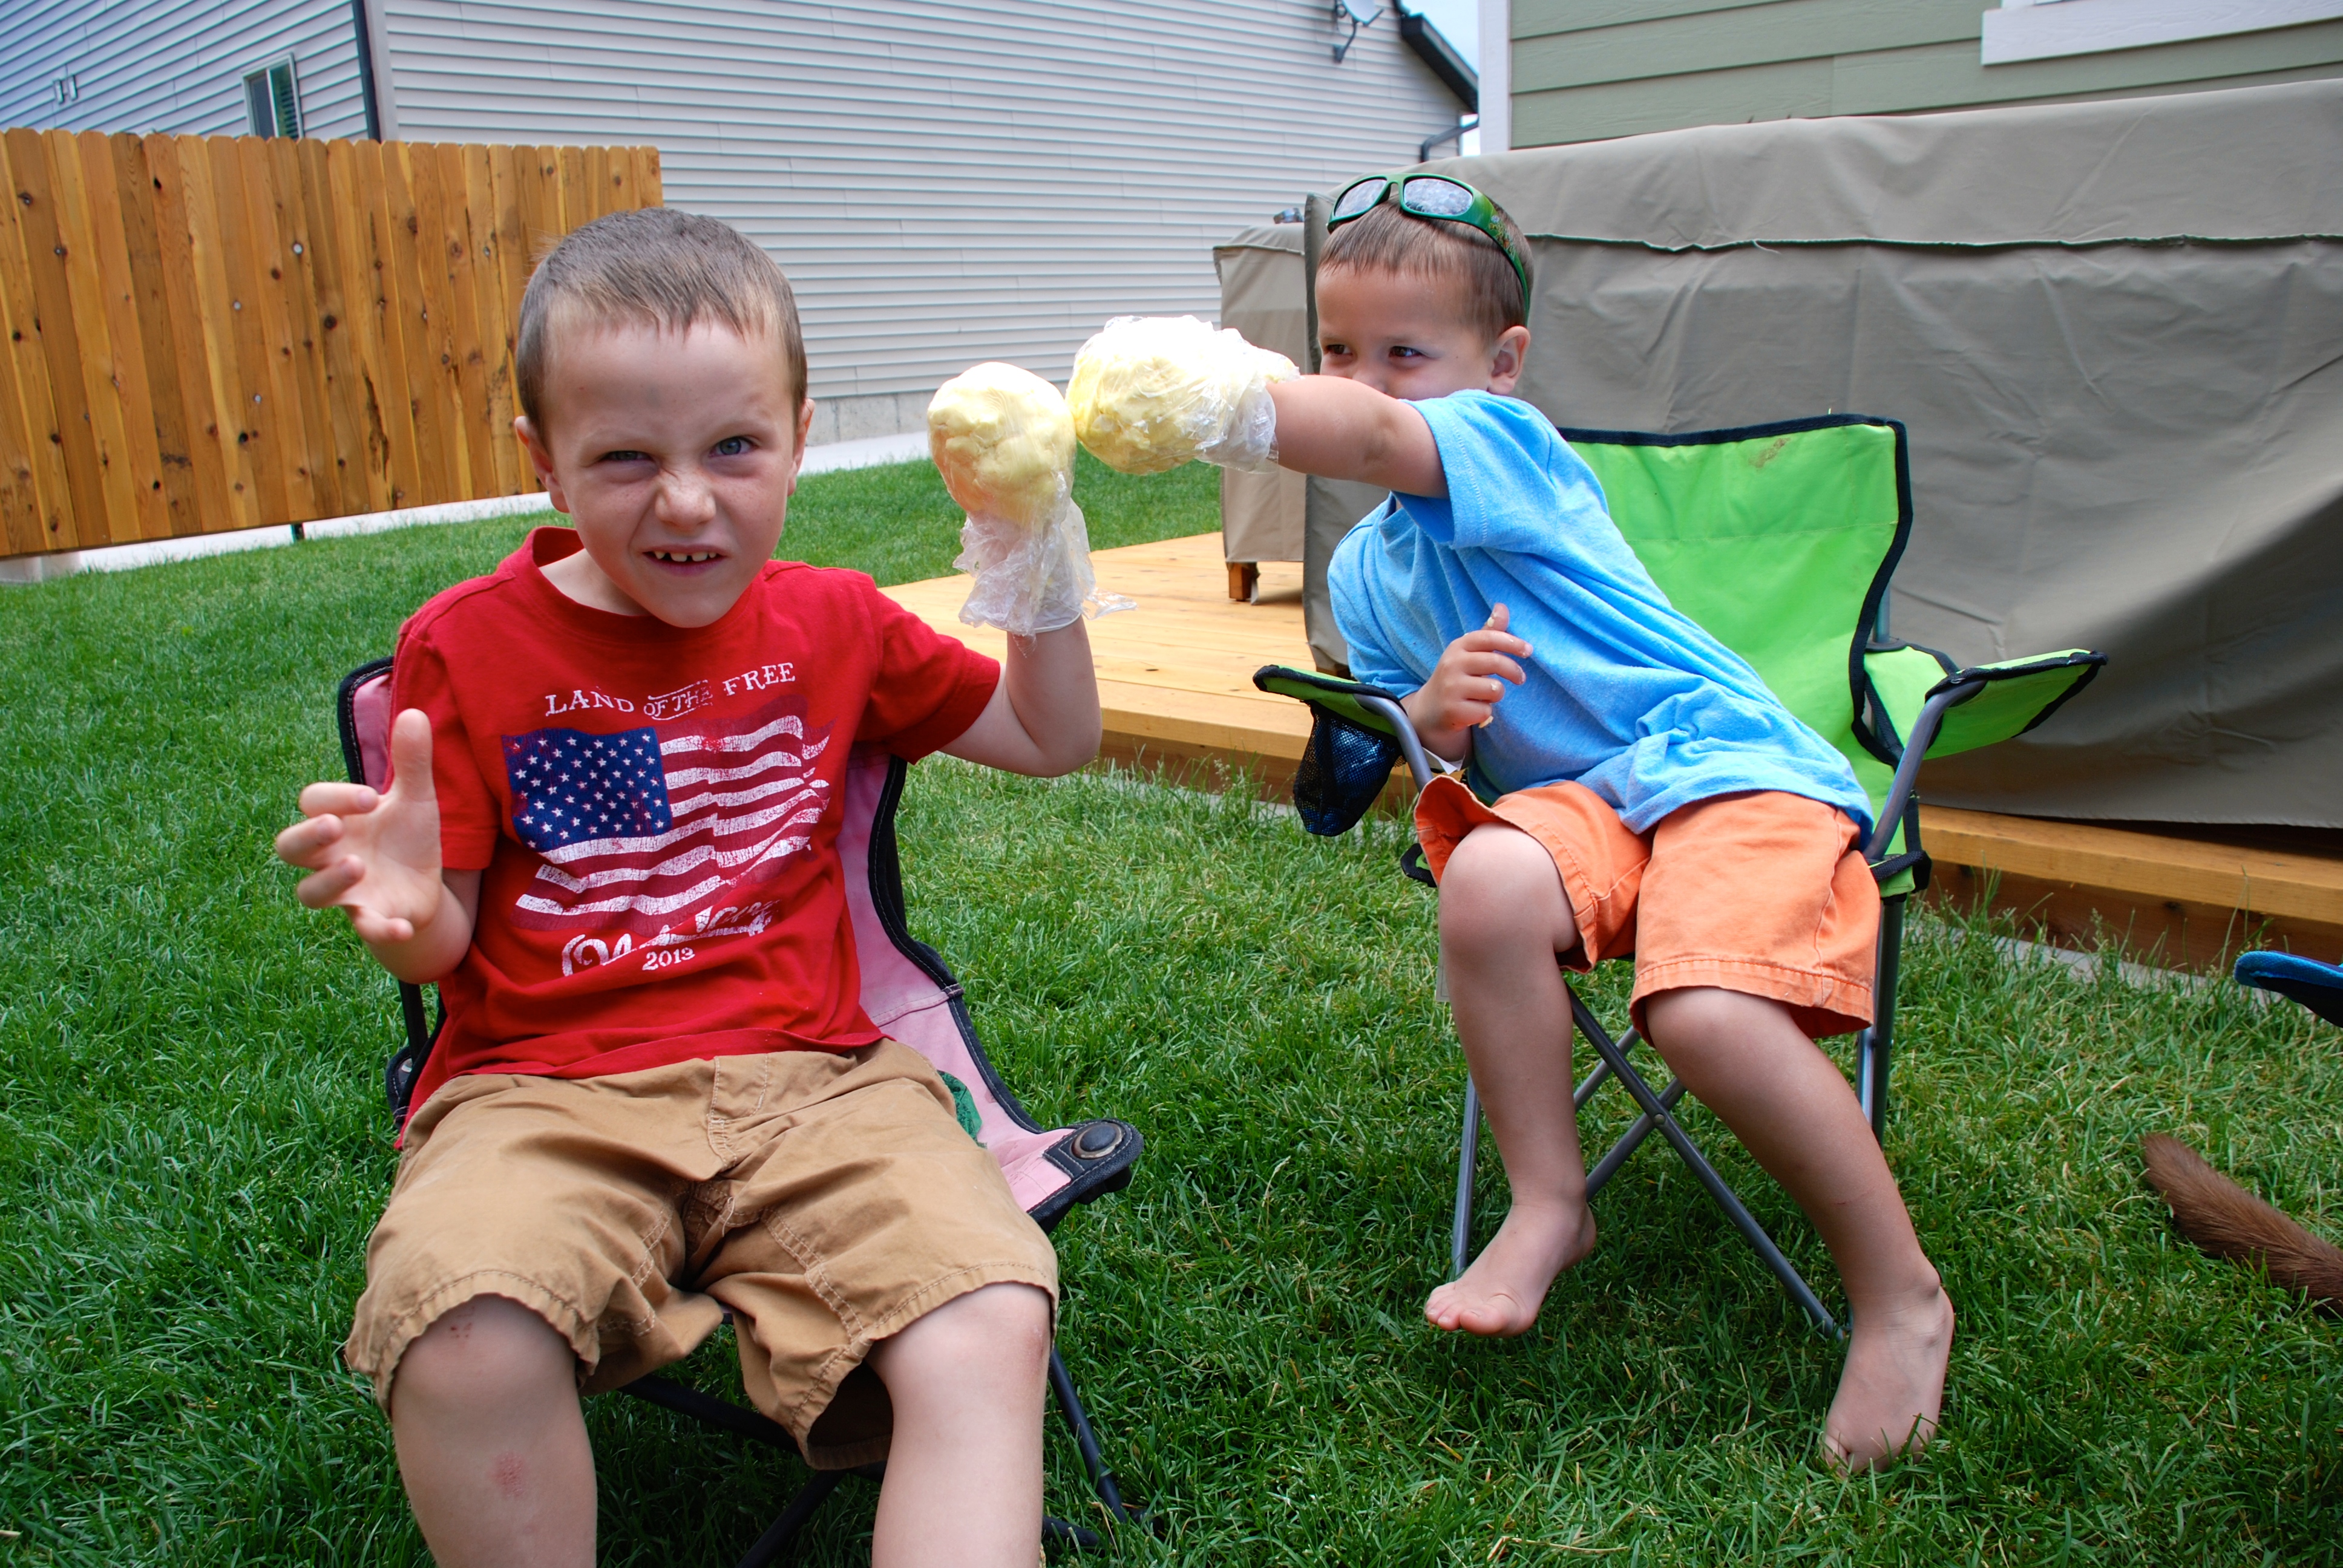
6. Immediately after I put the shortening over their fist, I covered each shortening covered hand in plastic wrap. No sense in having big chunks of fat floating in your ice, right?! Don’t you just love the difference in the two poses with their fat fists! Killing me.

DSC_0081

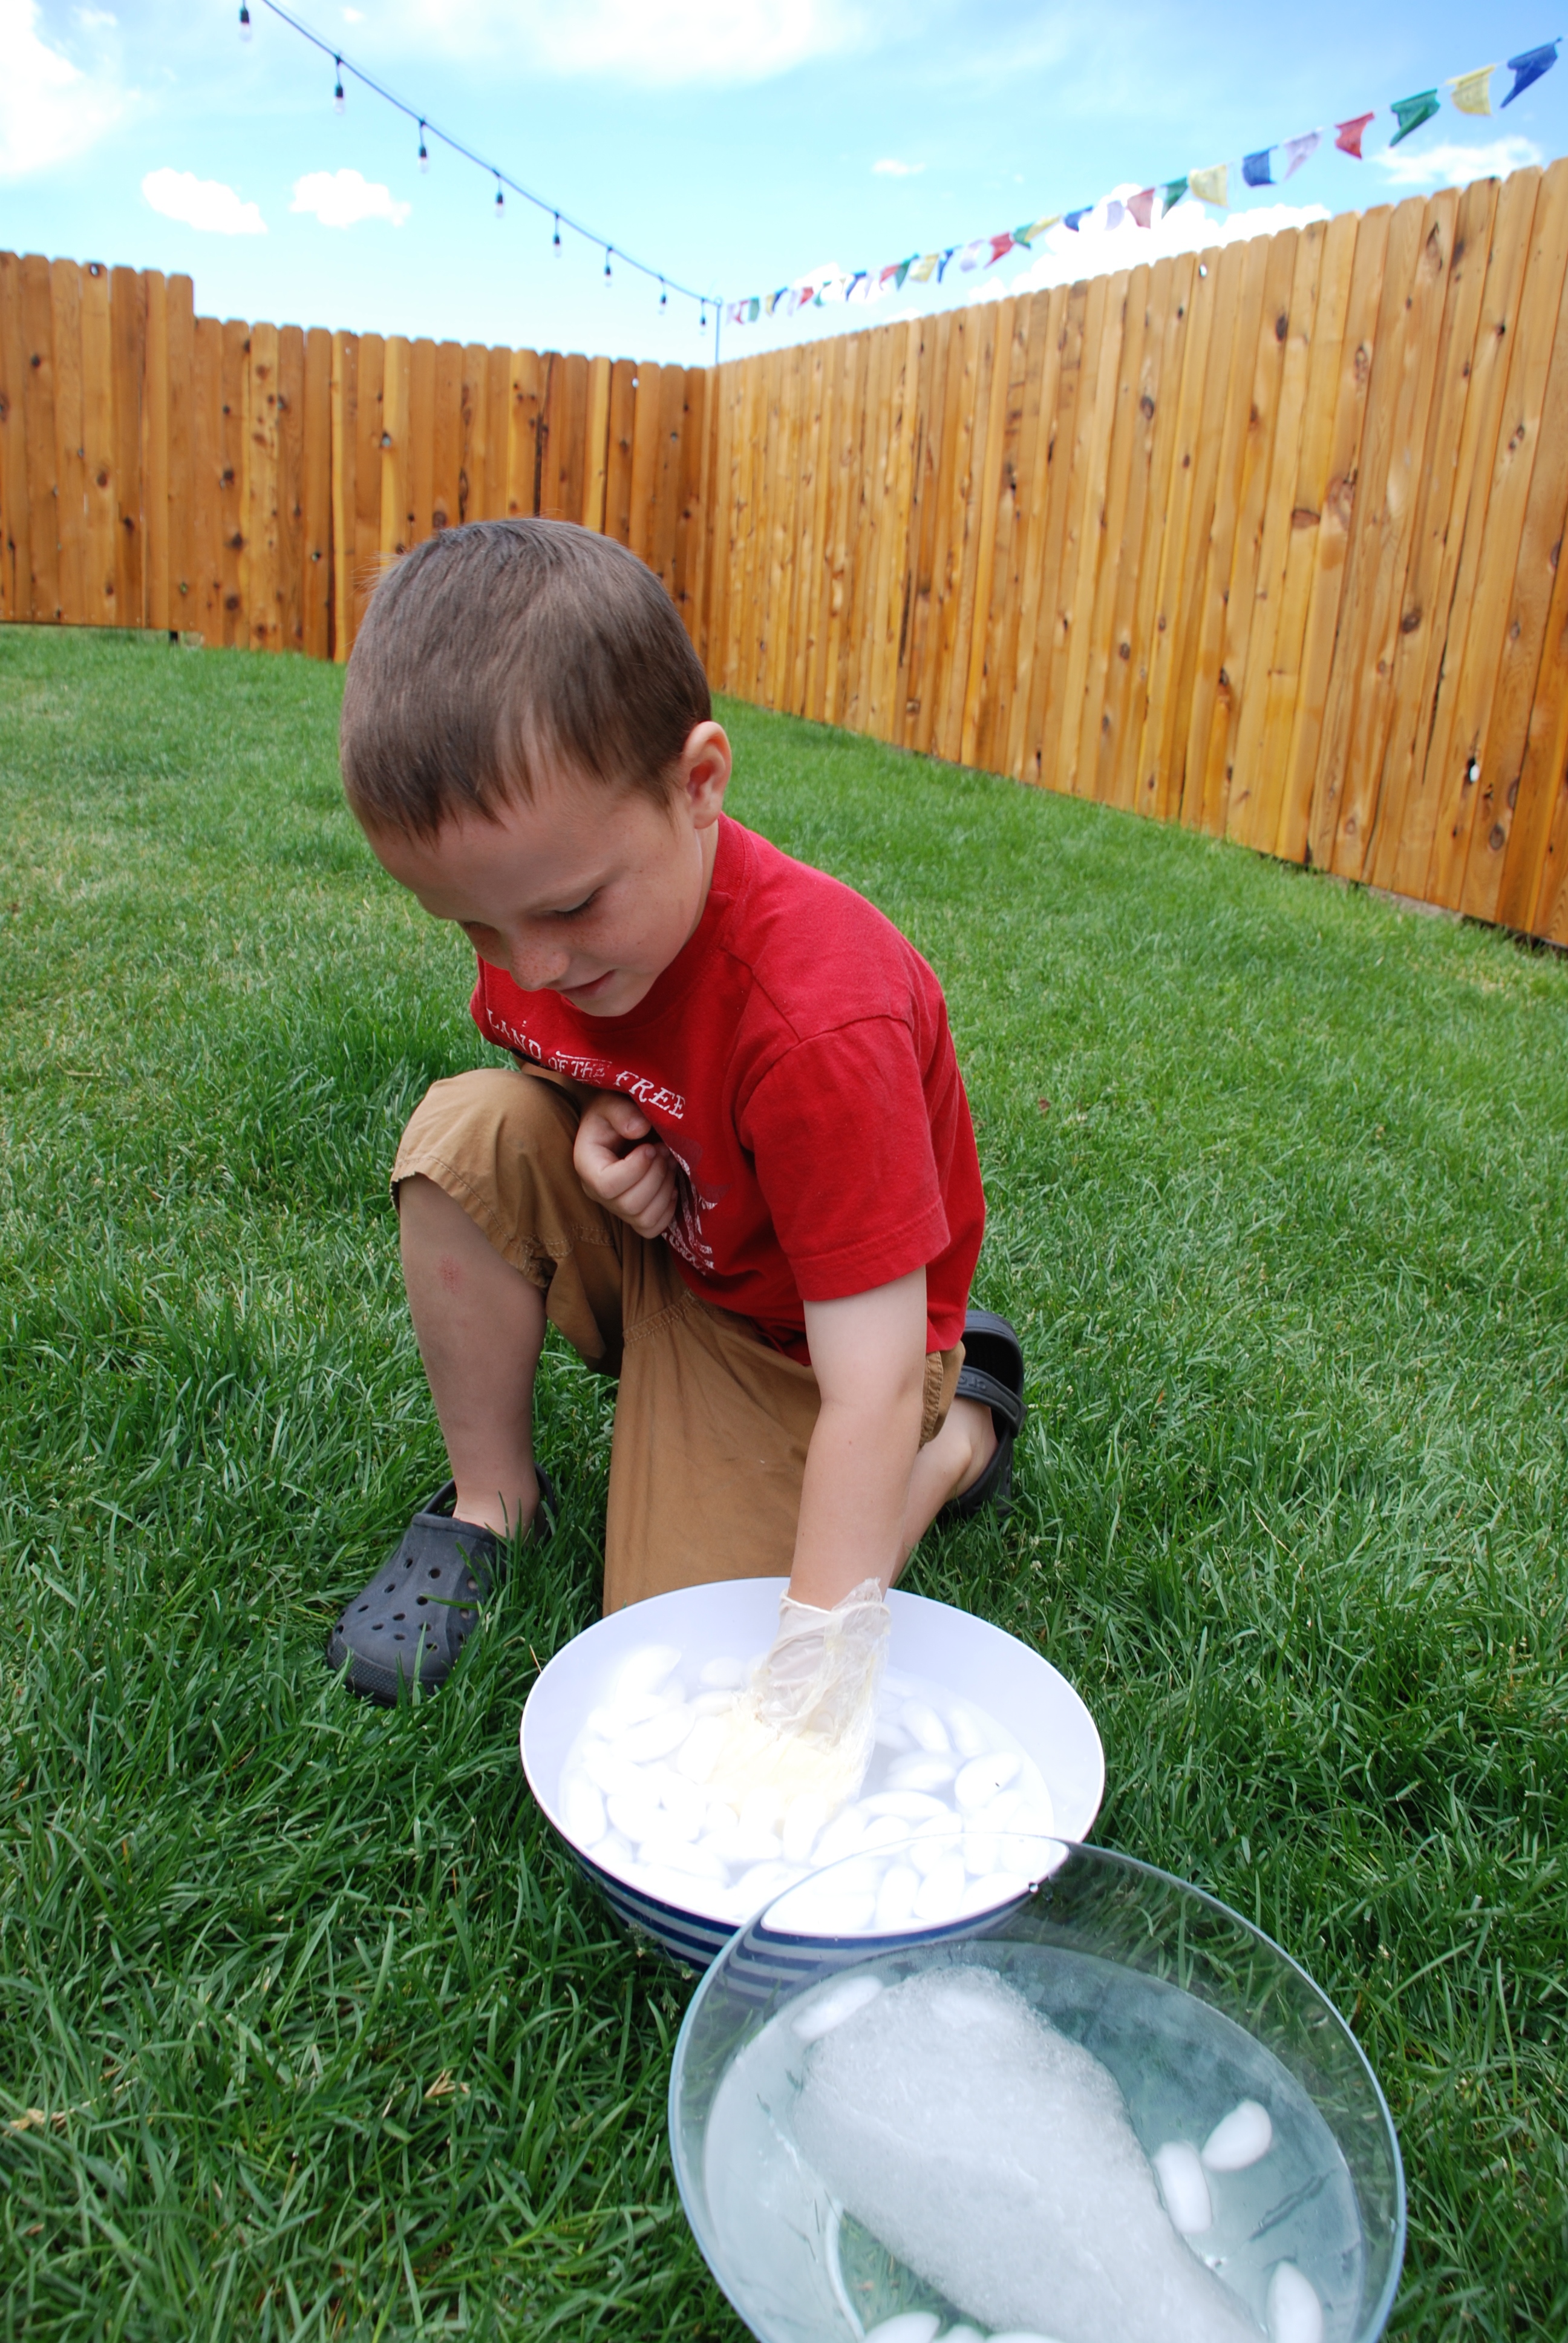
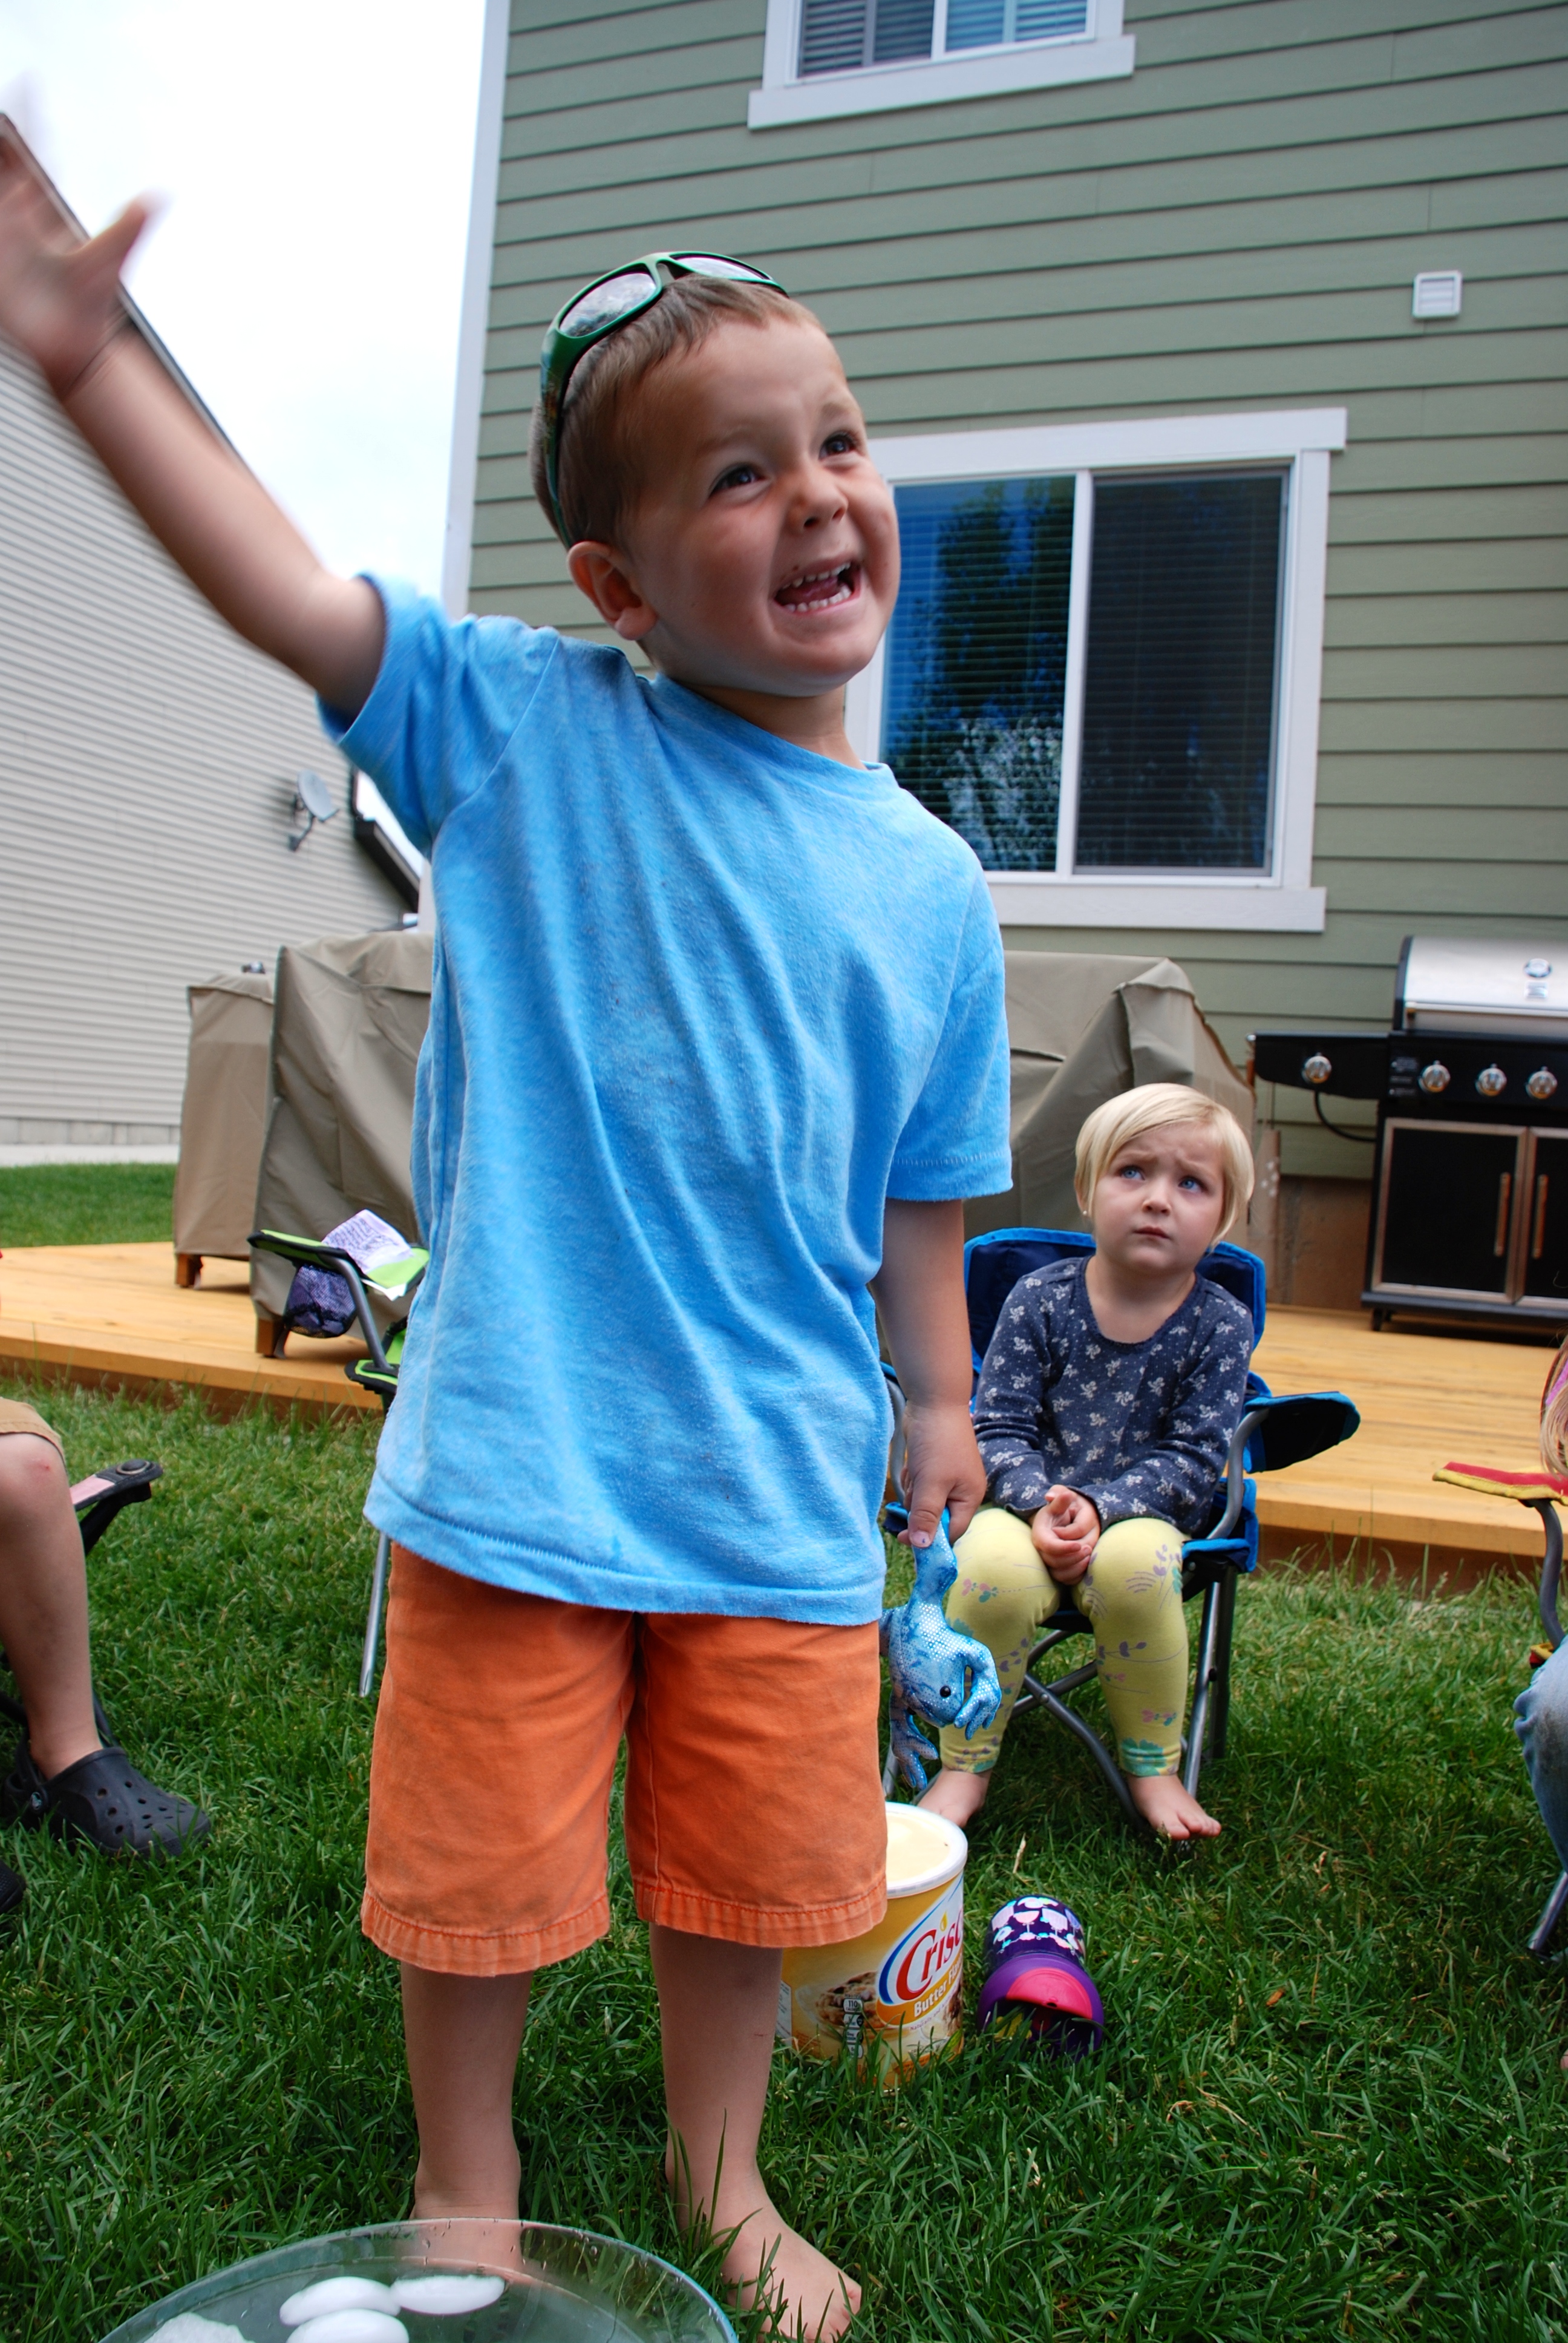
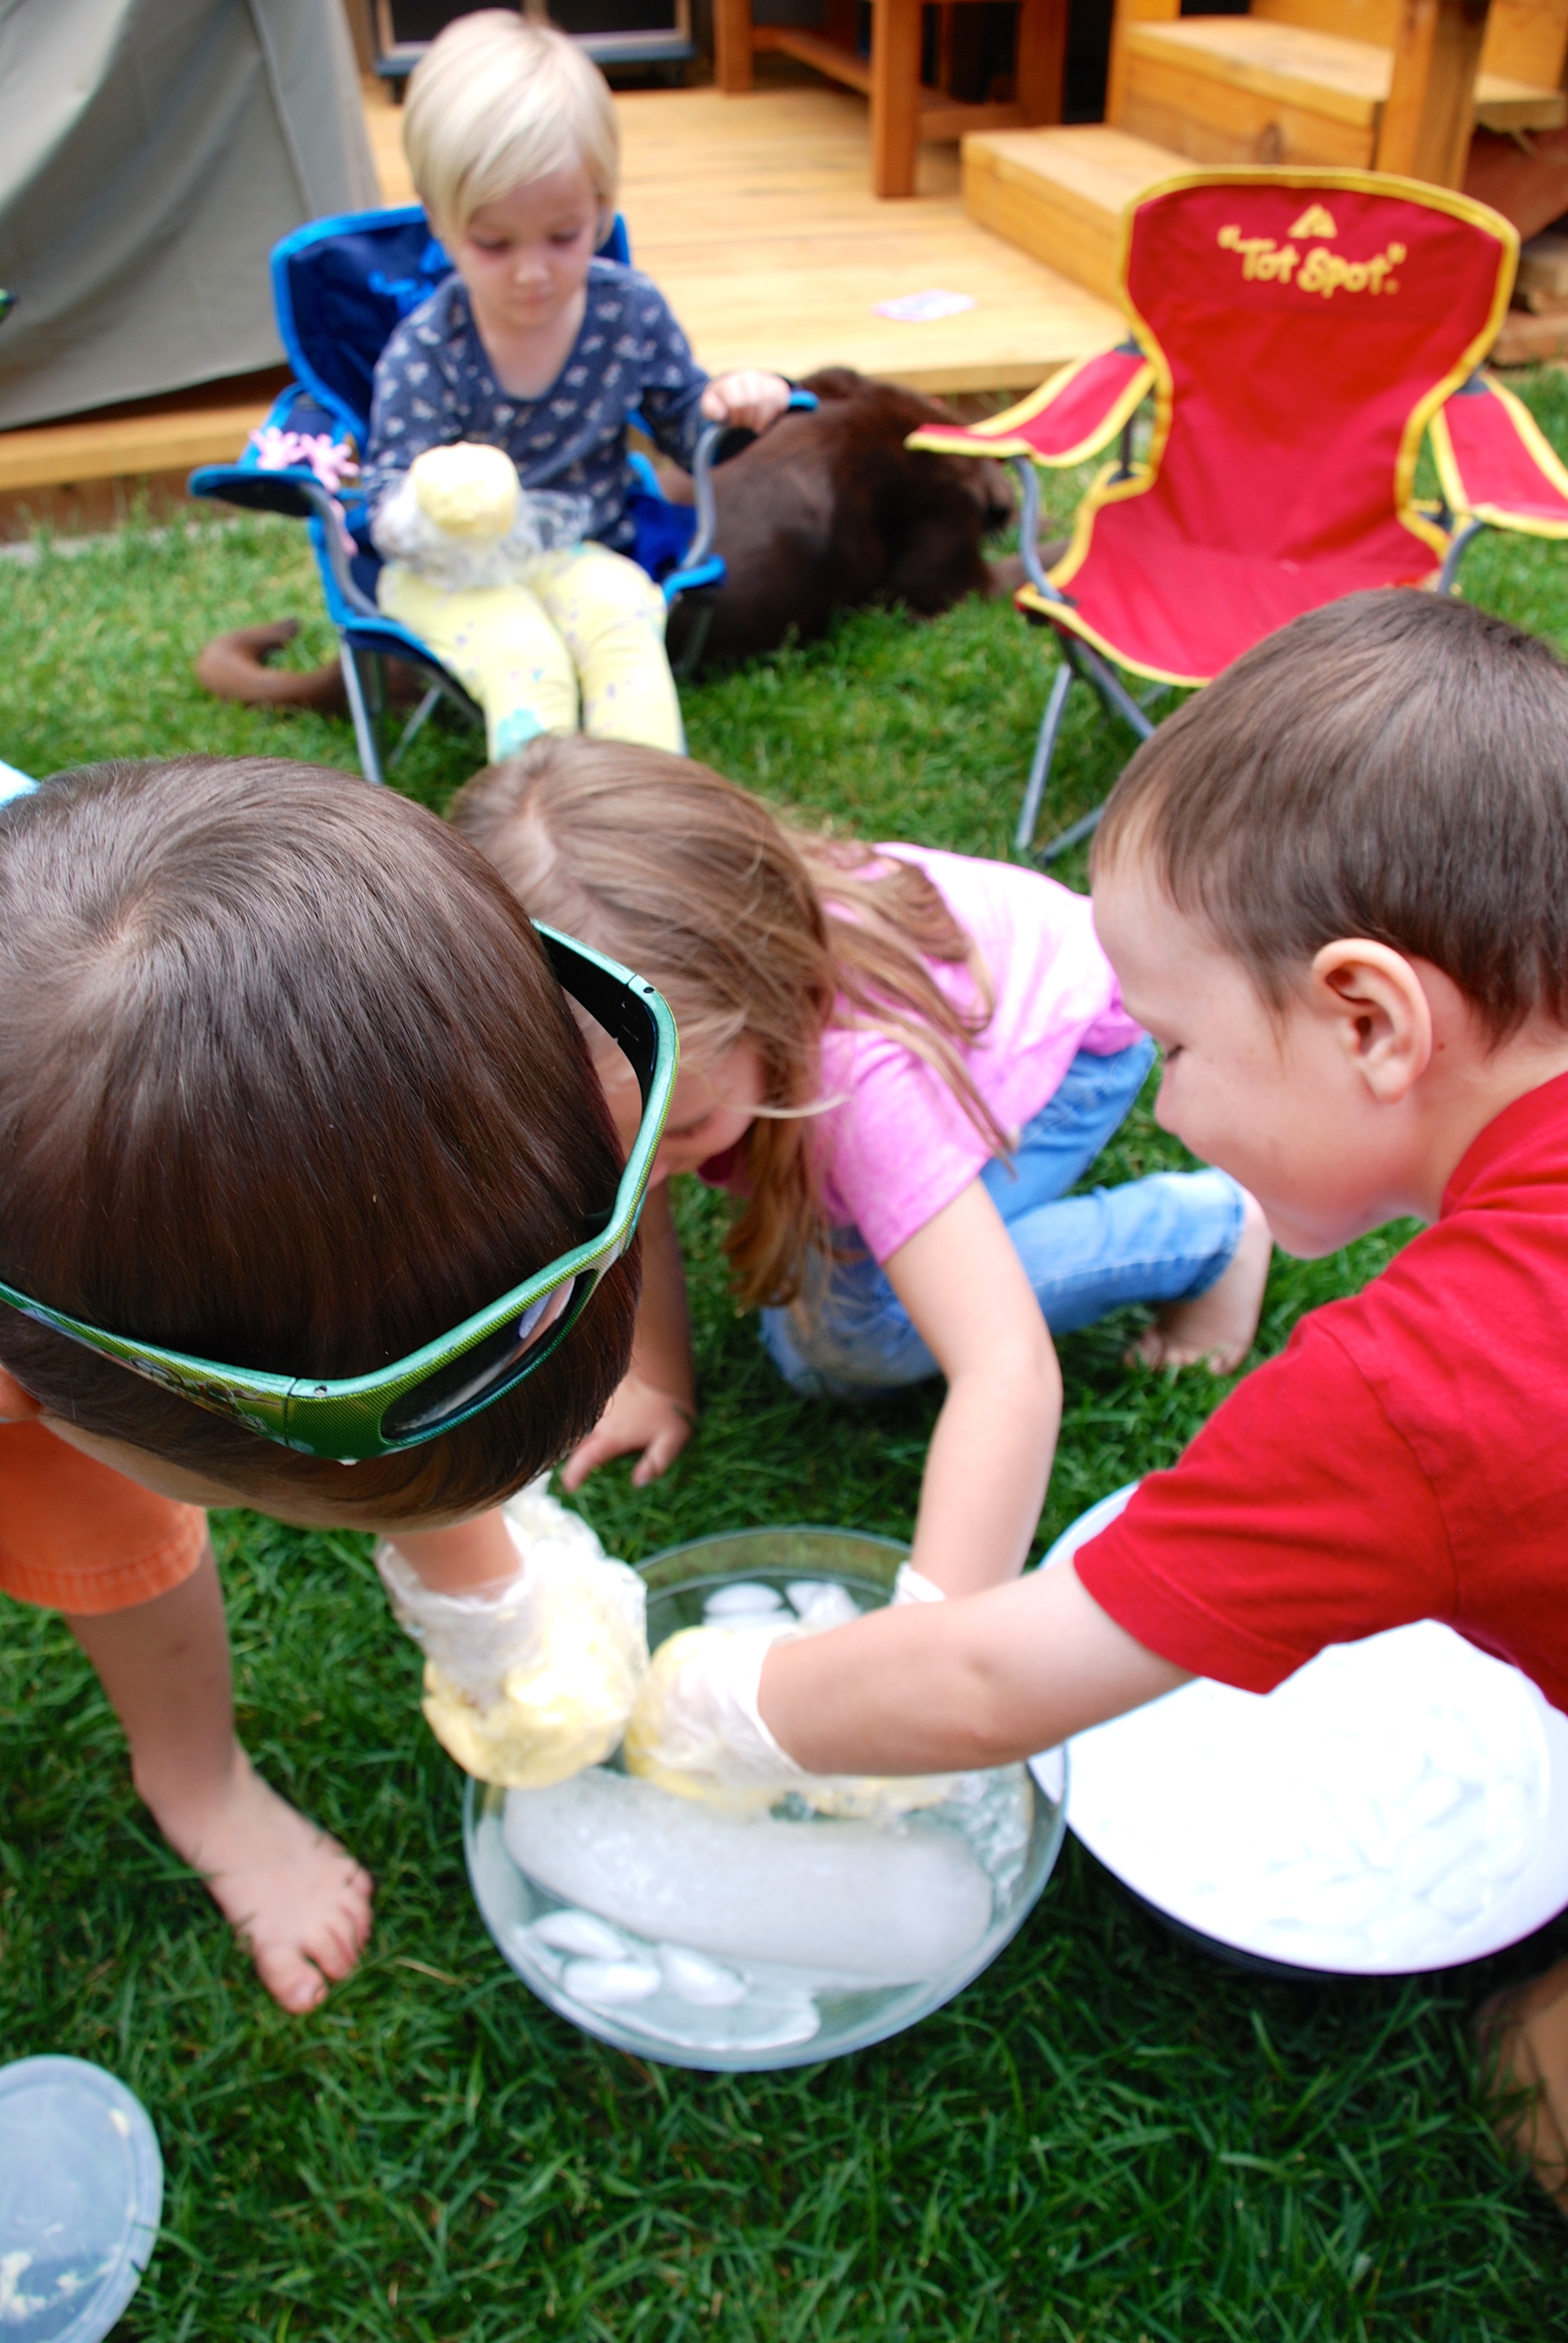
7. Everyone got to stick their hand into the ice again. This time they had the protection of the glove, the fat, and the plastic wrap. “I don’t even feel the cold, Mom.” He declared.

DSC_0084

8. Finished! The amount of time each child could or would put their hand in the water was MUCH increased. We counted to 60 with my oldest son, and then talked about how fat is an important bodily component of arctic animals! Fat is their insulator. Fat (along with fur), keeps them warm!

Then we played in the water some more with our fat fists. Clean-up on this one was SUPER easy. Just pull off the glove from the wrist down. The entire ball of fat should just slip off into a trash bag. ALL DONE!

DSC_0085

*The experiment we tried this week was one I got from a preschool site, HERE. I’ve gotten several more questions about where I get my projects from. I get most of my DIY projects from Kiwi Crate. They have a fabulous Science Project section under the DIY tab on their site, and all of the projects there are FREE!

You may have also heard about Kiwi Crate on my site because we also subscribe to their Crate, and receive a box of arts, crafts, experiments, and MORE, monthly. While I’ve posted some activities we’ve done with our Kiwi Crates here on the blog, most of the Science Friday posts are DIY. I also like to pull from random places all over the internet, so for example we did a “Walking on Eggs” Science Friday last summer, and I got the info for that project from a totally different website.

We may recreate that experiment again this summer for the blog, so stay tuned. Let me know if you have an other questions, I’m happy to share experiences and advice. But for the most part, the projects we do here are straightforward, and very easy to recreate in your own home!

The other place you can go to get Science Friday ideas is HERE! Right here on Refined + Rugged. I post our experiment almost every week, and if you want to look at past projects you can simply type “science” into the Search box on my sidebar. That should pull up all of the projects I’ve posted here!

Lentil and Beet Salad with Honey Lemon Dill Dressing

DSC_0003

DSC_0012

I am jonsing on this salad. It is fresh, it is delicious, and it was really, really, easy to make!

Wednesday is really our get-all-of-our-stuff-done day over here at casa Refined + Rugged. With summer this catching up has really turned into choring, listing, and doing a lot of run around errands each Wednesday. So when I have the opportunity to make my evening as chill and as relaxing as possible by simply preping a salad in the morning to eat that night, I’m on board.

Plus, then I don’t have to feel so bad about my toast addiction (although we also ate homemade wheat bread with this meal) or my random lunch choices. Read: eating leftover veggies from the kids’ plates and really wishing for another piece of toast! 🙂

This salad was so delicious that my husband asked if he could take the leftovers with him on an upcoming cycling race. Instead of sending leftovers, I’ll be whipping up a fresh batch of this for him for the road!

Do not let your jaw drop when you hear that I got this delicious salad from The Scramble. We recently had friends over for dinner and couldn’t stop singing the praises of this awesome meal planning service. We love this site so much, we just can’t help but share our enthusiasm!

I hope your Wednesday is as bright and cheery as leftover beet juice!

XX, Megan

Ingredients for Main Dish

2 cups cooked lentils, (or 1 cup uncooked)
4 beets, diced
1/2 cup crumbled goat or feta cheese
1/2 lemon, juice only, about 1/4 cup
1 Tbsp. honey
2 Tbsp. extra virgin olive oil
2 tsp. fresh dill, finely chopped, or use ½ tsp. dried dill

Sides

Whole wheat bread and pistachios.

If you are steaming the beets yourself (I’ve heard that Trader Joe’s actually has a vacuum package of beets, so yay for you if you can grab one of those) you’ll need to start your salad well in advance of your meal. Steam the 4 beets, green stems removed, in 1-2 inches of water, simmering with the lid on for around 45 minutes or until they are tender.

When your beets are halfway finished, boil 2 cups of water for your 1 cup of lentils. (This is only if you have quick-cooking lentils, make sure to read the packaging on yours as some of them need to be soaked overnight!) Bring to a boil, and then reduce to a simmer for 15-20 minutes.

Meanwhile you can mix up your dressing. Mix the oil, lemon juice (I used 1 whole lemon instead of just 1/2), honey, and dill in a large measuring cup. Whisk thoroughly. Set aside.

When your beets are finished simmering, drain under cold water and then skin them with your fingers or you can use a vegetable peeler. Let them beets cool for a few more minutes as you drain your lentils. Allow both to cool to near room temperature. Then dice the beets, and mix the beets, lentils, and feta in a medium bowl.

Top the entire salad with all of the dressing and toss gently.

ENJOY!

DSC_0009

1. Simmer beets and lentils.

DSC_0016

2. Mix the dressing. DSC_0013

3. Dice the beets.

DSC_0024

4. Toss the salad gently with the dressing.

DSC_0027 - Version 2

4. EAT!

*The Scramble is a meal planning service to which you can subscribe here. For a fantastic price you will receive 5 weekly meals which means 5 recipes (main course plus a side dish), complete grocery list, the ability to tweak the number of people you are making for, and full nutrition facts. PLUS tips as to how best to PREP your meal beforehand, add a punch of FLAVOR, and how to SLOW COOK almost every recipe if you’re especially slammed that night. This wonderful service really does live up to it’s name. You can come home at 6 p.m. and be sitting down to a DELICIOUS, HEALTHY, HOME COOKED meal by 6:30 p.m. most nights.

A Wrinkle In Time

Let’s try this again, shall we?

I have been trying to get this post in order for nearly two weeks, and I’m pretty sure it ghost posted it last Tuesday when I forgot to send it back to the drafting board for major revisions! (Read: I was still trying to finish re-reading the book!) So here is my RE-vised post about my RE-read of this wonderful book: A Wrinkle In Time.

Do you have a favorite book you read as a child or a young adult? Do you have a book that you still remember vividly even though it has been many, many, (maybe I should put three many’s here because I am in my thirties?) many years since you have read it? Do you have a book(s) that has changed you somehow? Maybe all literature changes us. I haven’t thought on that enough, or formulated a lengthy treatise on the subject.

Maybe LITERATURE is LITERATURE because it’s intent is to CHANGE US– to make us better people in the reading– the purpose of all FINE ART, yes? For purposes of this post it would sound grandiose to say, “The book that changed me most was A WRINKLE IN TIME, by Madeline L’Engle.”

But that statement wouldn’t be totally accurate. In fact, the moment I purposed that statement to myself in my head to write here on the page I began listing other books that changed me, that have sunk in deep. I’ve shared some of them here already– Desert Solitaire, The Absolutely True Diary of a Part-time Indian are a few I’ve shared here on my blog.

But some other young adult titles come to mind like The Giver, and Maniac Magee, and To Kill A Mocking Bird, and The Devil’s Arithmetic, and Night by Eli Wiesel, and The Book Thief, to name a few.

The ephemera that has stayed with me surrounding A Wrinkle In Time is that it is one of the first books where I not only fell in love with the BOOK itself, I fell in love with the AUTHOR. After finishing A Wrinkle In Time, I remember heading to my elementary school library in search of other titles by Madeline L’Engle. That desire to read everything that someone has written is still a great way to find great books.

I also remember A Wrinkle In Time because it was my soft introduction to sic-fi/fantasy. A genre that I don’t really read much now as an adult, but I remember how much I loved L’Engle’s mix of space, time, science, and off-planet experiences. Now listen, you don’t have to be a geek to enjoy L’Engle’s works.

In fact, they are perfect easy adult reads for lazy summer evenings, and I dare you to read (or re-read) A Wrinkle In Time and NOT seek out the other titles in this series– A Wind In The Door, and A Swiftly Tilting Planet. The premise of A Wrinkle In Time is Meg Murray and her younger brother Charles Wallace’s search for their missing father. A renowned physicist who has gone missing in a top-secret government mission to… the children can only guess.

I cannot get enough of L’Engle’s word use, character descriptions, or dialogue. I revel in her easy use of beautiful verbiage, too. Maybe that sounds like a standard description of what a writer is hoping to do in a text, use beautiful language.

But I’ve recently read some books where the dialogue seemed forced, the word choice sup-par, and the plot over-burdened with drama and continuous details that felt as though the author wasn’t simply trying to navigate you through their story, but bludgeon you with crazy circumstances to keep you reading, i.e ala evening news style. (The House We Grew Up In, I don’t recommend the read.)

Last of all, I love L’Engle for her heart. Yes, ever the sap. I love that Madeline L’Engle loves. She loves to write. She loves her characters, and love is her driving motivation in her work. You can hear it and feel it, and it will fill you up through this book!

XX, Megan 11270336_10102021832263846_660076108398222106_o

Homemade Thin Mints

DSC_0053

You know, because we consumed no less than three cakes and 48 or so cupcakes this weekend. AND because I’ve already admittedly been on a salad posting kick over here. AND because I have been dying to do this recipe since I saw it on Emily’s blog, One Lovely Life.

AND because we are trying to remain as UNPLUGGED as possible this summer (which admittedly can be hard and I am NOT saying my kids haven’t watched television, and we’re only two days into Summer break. Ha!) so I enlisted the help of my helpers. I made these Homemade Thin Mint Cookies yesterday. I’m really sorry I did glad I did because they are AWESOME!

One of the awesome aspects of this cookie (besides the fact that they REALLY DO TASTE like Girl Scout Thin Mint Cookies) is the fact that they are gluten free, and you can make them gluten free and dairy free by using dairy free chocolate chips when you dip them.

So if you’re in need of a sweet treat this Wednesday. Or if you’re in need of a pick-me-up this weekend. Or if you’ve really overloaded your palate with Birthday Cake and are ready for a different form of deliciousness try these! However, as my wonderful friend who I taste-tested the first run of these Thin Mint Delights stated, “Oh, these cookies are dangerous!”

She is right. Watch out, friends! These are so GOOD they’re sure to help you over the hump. Happy Wednesday!

XX, Megan

The recipe is as follows:

1 cup blanched almond flour

½ cup arrowroot powder (I used tapioca starch)

¼ cup unsweetened baking cocoa

½ tsp baking soda

¼ tsp salt

1 egg

3 Tbsp pure maple syrup

3 Tbsp coconut oil, melted

½ tsp vanilla extract

¼ tsp peppermint extract

Chocolate Dip:

1 Cup chocolate chips

1/2 Tbsp coconut oil

My awesome baking helpers are going to show us HOW IT’S DONE!

Mix together the dry ingredients– almond flour, tapioca starch, cocoa, baking soda, and salt. Add 1 egg, the maple syrup, coconut oil, vanilla, and peppermint. Mix thoroughly.

DSC_0065

DSC_0074

Make the dough into 1 inch balls, and place 12-15 on a baking sheet prepared with parchment paper. After you have placed your dough balls, pat them with your palm until they are about 1/4 inch thick. They will not rise much during baking. Alternatively, you can press your dough down with a spatula.

DSC_0070

DSC_0084

Bake at 350 for 10-12 minutes. Remove the cookies from the oven and allow them to cool on the baking sheet for a few minutes before transferring them to a cooling rack. At this point you can begin to melt the chocolate chips and coconut oil in a small sauce pan.

DSC_0082

DSC_0058

Let the cookies cool completely before dipping each one in your melted chocolate. I made sure to have some wax paper under my cooling racks after I dipped my cookies in chocolate. You can do the top of the cookies only, dip the entire cookie front and back in the chocolate, or dip the top and refrigerate and then pull them out of the fridge to dip the bottom of the cookie in chocolate. Whatever you decide, return them to the cooling rack once they are dipped. Refrigerate or freeze your cookies until the chocolate is set up.

DSC_0098

DSC_0102

ENJOY!!!!! Like this sweet little cookie monster!

DSC_0095

Science Friday: Sink or Float

DSC_0060

Happy Science Friday, friends! I cannot believe that another week has come and gone. I cannot believe that a certain special boy will be graduating from kindergarten today! I cannot believe how much fun we had putting this experiment together!

I hope you are having a WONDERFUL Friday no matter where you are on this blessed globe. Above all, have a fabulous Science Friday!

XX, Megan

Sink or float?

That was the question. We really shot from the hip on this one. We set out to find out if household items (read TOYS mostly 🙂 would float or sink when placed in water. Additionally, we decided that each of us would pre-guess the results for each item. You know, mini-hypothesis’.

I thought about throwing in a discussion of mass and density in here, but maybe we’ll circle back around to the real science behind this experiment in the future. If anything, Science Friday has give ME the opportunity to brush up on my scientific principles.

Buoyancy: This means whether or not an object will float or sink depends on its own density and the density of the liquid it is placed in. In the case of water, an object with a density less than 1 g/cm3 will float. — science primer.com

Those two smiling faces above are much more than garbage seekers. I gave the boys each a plastic bag, and asked them to go to their room and choose 5 things they thought would sink and five things they thought would float when placed in water. This didn’t take long and they returned with their loot. I did have to let them know that 10 legos each wouldn’t work as experiment fodder. So back to their rooms they went.

Each of them opened their bags and counted their items out onto the table. We then combined the boys’ items (with a couple of additions from mom), and went to work.

After choosing the items we would sink/float, we made a list of all of our items. We had 12 items total: balloon (with air inside), balloon (without air inside), toy car, plastic washer, lure worm, lego, screw, gum wrapper, toy fire truck, nerf bullet, father, and putty.

At the top of our list we wrote each persons name so that their guess as to whether each item would sink or float would be recorded. We left another space, A for Actual, to record the outcome of each item– sink or float?

I filled a mixing bowl with water, and we were off. Step-by-step with picture below!

1. Gather

Gather a bunch of items in preparation for determining which will float and which will sink.

DSC_0076

DSC_0064

2. Count

Count your items and decide how many you want to “test”.

DSC_0080

DSC_0078

3. Choose

In our case, we chose 12. But I do wish I had remembered to add oil to the list. Next time.

DSC_0085

4. List

Make a list of your items, with the names of all participants across the top as well as a space for the actual outcome of each test.

DSC_0091

DSC_0095

DSC_0101

5. Guess then Test

Have each person make a guess about every item before you put it into the water. Then record the actual. Did the item float or sink?

DSC_0107

6. Results

Check out your results! My boys were all about seeing if they correctly hypothesized the fate of each object.

IMG_5726