I love summer eats! Something about summer brings out my appetite. The sunshine, the smell of charcoal grilling, the promise of popsicles, watermelon, and if I’m being honest– ice cream. I love ice cream on any warm summer day.
This summer I am setting myself up to stay on track by eating light and nourishing my body with plenty of vegetables, lean proteins, and healthy fats. (Yes I realize that the banner for this post has a picture of the juiciest hamburger I’ve ever laid eyes on! LOL!)
The longer I live, the more I believe in the importance even the necessity of moderation. So most days
So in the spirit of delicious food, of eating well and healthily ninety percent of the time, and then taking moments to indulge 10 percent of the time, here are five things I’m planning to cook up this coming Summer!
XX, Megan

1. Eggcelent Omlettes
My trainer has really emphasized the importance of starting the day with a protein and vegetables. Eggs have become my morning go-to. I usually eat two eggs over easy with salsa. But this summer I’d really love to learn how to make a killer omelette! This recipe for a Fresh Herb Omelette look amazing. I’d also like to start boiling up a dozen eggs at the beginning of the week for breakfasts, or simply as healthy snacks.
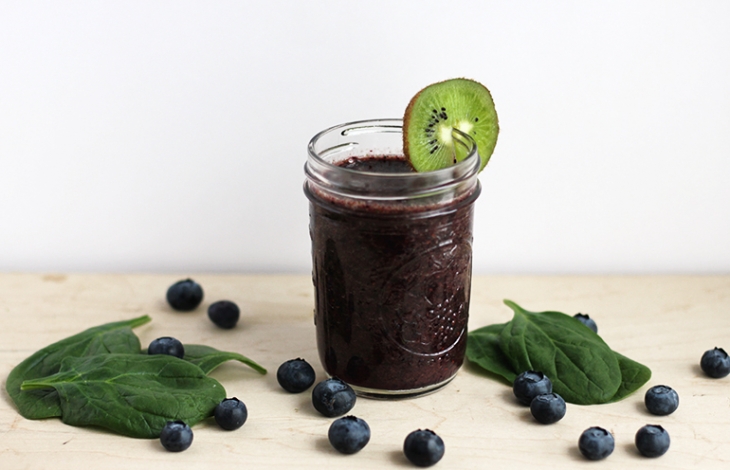
2.Simple Green Smoothie Recipes
We were gifted with a Blendtec this past Christmas and haven’t even begun to tap its amazing potential! I would really like to learn a couple delicious smoothies to make as another healthy breakfast alternative. This Blueberry and Mint Smoothie looks lip-smacking good!
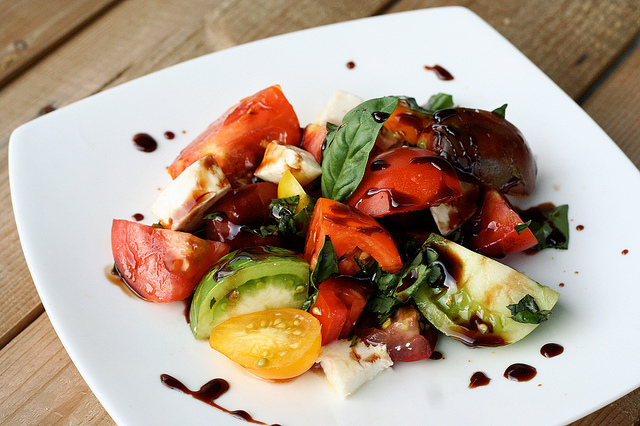
3. Heirloom Tomato Caprese Salad
There is nothing that says summer to my mouth like a caprese salad. This stunner includes heirloom tomatoes, fresh mozzarella, and a balsamic reduction. To. Die. For.
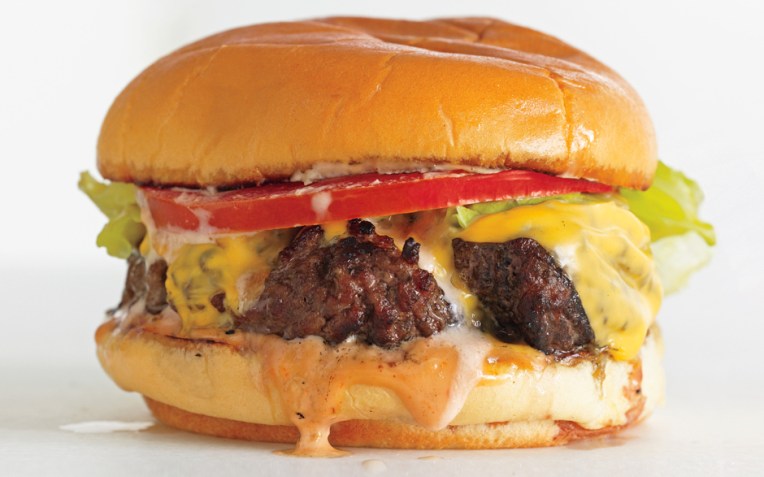
4. The BA Burger
When the smell of charcoal and char broiled meat starts to fill the air, my mouth begins to salivate. I don’t remember loving to grill or BBQ when I was a kid, but I certainly can’t get enough backyard burgers now that I’m grown. This recipe looks simple and delicious. Perfect for any summer plate!
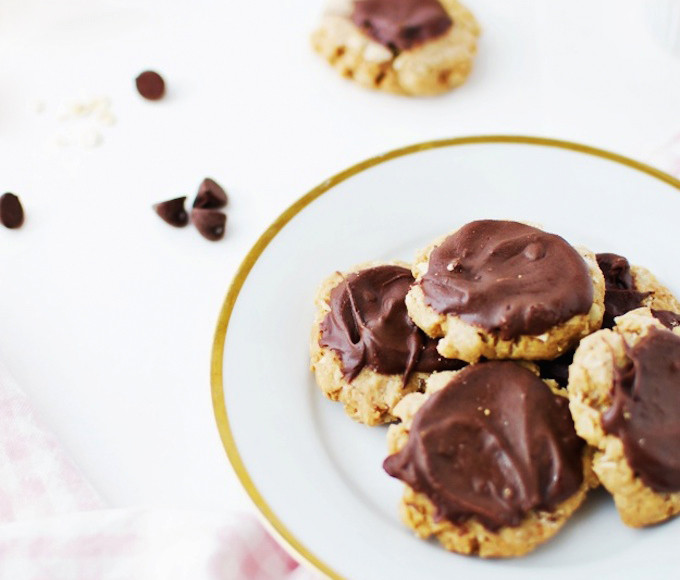
5. Peanut Butter Chocolate Cookies
Last Summer I was obsessed with chocolate Reese’s Peanut Butter Cup milk shakes. This summer I am going to try out these delectable looking cooking I saw featured on A Cup of Jo. Do you have a favorite cookie or favorite summer treat?
Recipes to these foods are listed and linked below. Yum, yum!!!
Fresh Herb Omelette via The Daily Mail
1/2 tablespoon medium chopped fresh Italian parsley
1/2 tablespoon medium chopped fresh chervil
3/4 tablespoon thin sliced fresh chives
1/2 teaspoon thin sliced fresh tarragon
2 extra-large eggs
2 tablespoons milk
Pinch kosher salt
1/8 teaspoon freshly ground black pepper
1 tablespoon extra-virgin olive oil
2 ounces plain goat cheese
2 ounces roasted red peppers, julienned
To make the Fines Herbs, combine the parsley, chervil, chives and tarragon in a small bowl and set aside.
Break the eggs into a small bowl, and then add the milk, 2 tablespoons Fines Herbs, salt and pepper and whisk with a fork.
Preheat an 8-inch nonstick saute pan over medium hot heat and swirl the olive oil into the pan. Pour in the egg mixture and swirl it in the pan. For a few seconds, gently stir the egg mixture with a heat resistant rubber spatula (as if you were going to make scrambled eggs) and then swirl the eggs in the pan to make a nice round appearance. Reduce the heat to avoid any color or scorching. Continue cooking for about 1 minute. The eggs will be set on the bottom, but slightly liquid on top.
Flip the omelet, and remove it from the heat. Crumble the goat cheese over the center of the omelet and top it off with the roasted peppers. Tri-fold the omelet and plate immediately.
Blueberry Mint Green Smoothie via The Merrythought
2 cups spinach (These will blend better if you freeze them beforehand)
2 cups blueberry (I used 1 c. fresh and 1 c. frozen)
1 kiwi
3-4 large mint leaves
1 cup coconut water
1 cup ice
Put all ingredients in a blender and mix it up!
Heirloom Tomato Caprese Salad via Tasty Yummies
Approximately 1 quart of mixed heirloom tomatoes, any variety. (Mine were all smallish – cherry and grape sized, some from our garden)
4 oz fresh mozzarella, cut into small cubes (you can use the full 8oz, but I was attempting to keep this light and much more about the tomatoes)
1/4 cup tightly packed fresh basil, roughly chopped
1/2 cup high quality balsamic vinegar
3 teaspoons brown sugar
A few tablespoons of good quality extra virgin olive oil
sea salt and fresh cracked black pepper, to taste
The BA Burger via Bon Appetite
1 1/2 pounds ground beef chuck (20% fat)
1 1/4 teaspoons kosher salt
1/2 teaspoon freshly ground black pepper
4 slices American cheese
4 potato rolls (such as Martin’s or Oroweat)
Divide meat into 4 equal portions (about 6 oz. each). Place 1 portion on a work surface. Cup your hands around the meat and begin to gently shape it into a rounded mound. (Use light pressure as you shape so you don’t pack the meat too tightly.) Lightly press down on the top of the meat with your palm to gently flatten it.
Continue rotating and cupping the meat, patting the top of it occasionally, until you’ve formed a 4″-diameter, 3/4″-thick patty. Using your thumb, make a small indentation in the center to help keep the burger flat as it cooks. Transfer to a plate. Repeat with remaining portions.
Build a medium-hot fire in a charcoal grill, or heat a gas grill to high. Season one side of patties with salt and pepper; place on grill, seasoned side down. Grill until lightly charred on bottom, about 4 minutes. Season other side, turn, and top with cheese. Grill to desired doneness, about 4 minutes longer for medium. Transfer burgers to buns and let stand for 3 minutes before serving.
HARD-PRESSED NO MORE
Spatulas were made for flipping, not pressing on the patty. Hear that hissing sound when you do? That’s all the flavorful juices dripping on the coals—they belong in the burger.
Peanut Butter Chocolate Cookies via A Cup of Jo
1 1/2 cups brown sugar
1 cup peanut butter
3/4 cups butter
1/3 cup water
1 egg
1 teaspoon vanilla
3 cups oats
1 1/2 cups flour
1/2 teaspoon baking soda
1/4 cup white sugar (for dipping)
1 1/2 cups semi-sweet chocolate chips
4 teaspoons shortening
Preheat oven to 350F. Beat sugar, peanut butter and butter until fluffy. Blend in water, egg and vanilla. Next, add oats, flour and baking soda. Mix well. Shape the cookie dough into 1-inch balls. Place them on ungreased cookie sheets. Flatten with the bottom of a glass dipped in sugar. Bake for 8-10 minutes.
While cookies are baking, boil a small saucepan of water. Sit a heat-safe glass bowl on top of the saucepan and melt the chocolate and shortening together. Stir constantly until smooth.
Remove cookies from oven and top each with 1/2 teaspoon of chocolate. Allow them to cool and set for 10-15 minutes.
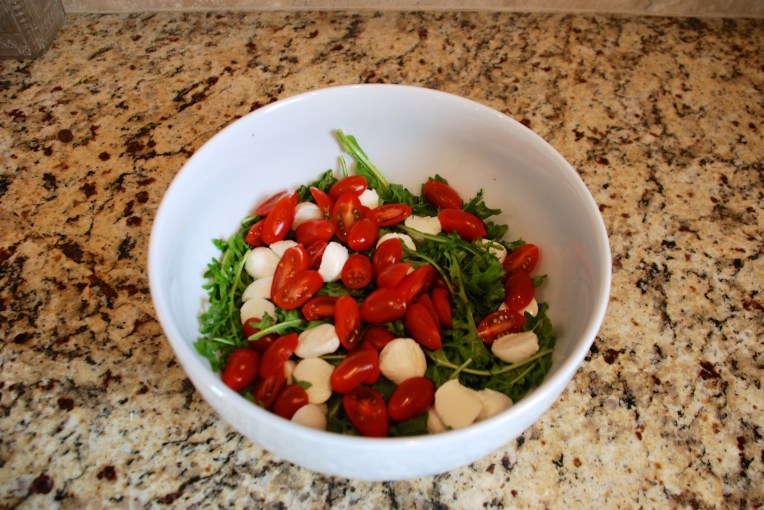 This salad is one of my husband’s all-time favorite eats. It is simple, flavorful, and pairs well with a variety of dishes. But it can easily stand as the main course if you’re feeling the need for something light and refreshing.
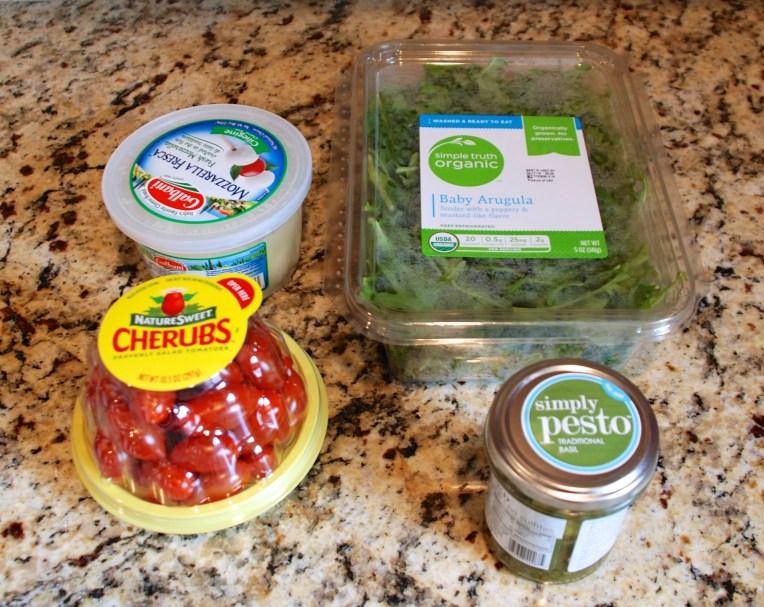


")


 Ingredients