Homemade Thin Mints

DSC_0053

You know, because we consumed no less than three cakes and 48 or so cupcakes this weekend. AND because I’ve already admittedly been on a salad posting kick over here. AND because I have been dying to do this recipe since I saw it on Emily’s blog, One Lovely Life.

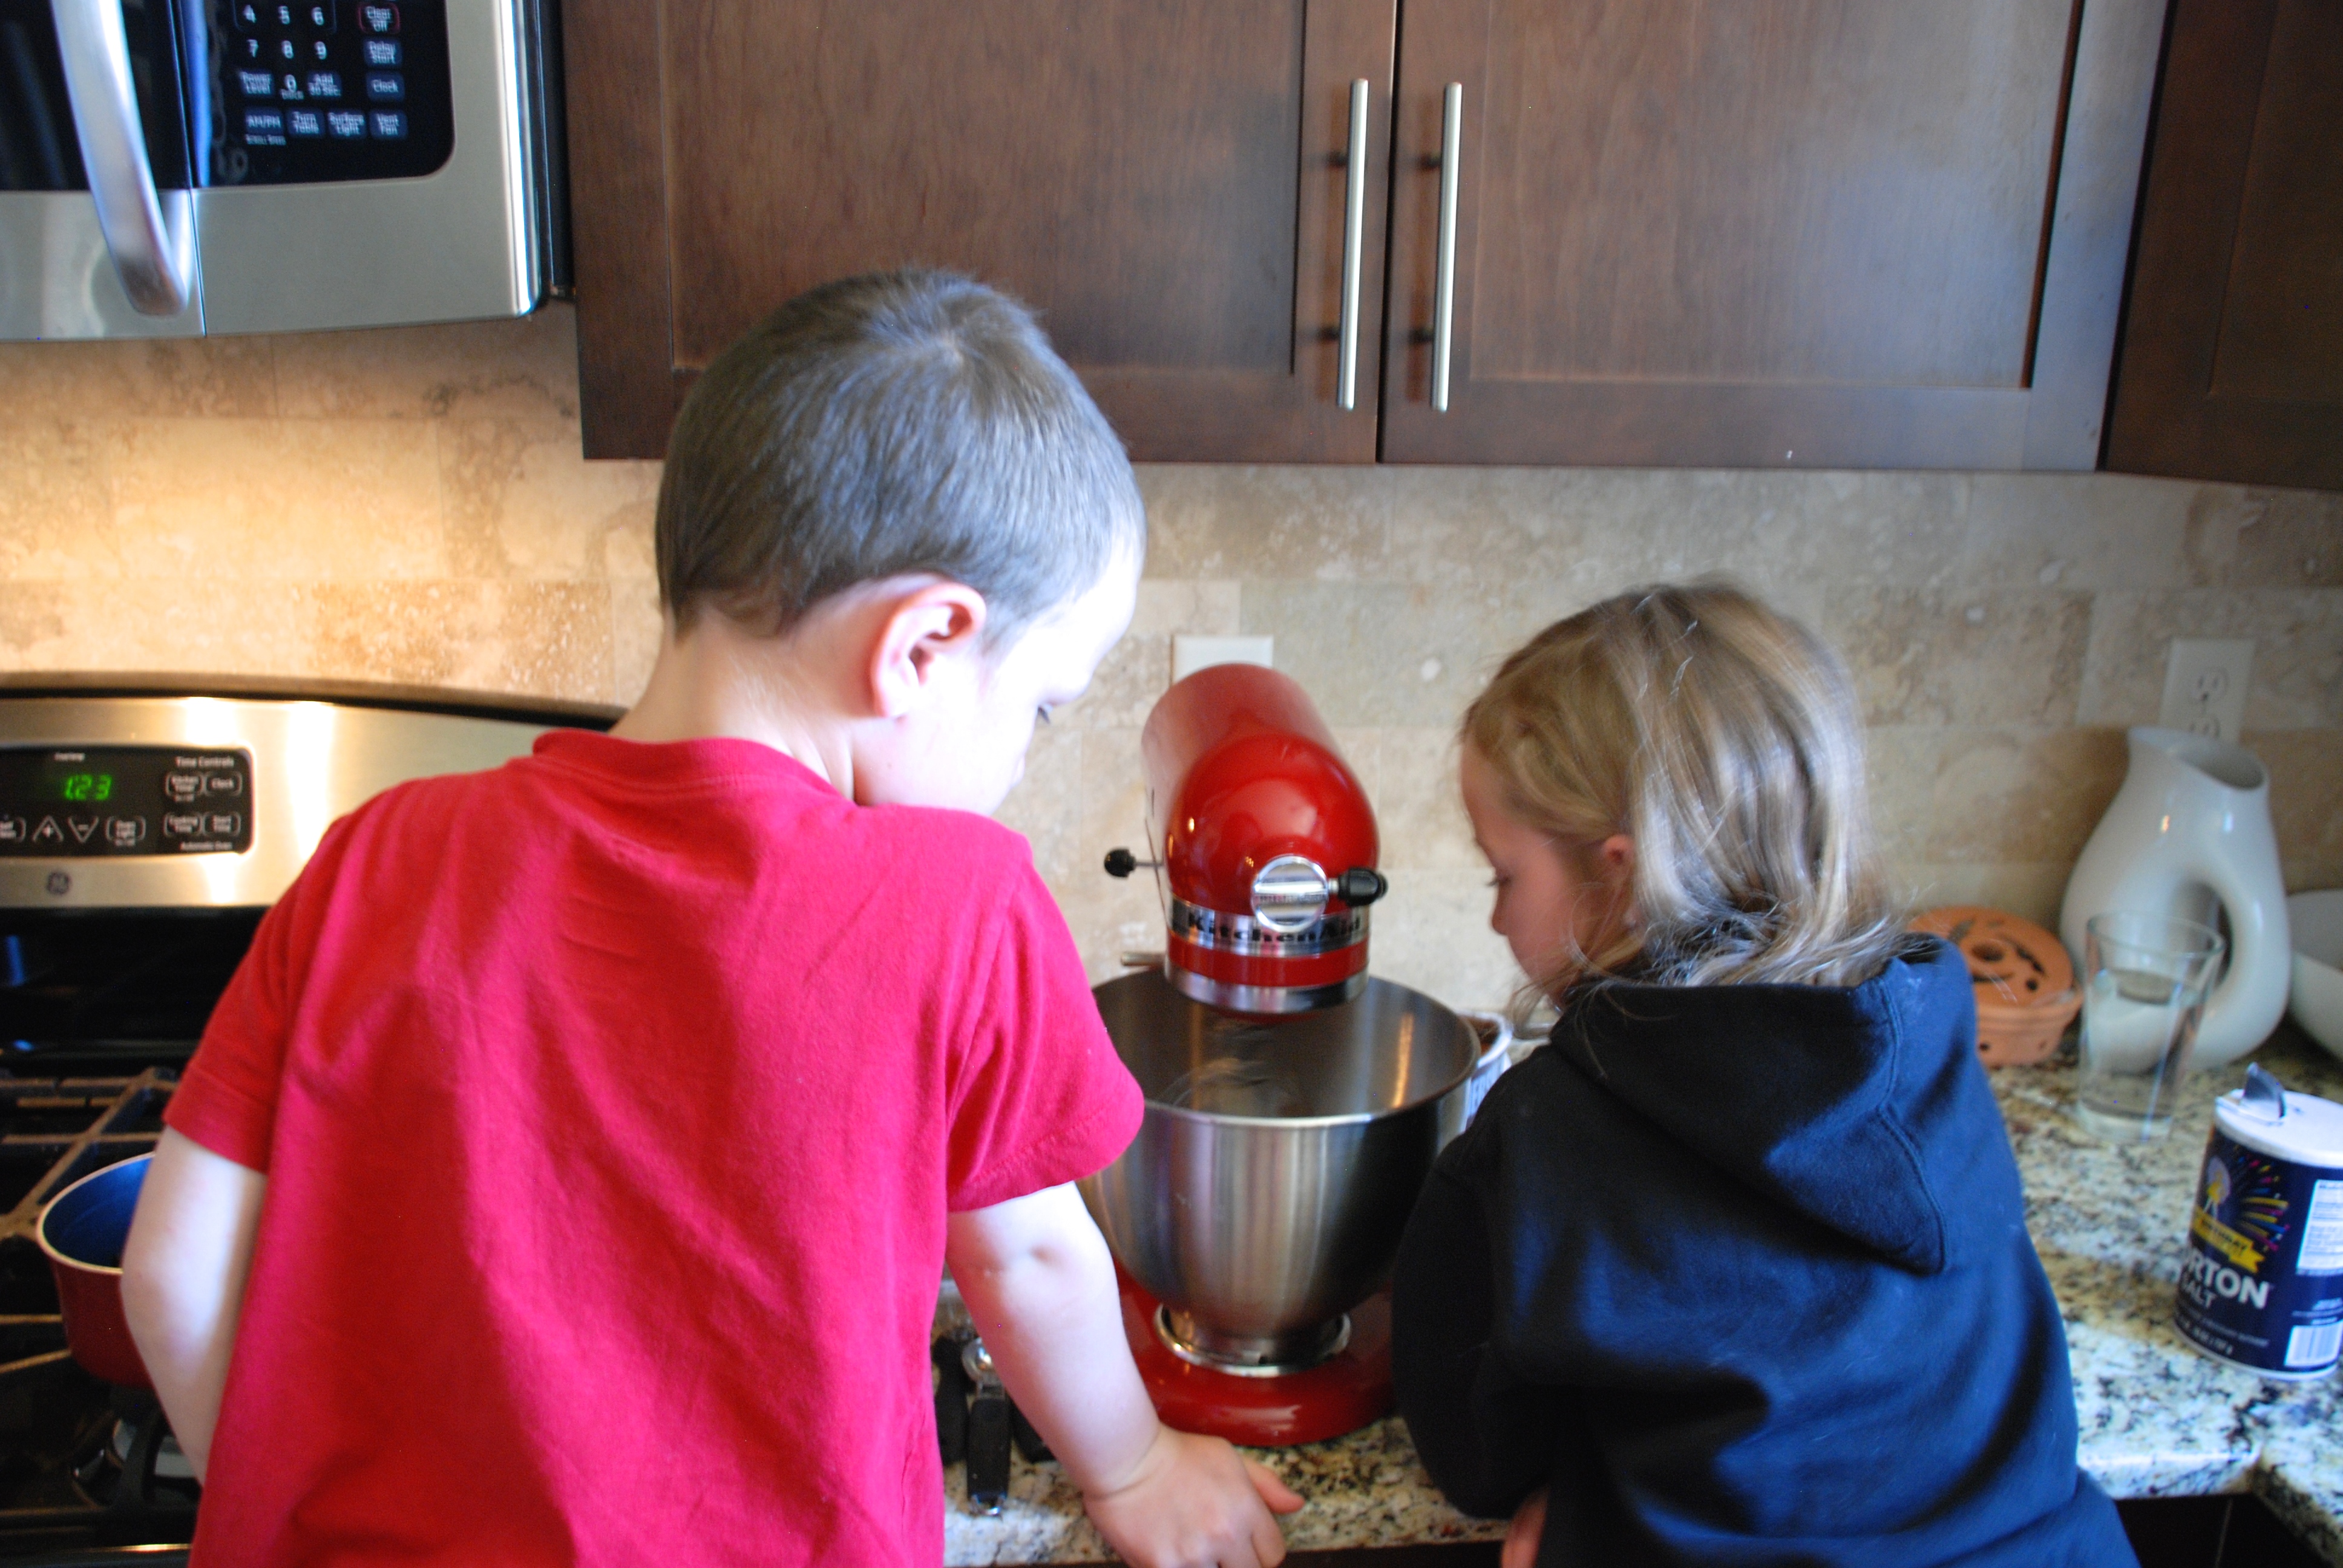
AND because we are trying to remain as UNPLUGGED as possible this summer (which admittedly can be hard and I am NOT saying my kids haven’t watched television, and we’re only two days into Summer break. Ha!) so I enlisted the help of my helpers. I made these Homemade Thin Mint Cookies yesterday. I’m really sorry I did glad I did because they are AWESOME!

One of the awesome aspects of this cookie (besides the fact that they REALLY DO TASTE like Girl Scout Thin Mint Cookies) is the fact that they are gluten free, and you can make them gluten free and dairy free by using dairy free chocolate chips when you dip them.

So if you’re in need of a sweet treat this Wednesday. Or if you’re in need of a pick-me-up this weekend. Or if you’ve really overloaded your palate with Birthday Cake and are ready for a different form of deliciousness try these! However, as my wonderful friend who I taste-tested the first run of these Thin Mint Delights stated, “Oh, these cookies are dangerous!”

She is right. Watch out, friends! These are so GOOD they’re sure to help you over the hump. Happy Wednesday!

XX, Megan

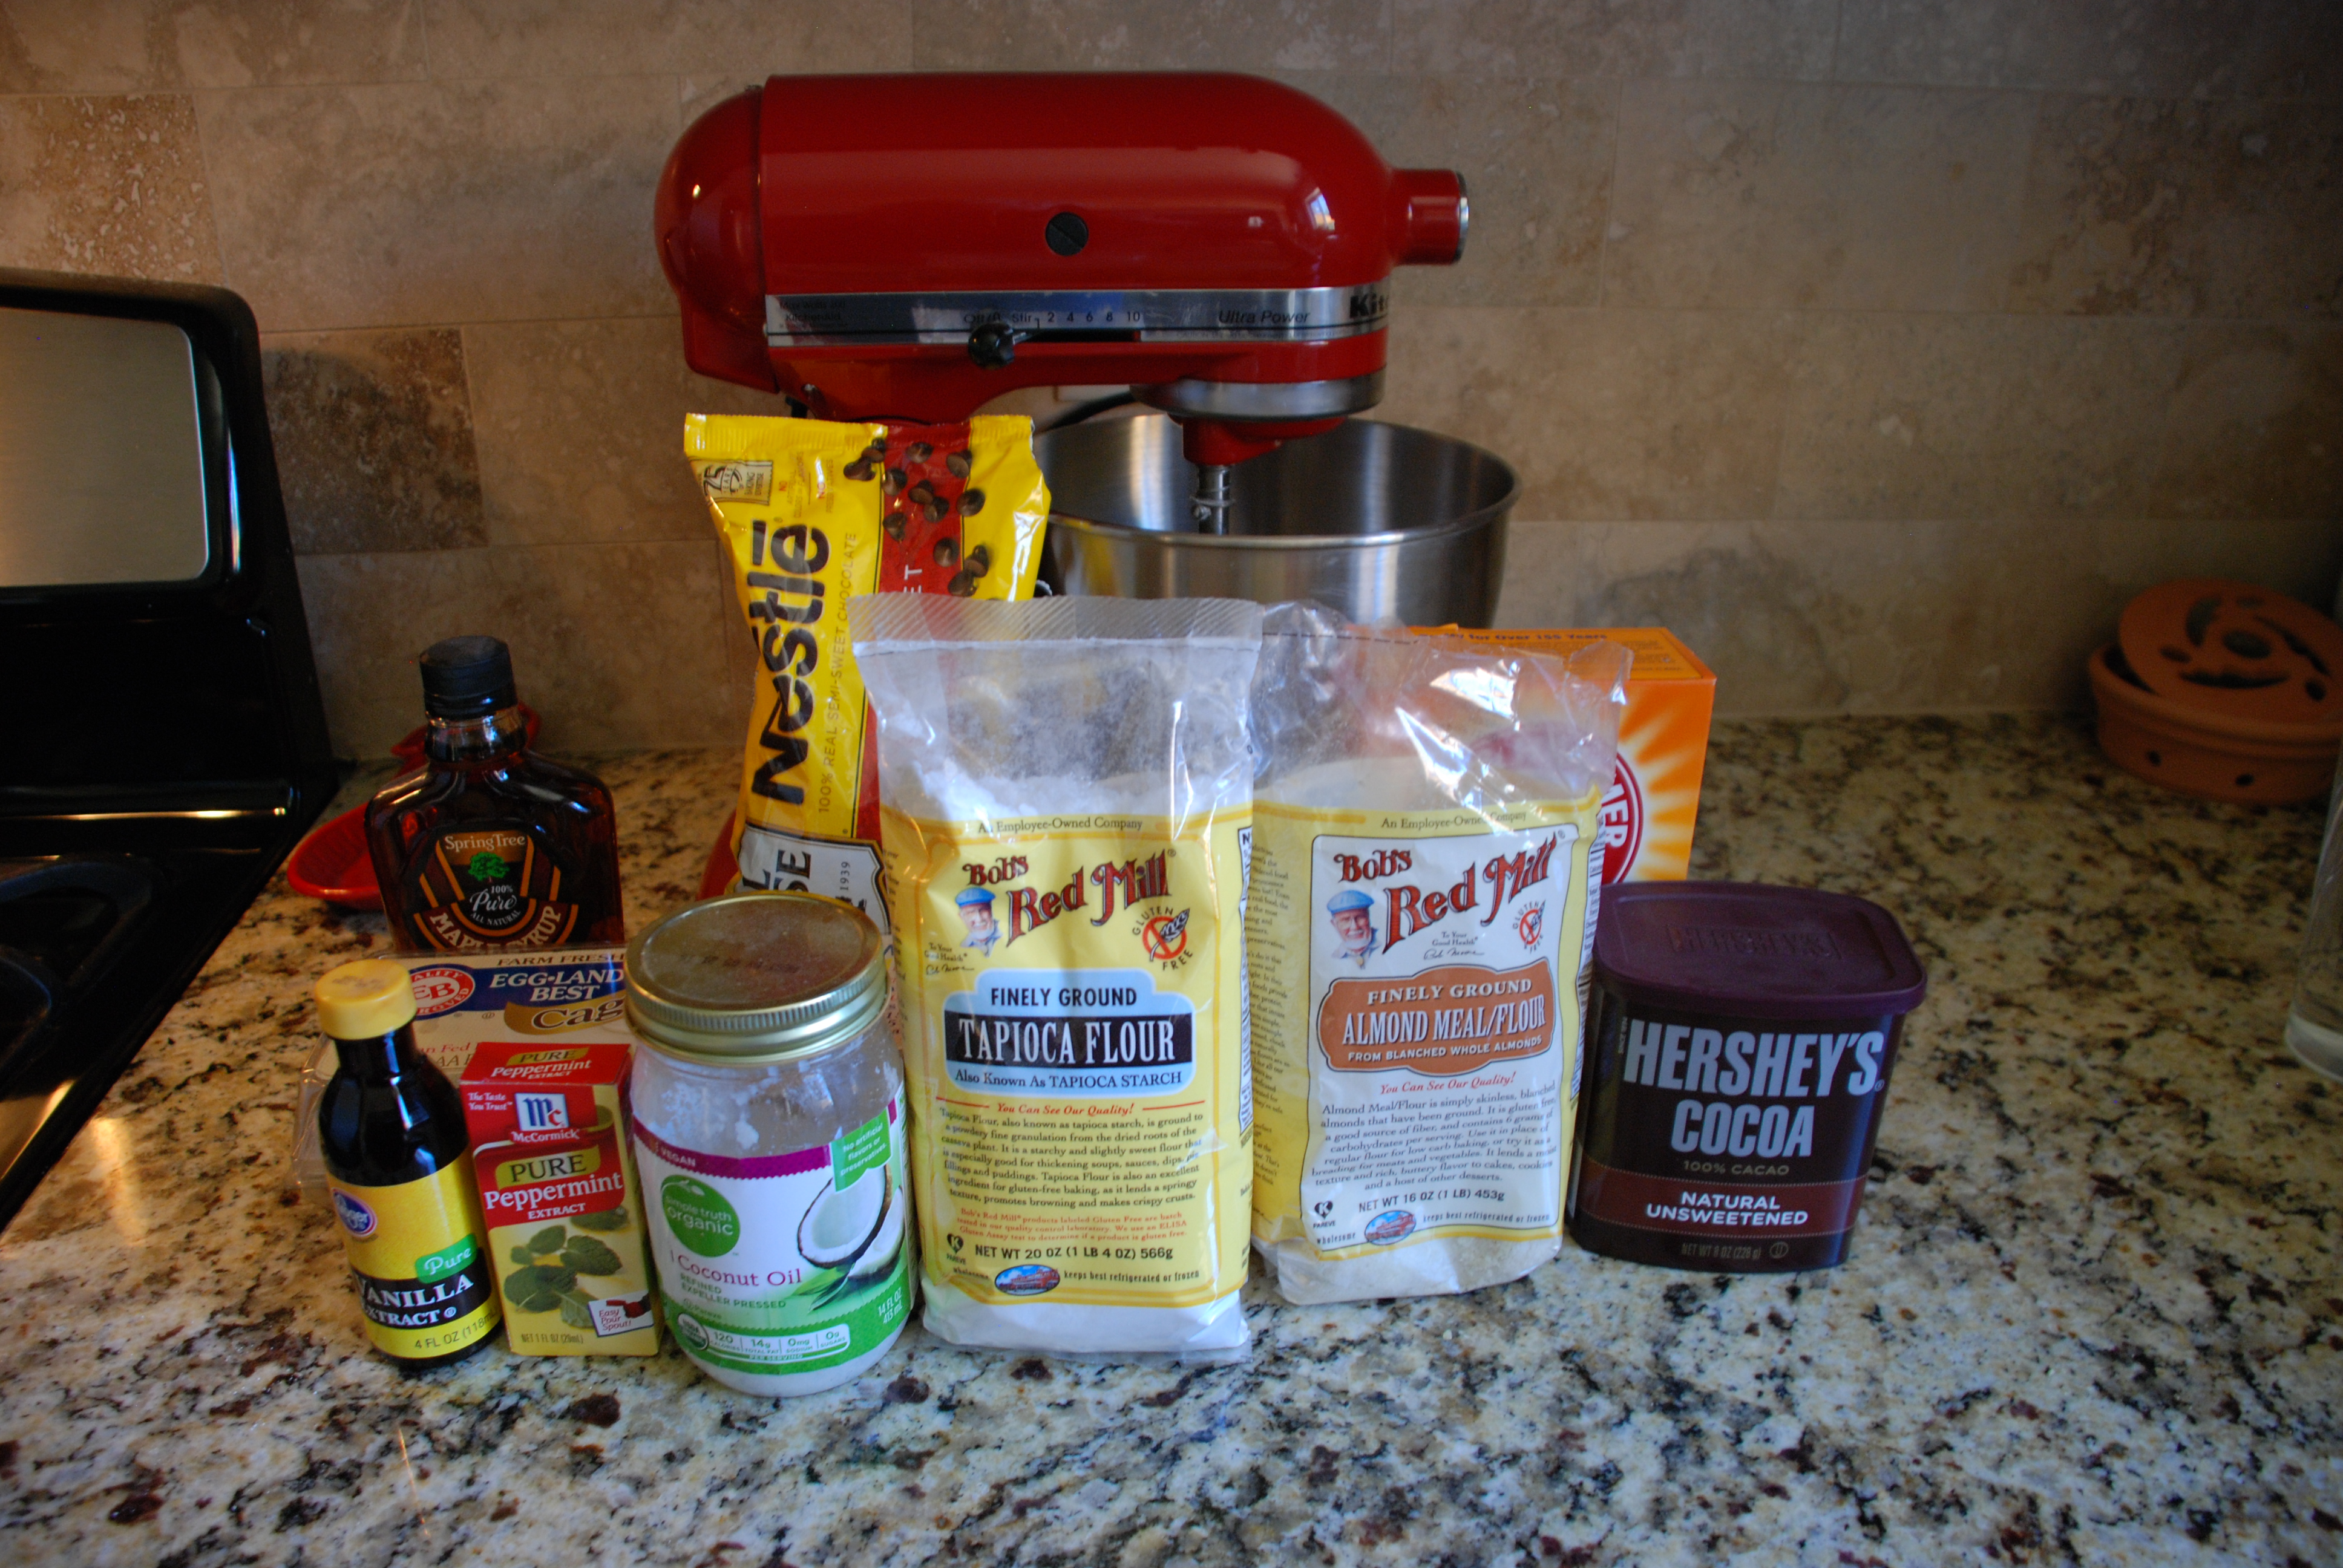
The recipe is as follows:

1 cup blanched almond flour

½ cup arrowroot powder (I used tapioca starch)

¼ cup unsweetened baking cocoa

½ tsp baking soda

¼ tsp salt

1 egg

3 Tbsp pure maple syrup

3 Tbsp coconut oil, melted

½ tsp vanilla extract

¼ tsp peppermint extract
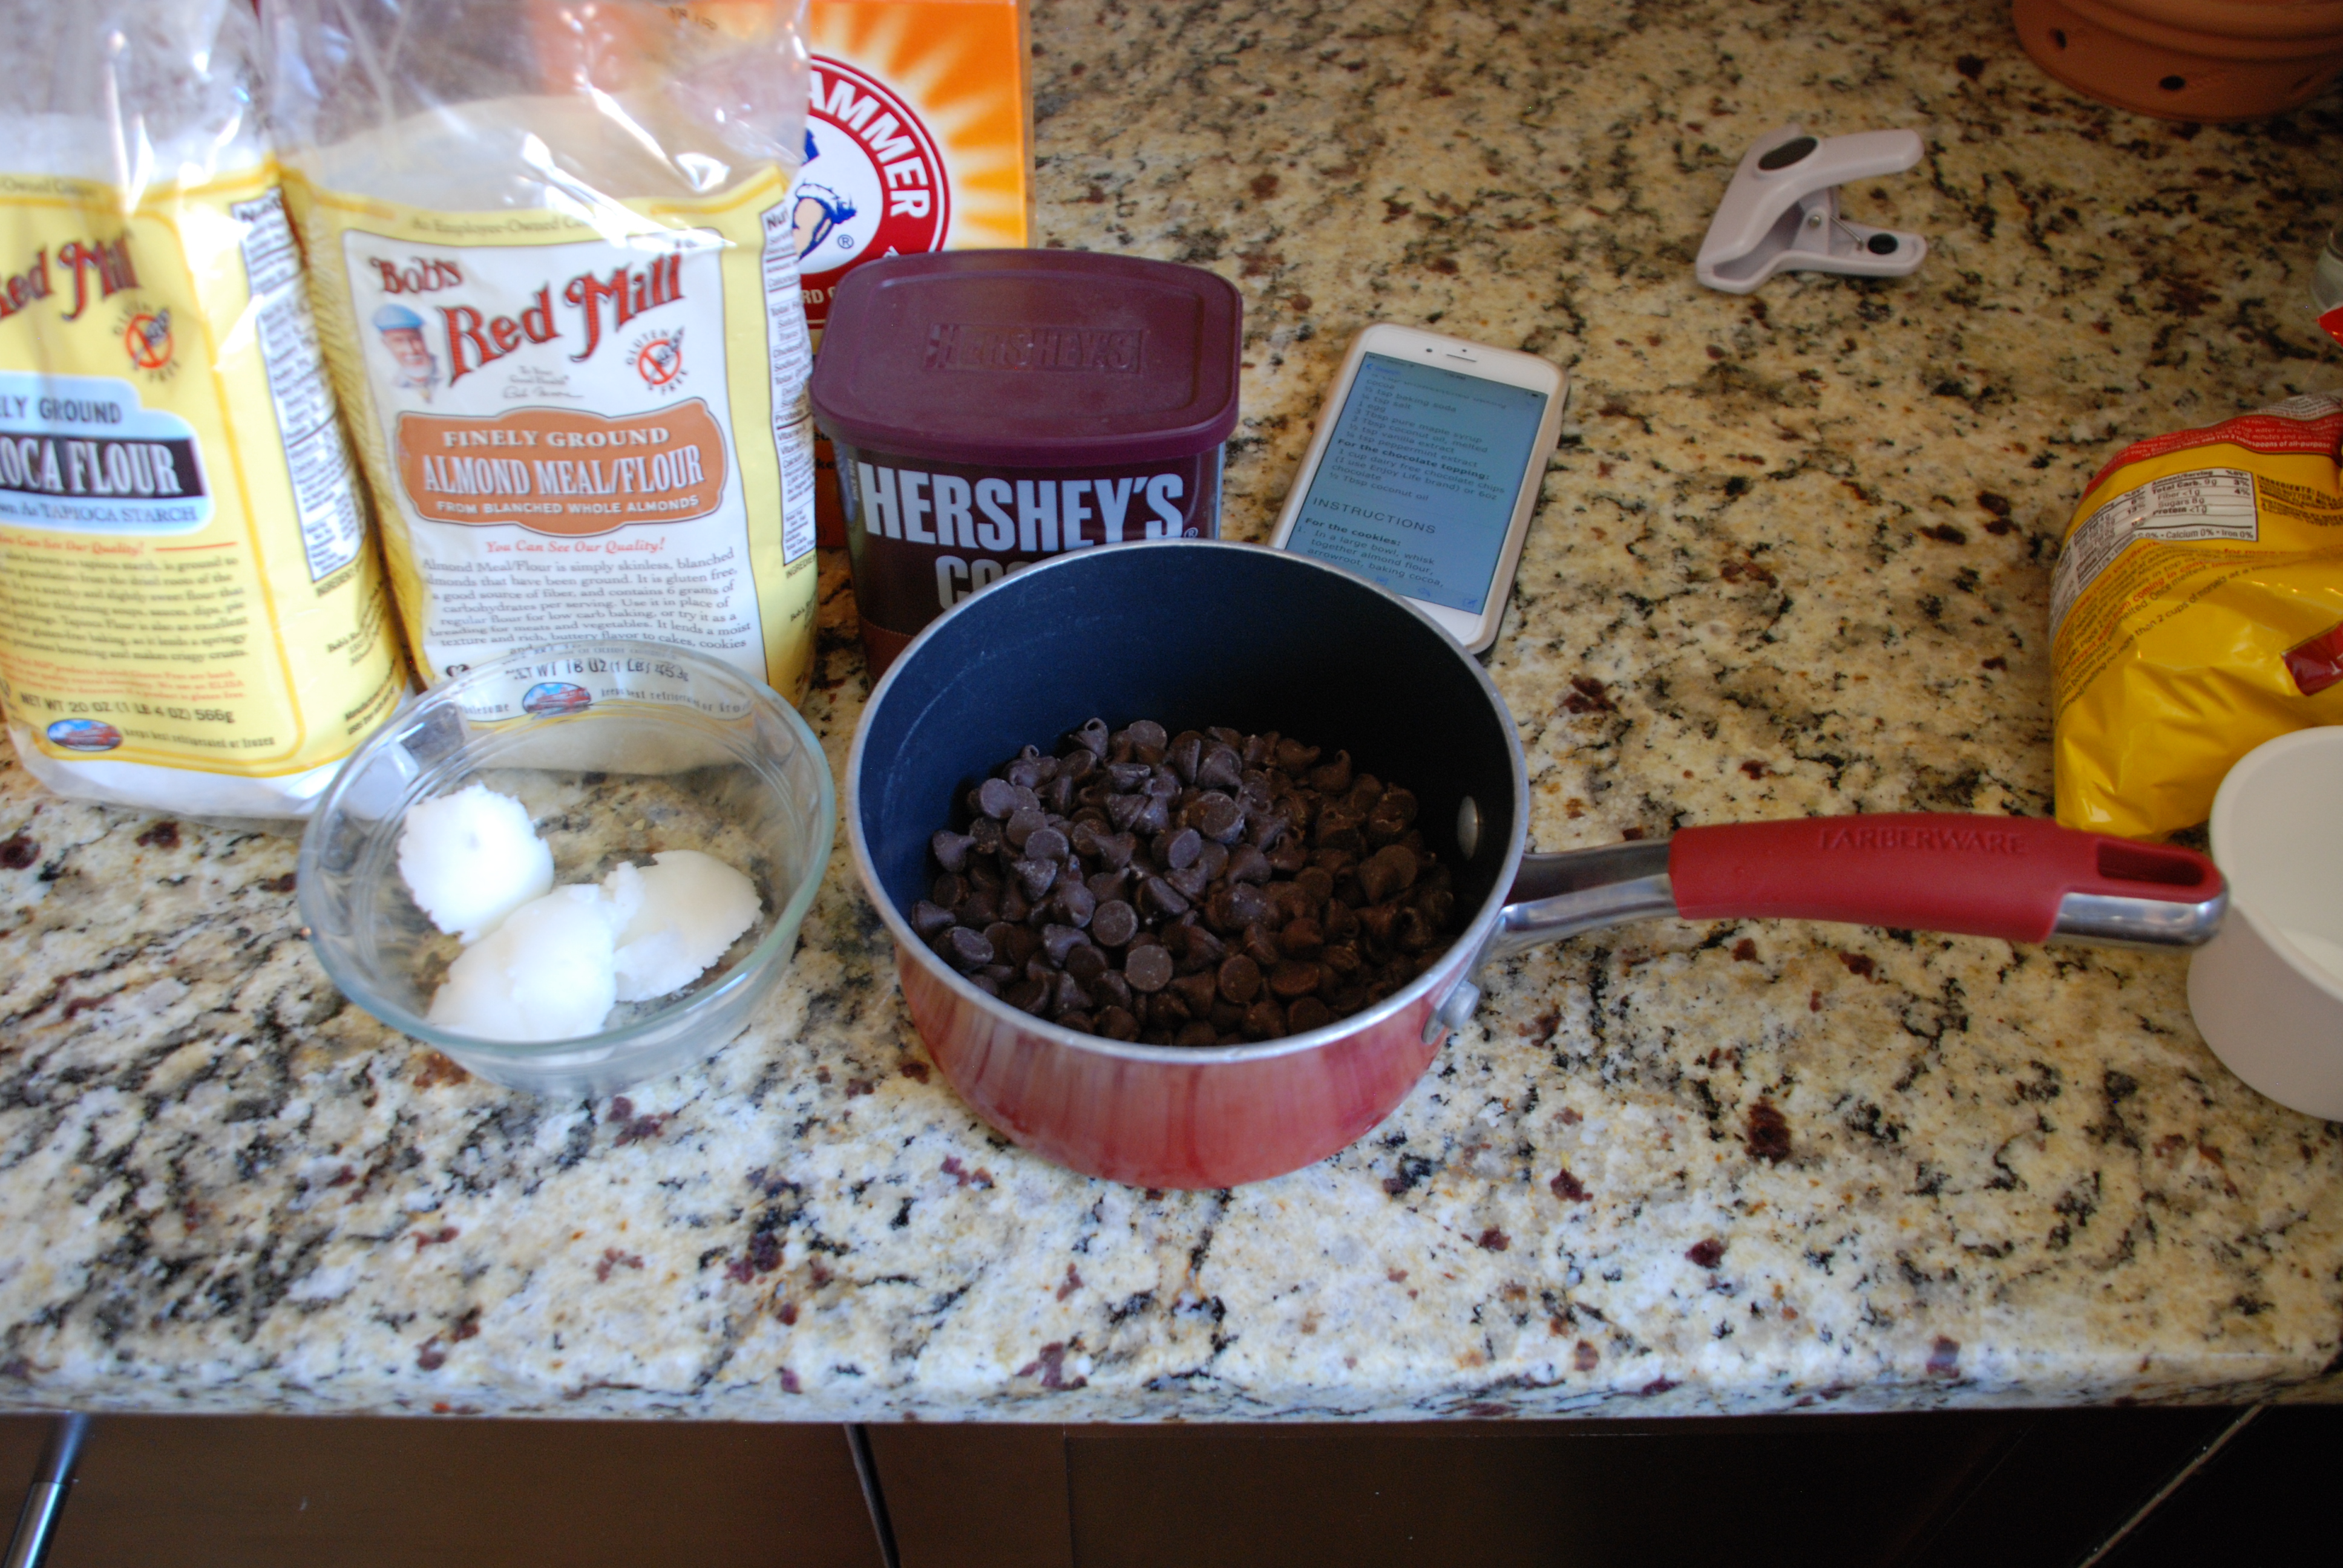
Chocolate Dip:

1 Cup chocolate chips

1/2 Tbsp coconut oil

My awesome baking helpers are going to show us HOW IT’S DONE!

Mix together the dry ingredients– almond flour, tapioca starch, cocoa, baking soda, and salt. Add 1 egg, the maple syrup, coconut oil, vanilla, and peppermint. Mix thoroughly.

DSC_0065

DSC_0074

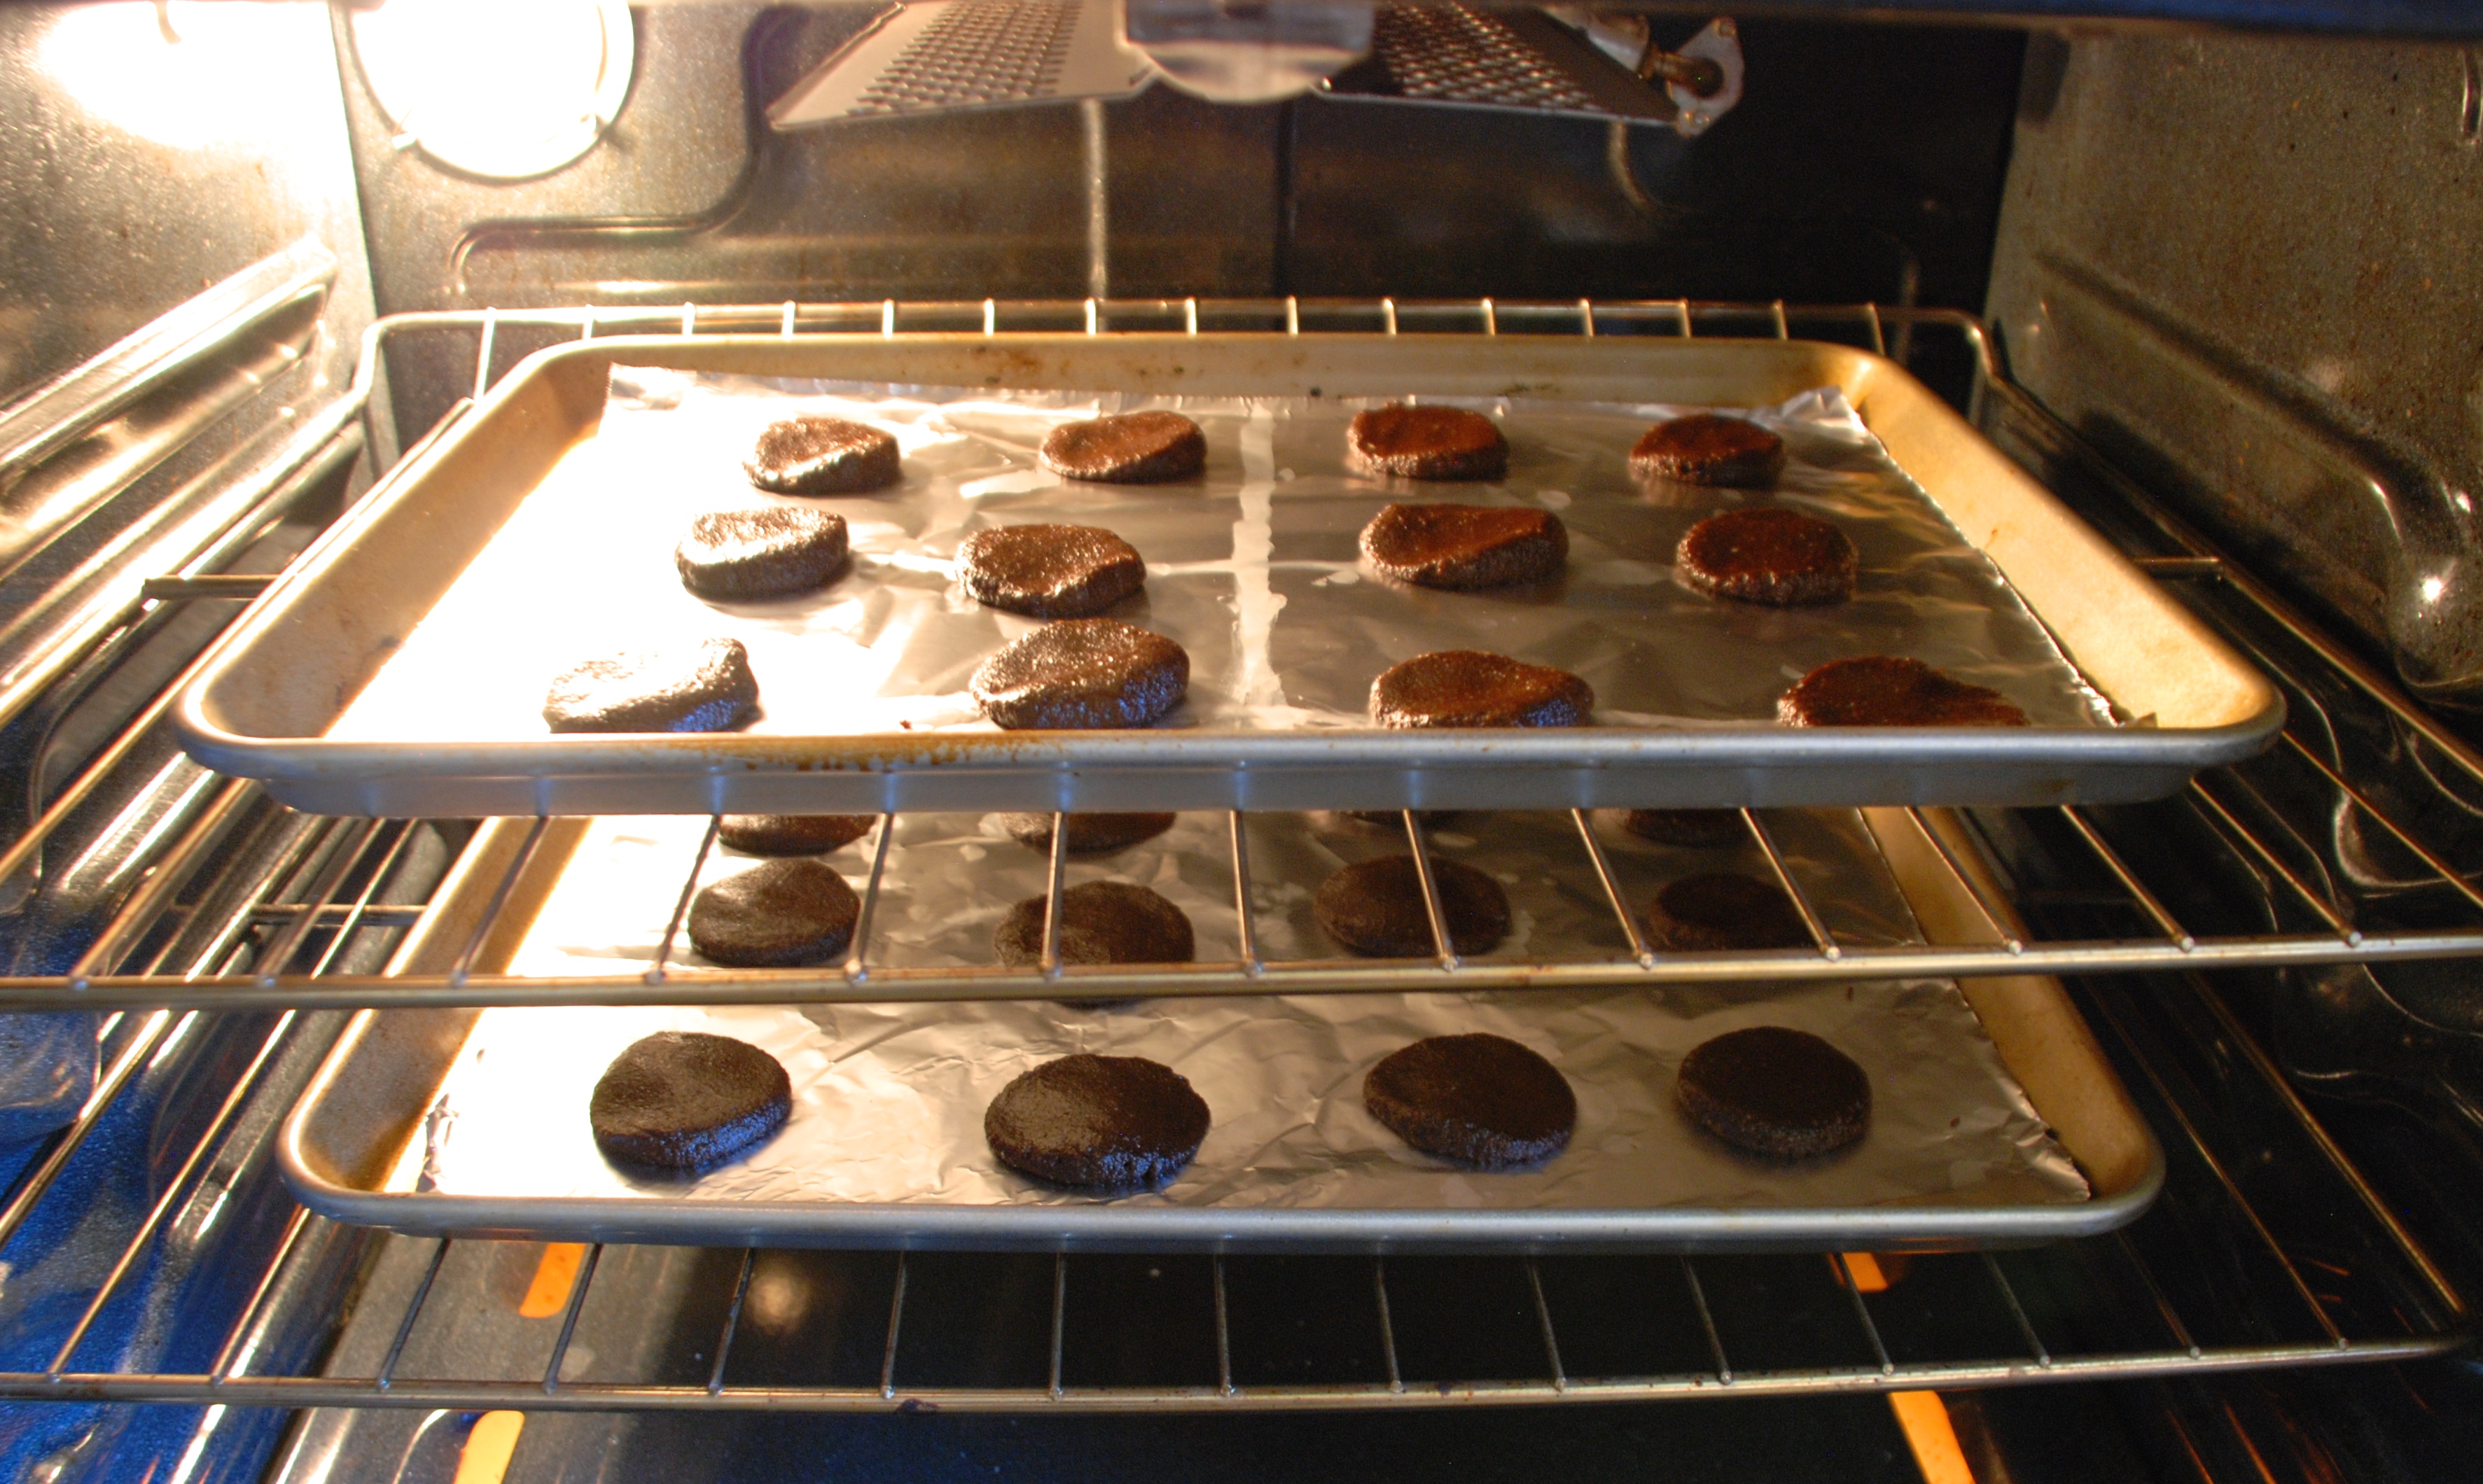
Make the dough into 1 inch balls, and place 12-15 on a baking sheet prepared with parchment paper. After you have placed your dough balls, pat them with your palm until they are about 1/4 inch thick. They will not rise much during baking. Alternatively, you can press your dough down with a spatula.

DSC_0070

DSC_0084

Bake at 350 for 10-12 minutes. Remove the cookies from the oven and allow them to cool on the baking sheet for a few minutes before transferring them to a cooling rack. At this point you can begin to melt the chocolate chips and coconut oil in a small sauce pan.

DSC_0082

DSC_0058

Let the cookies cool completely before dipping each one in your melted chocolate. I made sure to have some wax paper under my cooling racks after I dipped my cookies in chocolate. You can do the top of the cookies only, dip the entire cookie front and back in the chocolate, or dip the top and refrigerate and then pull them out of the fridge to dip the bottom of the cookie in chocolate. Whatever you decide, return them to the cooling rack once they are dipped. Refrigerate or freeze your cookies until the chocolate is set up.

DSC_0098

DSC_0102

ENJOY!!!!! Like this sweet little cookie monster!

DSC_0095

Science Friday: Sink or Float

DSC_0060

Happy Science Friday, friends! I cannot believe that another week has come and gone. I cannot believe that a certain special boy will be graduating from kindergarten today! I cannot believe how much fun we had putting this experiment together!

I hope you are having a WONDERFUL Friday no matter where you are on this blessed globe. Above all, have a fabulous Science Friday!

XX, Megan

Sink or float?

That was the question. We really shot from the hip on this one. We set out to find out if household items (read TOYS mostly 🙂 would float or sink when placed in water. Additionally, we decided that each of us would pre-guess the results for each item. You know, mini-hypothesis’.

I thought about throwing in a discussion of mass and density in here, but maybe we’ll circle back around to the real science behind this experiment in the future. If anything, Science Friday has give ME the opportunity to brush up on my scientific principles.

Buoyancy: This means whether or not an object will float or sink depends on its own density and the density of the liquid it is placed in. In the case of water, an object with a density less than 1 g/cm3 will float. — science primer.com

Those two smiling faces above are much more than garbage seekers. I gave the boys each a plastic bag, and asked them to go to their room and choose 5 things they thought would sink and five things they thought would float when placed in water. This didn’t take long and they returned with their loot. I did have to let them know that 10 legos each wouldn’t work as experiment fodder. So back to their rooms they went.

Each of them opened their bags and counted their items out onto the table. We then combined the boys’ items (with a couple of additions from mom), and went to work.

After choosing the items we would sink/float, we made a list of all of our items. We had 12 items total: balloon (with air inside), balloon (without air inside), toy car, plastic washer, lure worm, lego, screw, gum wrapper, toy fire truck, nerf bullet, father, and putty.

At the top of our list we wrote each persons name so that their guess as to whether each item would sink or float would be recorded. We left another space, A for Actual, to record the outcome of each item– sink or float?

I filled a mixing bowl with water, and we were off. Step-by-step with picture below!

1. Gather

Gather a bunch of items in preparation for determining which will float and which will sink.

DSC_0076

DSC_0064

2. Count

Count your items and decide how many you want to “test”.

DSC_0080

DSC_0078

3. Choose

In our case, we chose 12. But I do wish I had remembered to add oil to the list. Next time.

DSC_0085

4. List

Make a list of your items, with the names of all participants across the top as well as a space for the actual outcome of each test.

DSC_0091

DSC_0095

DSC_0101

5. Guess then Test

Have each person make a guess about every item before you put it into the water. Then record the actual. Did the item float or sink?

DSC_0107

6. Results

Check out your results! My boys were all about seeing if they correctly hypothesized the fate of each object.

IMG_5726

Pearled Barley Tabbouleh and Chickpea with Tomato Salad

DSC_0054

This is the salad I served up tonight for dinner and it is another delicious offering from The Scramble*. I realize that I’ve been on a salad recipe kick for quite some time here on the blog, but honestly, when I look at the dinner options on this fabulous meal-planning site the salad is what I want to share most, so I do!

Everyone in my family gobbled this up. It will be a go-to this summer without a doubt. I’m pretty sure I said this last week, but I’ll say it again: this salad would be the perfect side to bring to a summer soiree or a BBQ. Light, fresh, healthy, and simply delicious.

Hope your Wednesday was a good one!

XX, Megan

Ingredients for Main Dish

1 1/2 cups farro perlato (or use pearled barley), (4 cups cooked), or use quinoa for a gluten-free version
1/4 cup extra virgin olive oil
1 – 1 1/2 lemon, juice only, about 1/4 cup
1/2 – 1 tsp. minced garlic, (1-2 cloves), to taste
1/2 tsp. salt
1/4 tsp. black pepper
3/4 cup fresh flat-leaf parsley, finely chopped
1/4 cup fresh mint, finely chopped
3 scallions, thinly sliced
2 tomatoes, diced (about 2 cups)
1/2 cucumber, peeled and finely diced (about 1 cup)
15 oz. canned or cooked chickpeas-garbonzo beans (drained and rinsed)

Serve with Fresh Fruit Salad

Cook the pearled barley according to the package directions and set it aside to let it cool. (Subbing pearled barley means you will have a slightly longer cook time, between 40-50 minutes. Plan accordingly.) Meanwhile, in a large measuring cup combine the oil, lemon juice, garlic, salt and pepper.

Pour the dressing over the barley, stir in the herbs and scallions. Transfer the salad to the refrigerator to cool while you chop the tomatoes and cucumbers. Stir them into the salad with the chickpeas. Serve the salad immediately or refrigerate it for up to 3 days.

IMG_5709

Just couldn’t resist sharing this stunning photo of our morning. Spring in the mountains is breathtaking!

1. Cook

Cook the barley or faro according to the package directions. Barely cook time here.

DSC_0058

2. Mix

Juice the lemon, and mix the lemon, garlic, oil, salt, and pepper in a large measuring cup.

IMG_5716

3. Chop

Chop the scallions, parsley, and mint. Add this to the barley. Chop the cucumber and tomato. Add this to the salad.

DSC_0069

4. Refrigerate

Refrigerate the salad until chilled before serving.

DSC_0063

5. Accompaniment

Blueberries or a fresh fruit salad are the perfect compliment to your tabbouleh salad!

6. EAT!

DSC_0089

*The Scramble is a meal planning service to which you can subscribe here. For a fantastic price you will receive 5 weekly meals which means 5 recipes (main course plus a side dish), complete grocery list, the ability to tweak the number of people you are making for, and full nutrition facts. PLUS tips as to how best to PREP your meal beforehand, add a punch of FLAVOR, and how to SLOW COOK almost every recipe if you’re especially slammed that night. This wonderful service really does live up to it’s name. You can come home at 6 p.m. and be sitting down to a DELICIOUS, HEALTHY, HOME COOKED meal by 6:30 p.m. most nights.

Mondays in May, Get Moving: Rest, Relaxation, and Remembrance

6-park-city-barn-brian-jannsen

Image

Finishing off my series Mondays in May, Get Moving! Today is a the perfect end-cap to our go, go, go get moving this month because today is all about REST. Literally.

In any good workout or training regimen perhaps the easiest piece to gloss over is not the actually working out– moving, running, biking, hiking, paddling, walking, weight lifting– it is more commonly the REST that we forget to infuse into our routine.

Here again, there are copious amounts of articles and information about the importance of rest and rejuvenation as you work hard to shape your body: here, here, here, here, here.

Rest is key to any workout regimen because this recovery time gives your body the chance to maximize all of the work you have done. Rest also doesn’t mean that you need to sit around on the couch all day. Take the chance to take a break from your more rigorous workouts by spending some quality time engaging in fun, relaxing activities with family and friends. Could there be a better time to do this than on a National Holiday?!?

The other, even more important piece of this day, Memorial Day, is REMEMBRANCE. Today we remember the service men and women who have served our country in any and every capacity. We remember others of our dearly departed. We visit gravesides and place flowers. We contemplate the great circle that is life.

Today I am grateful for my Grandfather, Earl Erwin Burnison. Earl served in the navy during World War II on the USS Mt. McKinley. We are grateful for his service to us and his service to our country. Grandpa on this Memorial Day, and always, we REMEMBER.

10675735_822173706369_1276830563247360830_n

We also RELAX! Here are some of the things we’ve done this weekend to relax and celebrate with friends and family.

Mountain drives, marshmallow roasts, multiple train rides, a trip to the zoo, and a barbecue in the garage to escape the rain! (Photos below.)

Happy Memorial Day to you and yours!

XX, Megan

IMG_5590

IMG_5504

IMG_5525

IMG_5562

IMG_5577

IMG_5583

IMG_5445

IMG_5469

IMG_5599

IMG_5610

IMG_5633

Science Friday: Invisible Ink

DSC_0060

Happy Science Friday, Friends! Today we’re experimenting with INVISIBLE INK!

TRUTH: it was not as cool as I had hoped. I don’t know what I expected. Maybe I just believed it would be MORE dramatic than it was.

TRUTH: Who cares! It was still so fun for my littles! Little P exclaimed more than once, “I can’t even SEE anything I wrote! It’s totally invisible.” Plus, the three-year-old only lasts for so long in any experiment. 🙂

TRUTH: It was so simple to put together, I’d do this again on a rainy day in a heartbeat.

I hope you have a Fabulous Science Friday!

XX, Megan

To begin, there are several recipes for invisible ink, here. Pick you poison. We went with straight lemon juice. Gather a lemon, salt, paint brushes, paper, crayons.

DSC_0061

Cut the lemon.

DSC_0069

Squeeze 1/2 the lemon profusely, with great concentration, into a dish.

DSC_0080

DSC_0083

DSC_0105

Commence in writing/drawing your SECRET MESSAGE in lemon juice on your paper.

DSC_0089

When you are finished encoding your message, cover the lemon juice lightly in salt.

DSC_0095

Dust the salt off after a few minutes, and allow the paper to dry completely.

DSC_0124

DSC_0133

Lightly color the entire picture/message/drawing. (That big Y on his paper was part of his SECRET MESSAGE!)

DSC_0139

The SECRET MESSAGE should be a slightly DARKER than the rest of the color!

DSC_0067

Science Friday, WE LOVE YOU!!!