Science Friday: Red and Blue and Water and You

DSC_0002

Happy almost 4th of July and Happy Science Friday! This experiment was super simple which is always a bonus for busy parents! The purpose of the project was simple to “test” the movement of water. We asked some pretty straightforward questions: Does water move? How? How does temperature affect the movement of water? How?

For this experiment you will need two bowls. One with hot water and one with cold water. You will need food coloring. Preferably blue and red. The blue for the cold water, the red for the hot water.

When we began I asked each of the children to tell me what they though would happen when we put the food coloring into the water.

“It will mix,” said Parker.

“Okay, what else might happen to the food coloring?”

They each thought about his for a moment. “Which color do you think will mix more quickly into the water? The blue or the red?”

“Blue,” M said definitively.

“The red,” P replied.

“… I don’t know. I’m waiting to see what happens,” Miss I told me.

On we went! See for yourself what we discovered!

XX, Megan

DSC_0003

DSC_0004

DSC_0013

DSC_0006

DSC_0010

The red food coloring quickly dispersed through each dish as we added the color. The blue food coloring also began to disperse through the water, but its progress was much, much slower. You can see in I’s bowls above. The red is almost fully integrated into the water, whereas the blue is still in a very concentrated area in the center of the bowl where she deposited the color.

Our findings led us to conclude that water DOES move. We talked about how water moves on the molecular level and how heat is a characteristic of higher energy substances. This also explains why the red food coloring mixes so quickly with the water. The hot water molecules are moving much more rapidly than the cold ones.

We’d love to hear how your experiment turns out! What were your findings? What was your favorite part of this experiment?

Have a wonderful Friday!!!

Spontaneous Watermelon Salad

DSC_0003

We had a HUGE watermelon feast over Father’s Day and are JUST now getting around to finishing up all the bits of that beast. It was a really good melon. Fresh, crisp, and perfectly juicy.

While I loved consuming all of this melon, by the 7th day I was a little tired of simple bowls of jusT the fruit. I went hunting for salad recipes, and found one that was quick, simple, and ingredients on hand number online. Magnifique!

The decision to whip this salad up was truly spontaneous, spur-of-the-moment, and I don’t regret saying that I ate this ENTIRE bowl myself!

The recipe for an entire 8 pound watermelon is below, but for my personal portion I took this bowl of watermwlon, one tablespoon olive oil, one tablespoon balsamic vinegar, handful of mint, one tablespoon of feta.

It has been blazing here. Well, comparatively speaking, as bumping the 100s in June is rare here in the mountains. But a watermelon salad lunch was the perfect way to off-set the high temps.

Hope your Monday is off to a good start!

XX, Megan

Ingredients:

1 7-8 lb. seedless watermelon, chilled
1/2 cup extra virgin olive oil
3 limes, juiced (I subbed balsamic vingar!)
1 1/2 tsp salt
3/4 tsp black pepper
1 cup fresh chopped mint leaves
1 1/2 cups crumbled feta cheese (goat or sheep milk feta is best)

Total Time: 20 Minutes
Servings: 8 servings
1. Cut watermelon into bite size squares
2. Mix olive oil and vinegar (or lime juice)
3. Chop mint
4. Crumble Feta
5. Drizzle the dressing over the salad
6. Garnish with mint and feta

Consume with pleasure!

DSC_0004

DSC_0008

Science Friday on Saturday: Salt Crystals

DSC_0007

Another Friday has come and gone and I assure you it was a good one! This Science Friday was all about salt crystals. This project was just about as simple and easy as they come with ingredients you are sure to have on hand. As of 23:00 hours our time, our crystals are growing nicely in an undisturbed corner of the kitchen. Give it a try, we’d love to hear how YOUR salt crystals turn out!

Have a superior Saturday!

XX, Megan

Ingredients:
Salt (1/4 C.)

Water (1/2 C.)

5 rocks

Plus food coloring, a shallow container to put your rocks in, a pot to heat the water and salt in, measuring cup, and you’re set!

1. Put said rocks into your container.

DSC_0015

2. Pour 1/2 cup of water into a pot. (Don’t be upset, spills happen! 😉

DSC_0018

3. Add 1/4 cup salt. Bring to a simmer.

DSC_0019

4. Stir the salt and water until the salt is fully incorporated.

DSC_0025

5. Stare at your mixture to make sure it’s perfect.

DSC_0024

6. Carefully pour the salt water over your rocks.

7. Add random drops of food coloring to your rocks.

DSC_0030

8. Cheese for the camera because you are a budding scientist.

DSC_0040

9. Wah-lah! Check your rocks obsessively throughout the day. Hey! I think a crystal is forming!!!!

DSC_0044

Outtakes: Real Life Lately

IMG_5834

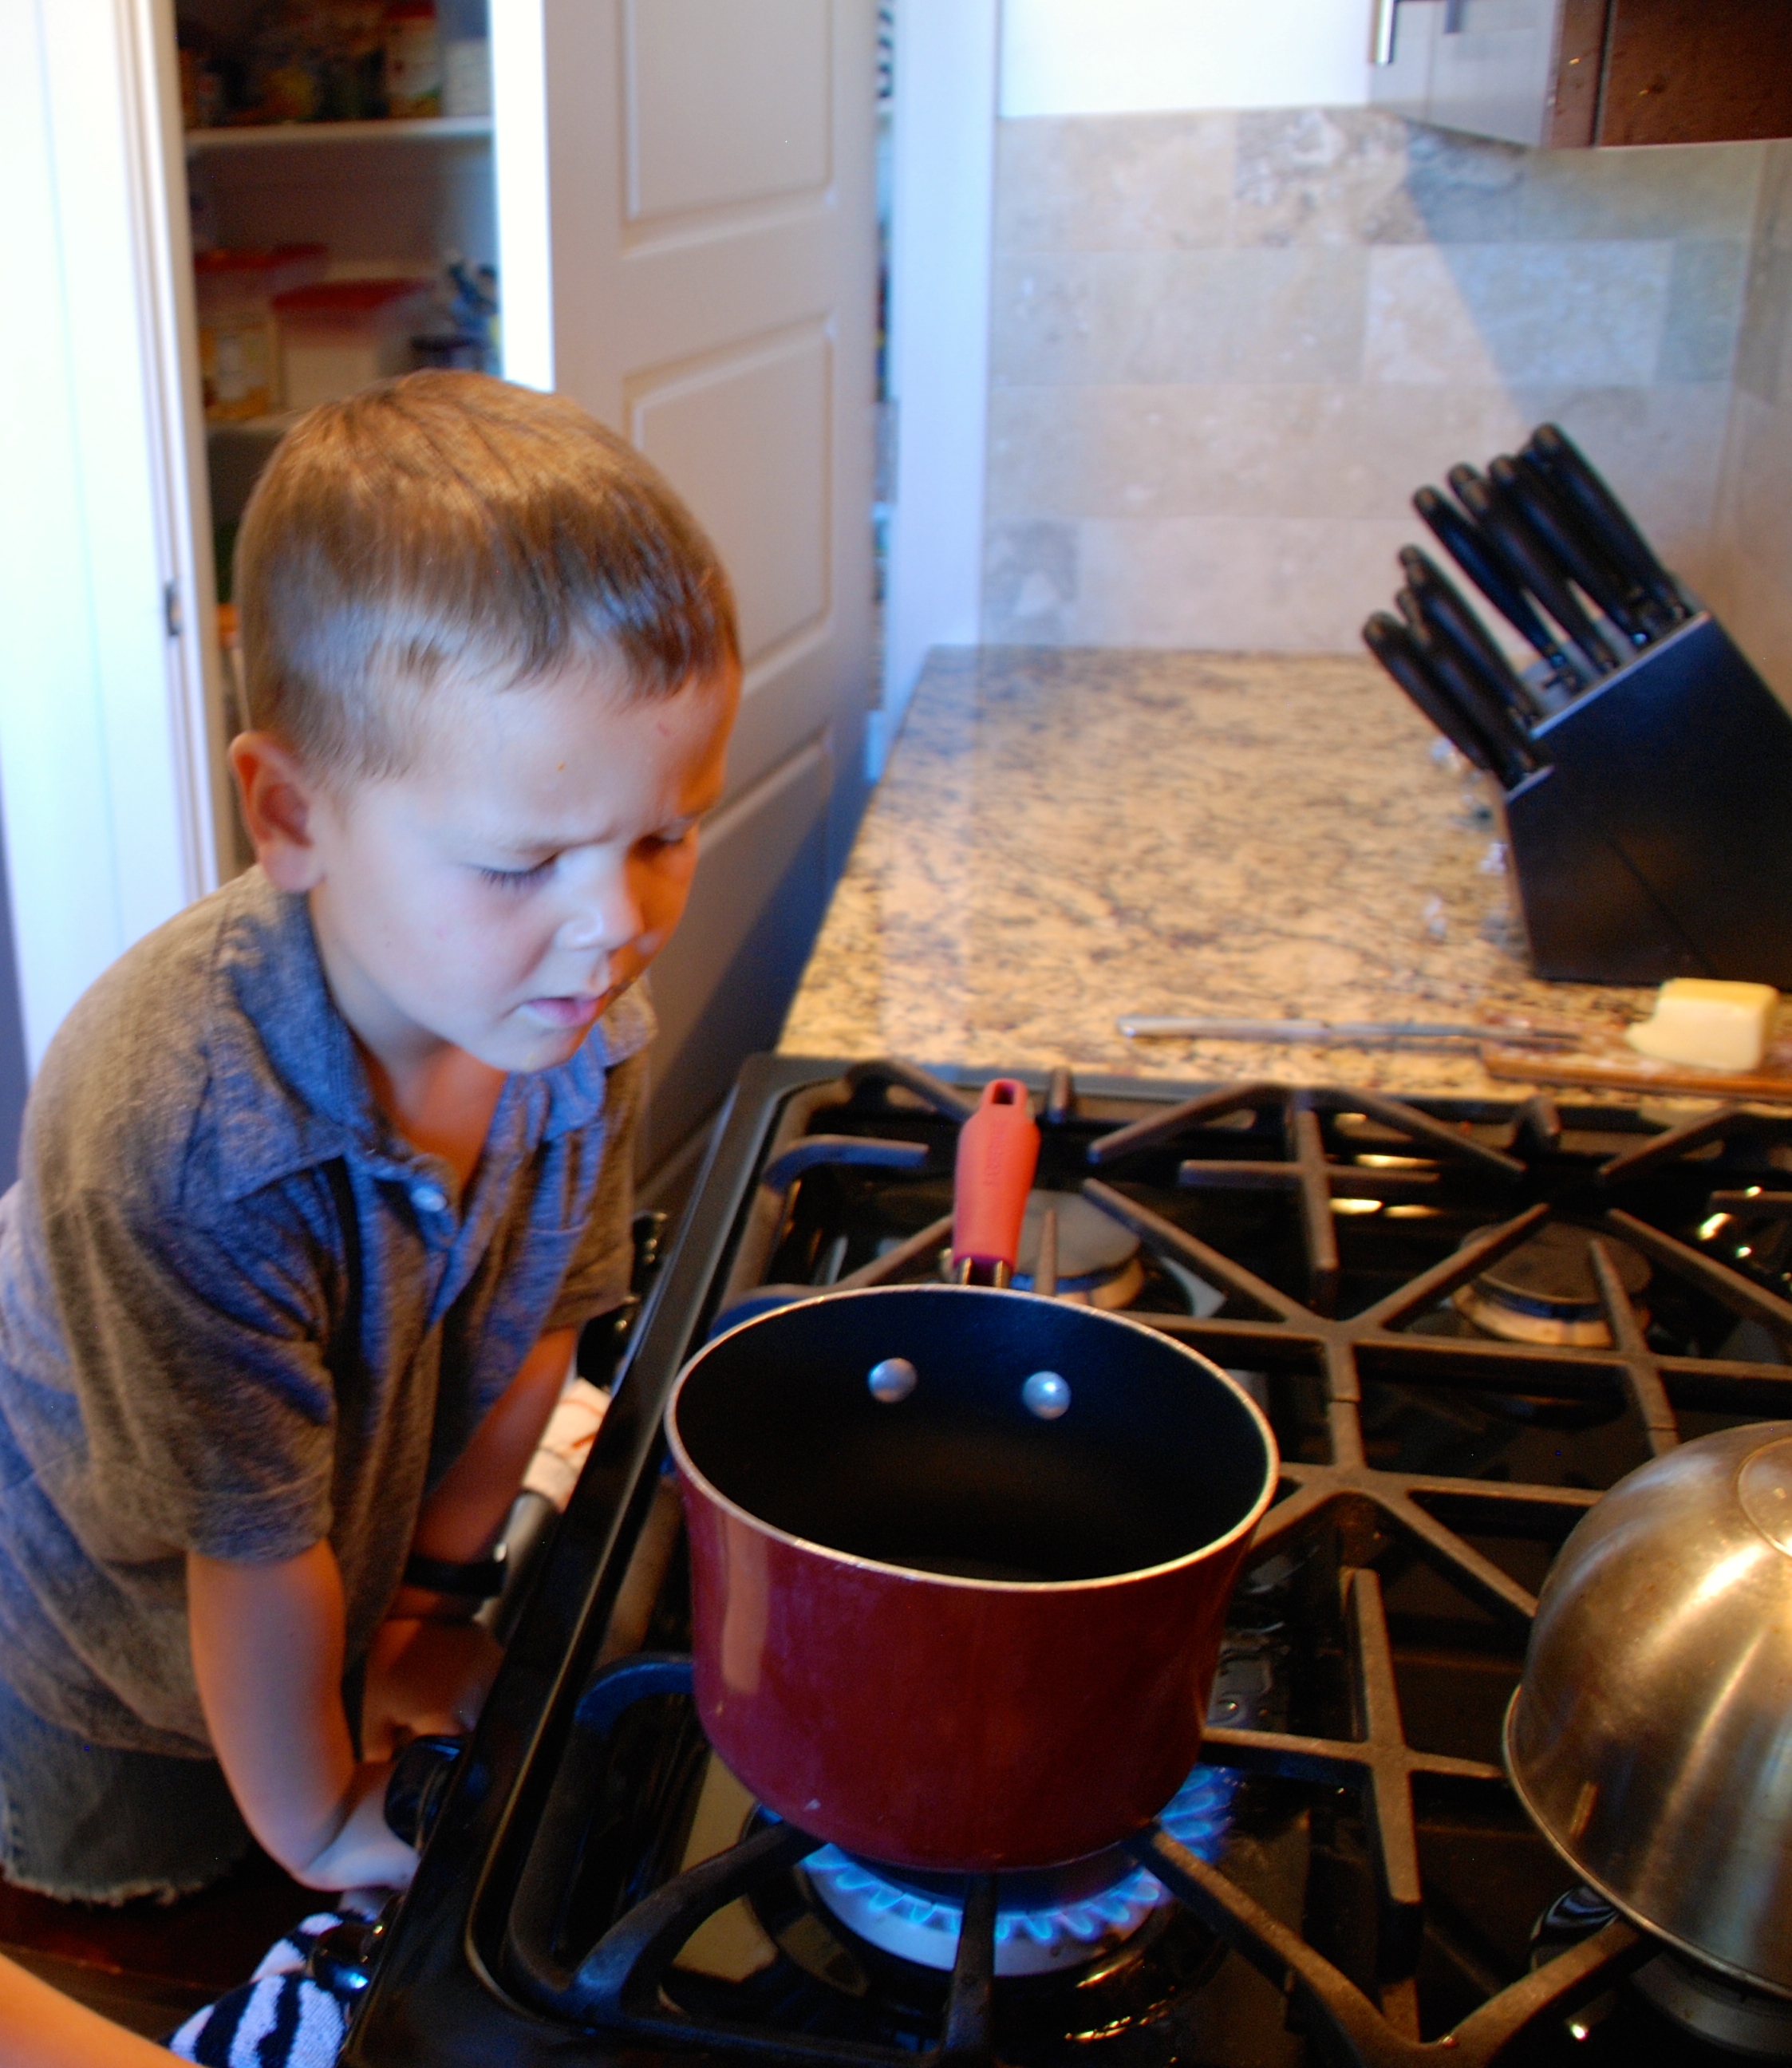
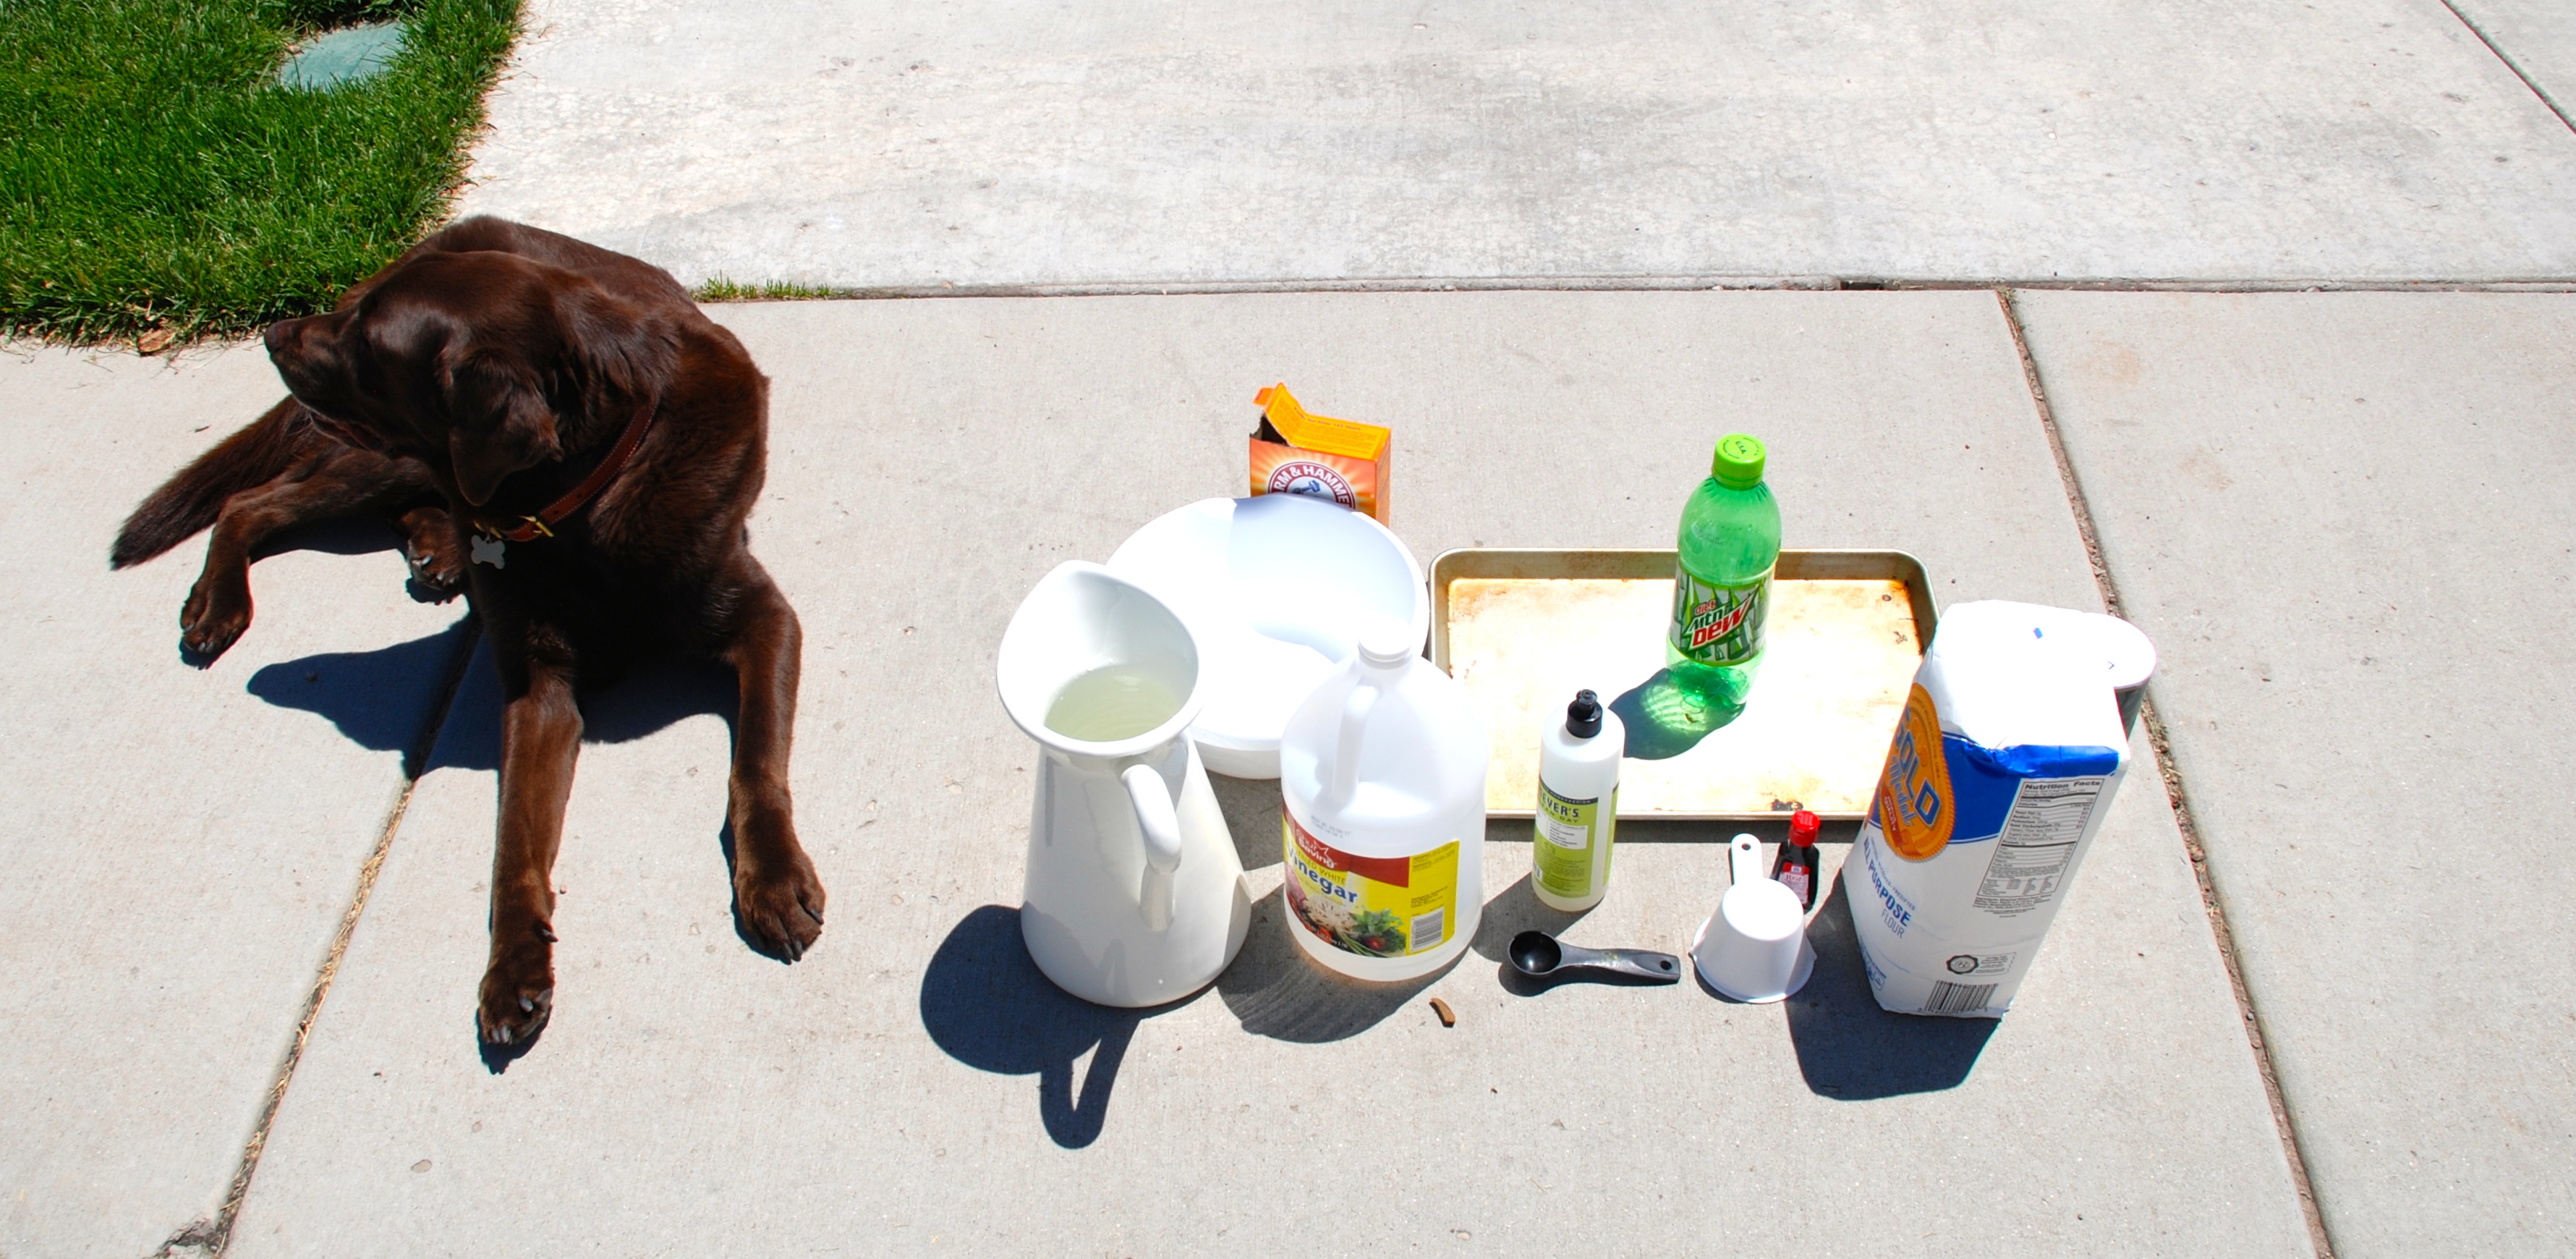
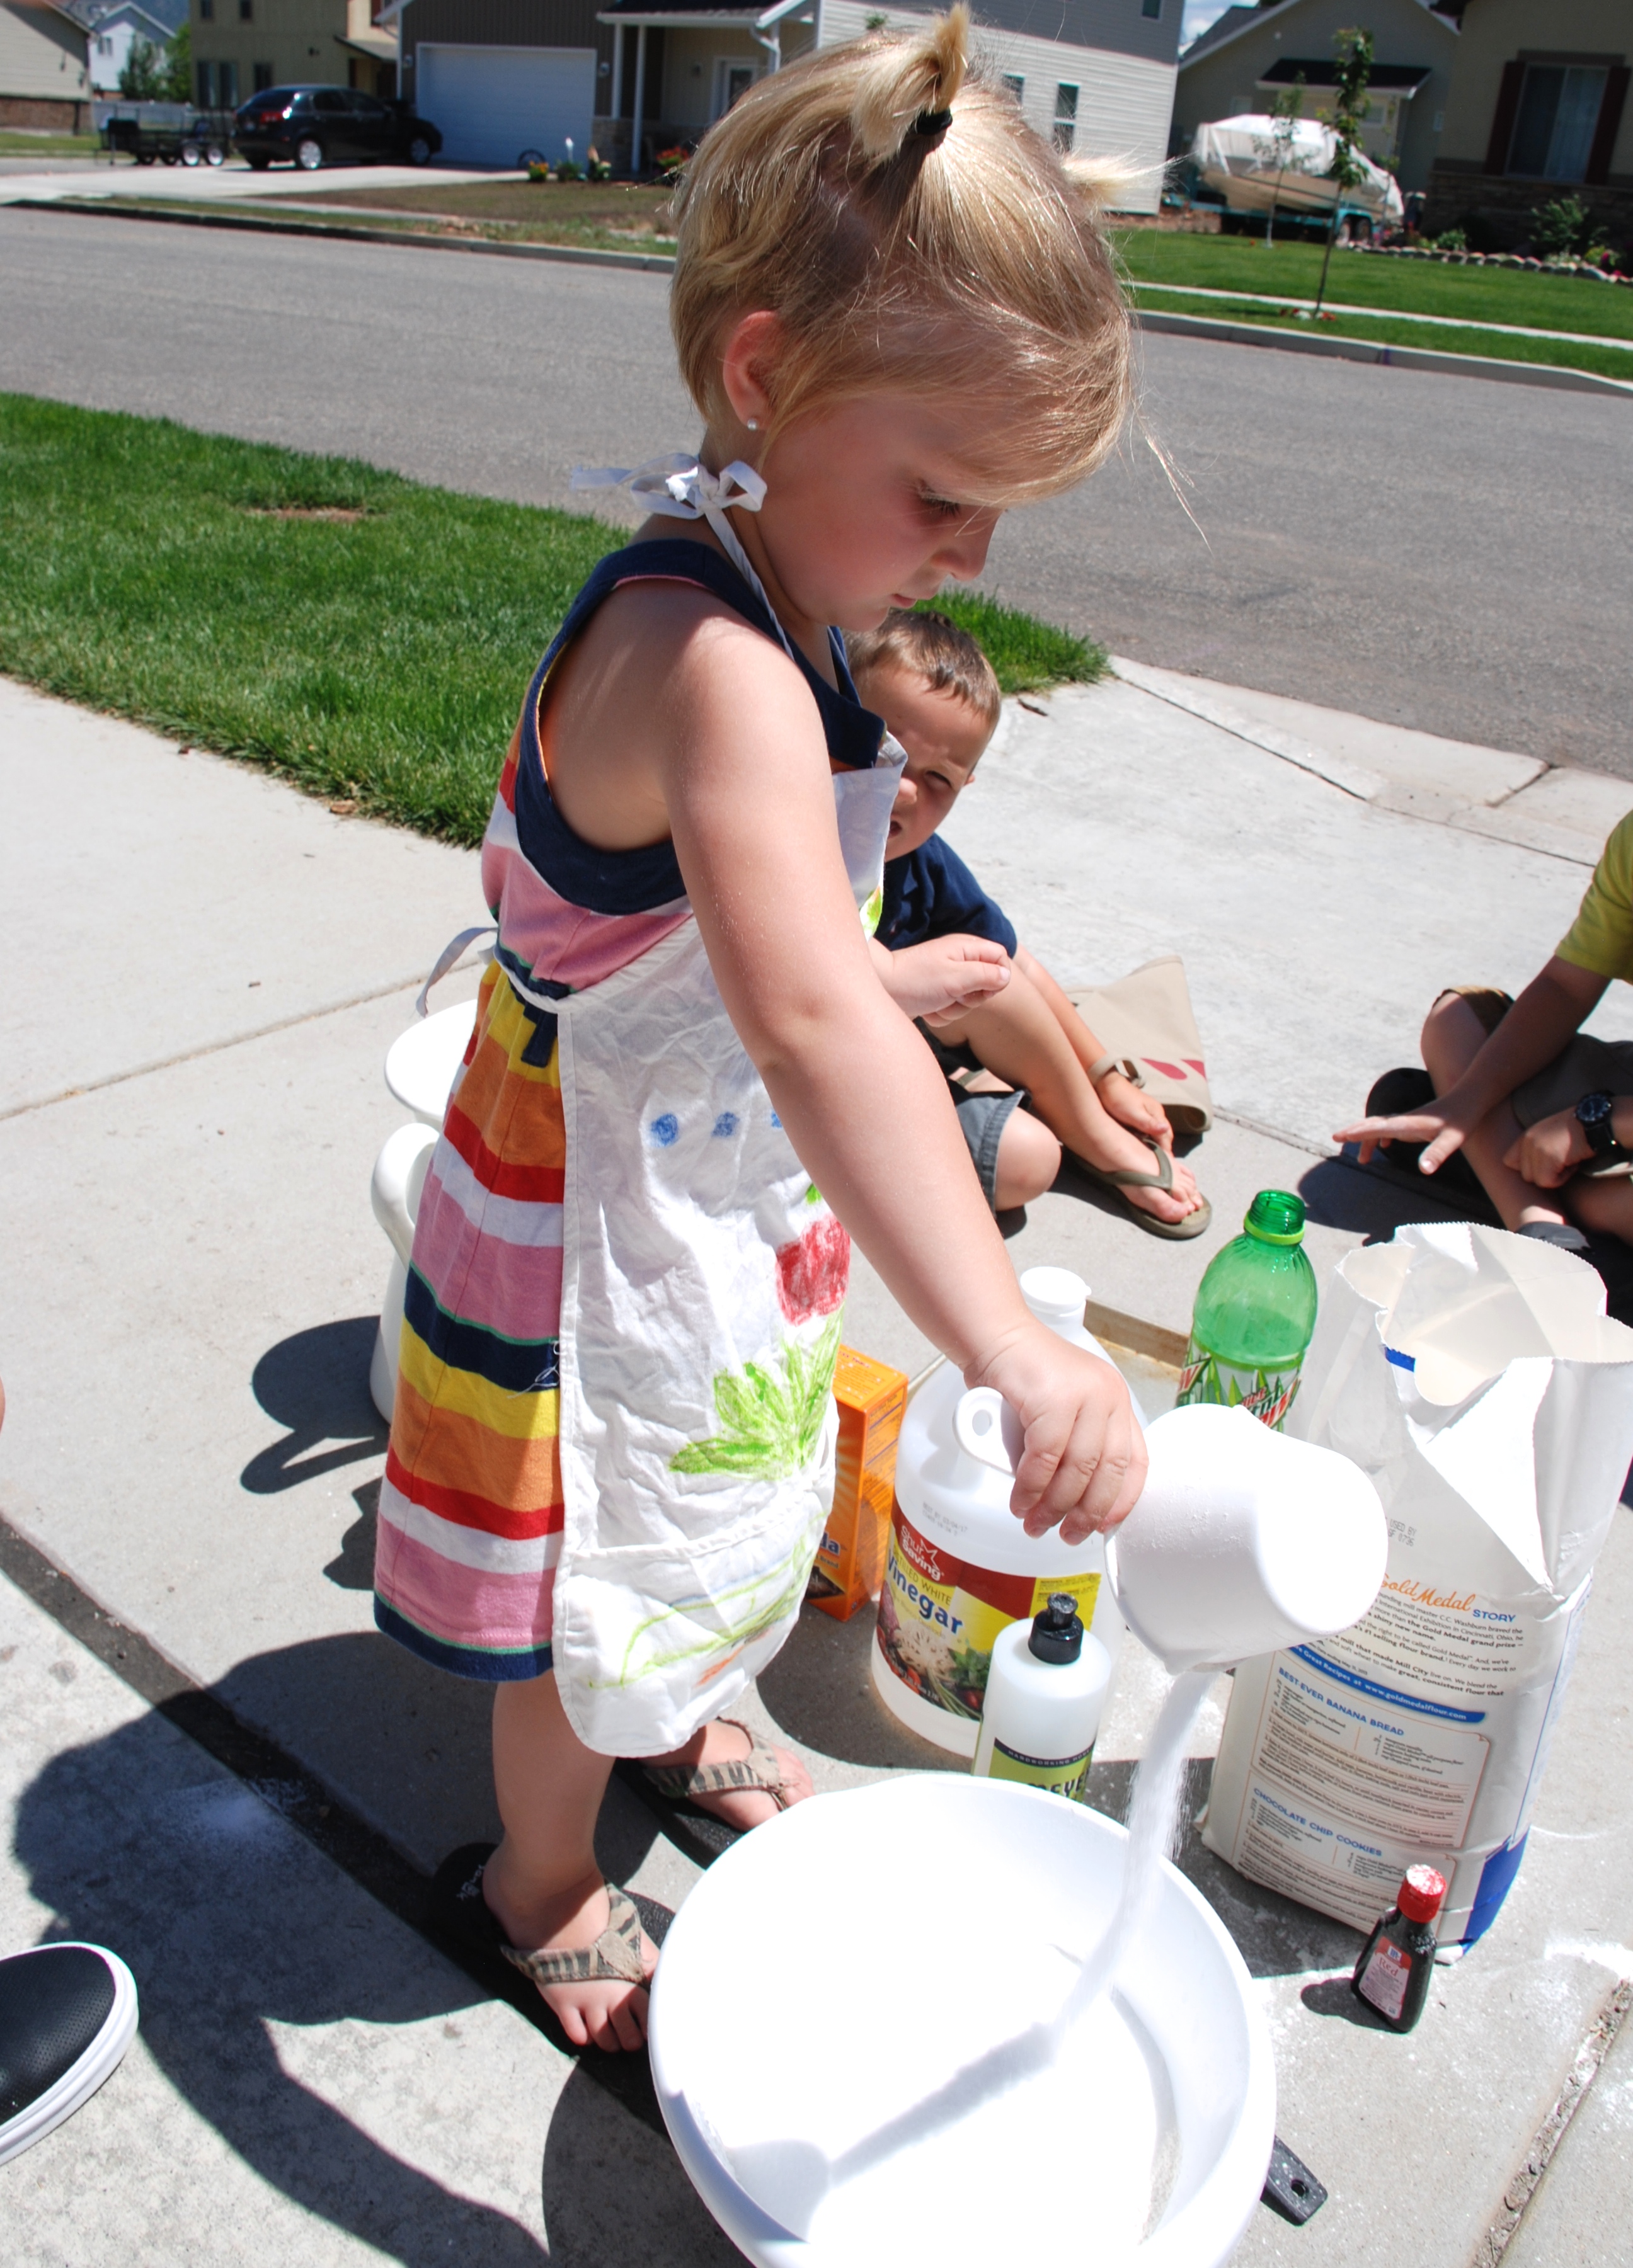
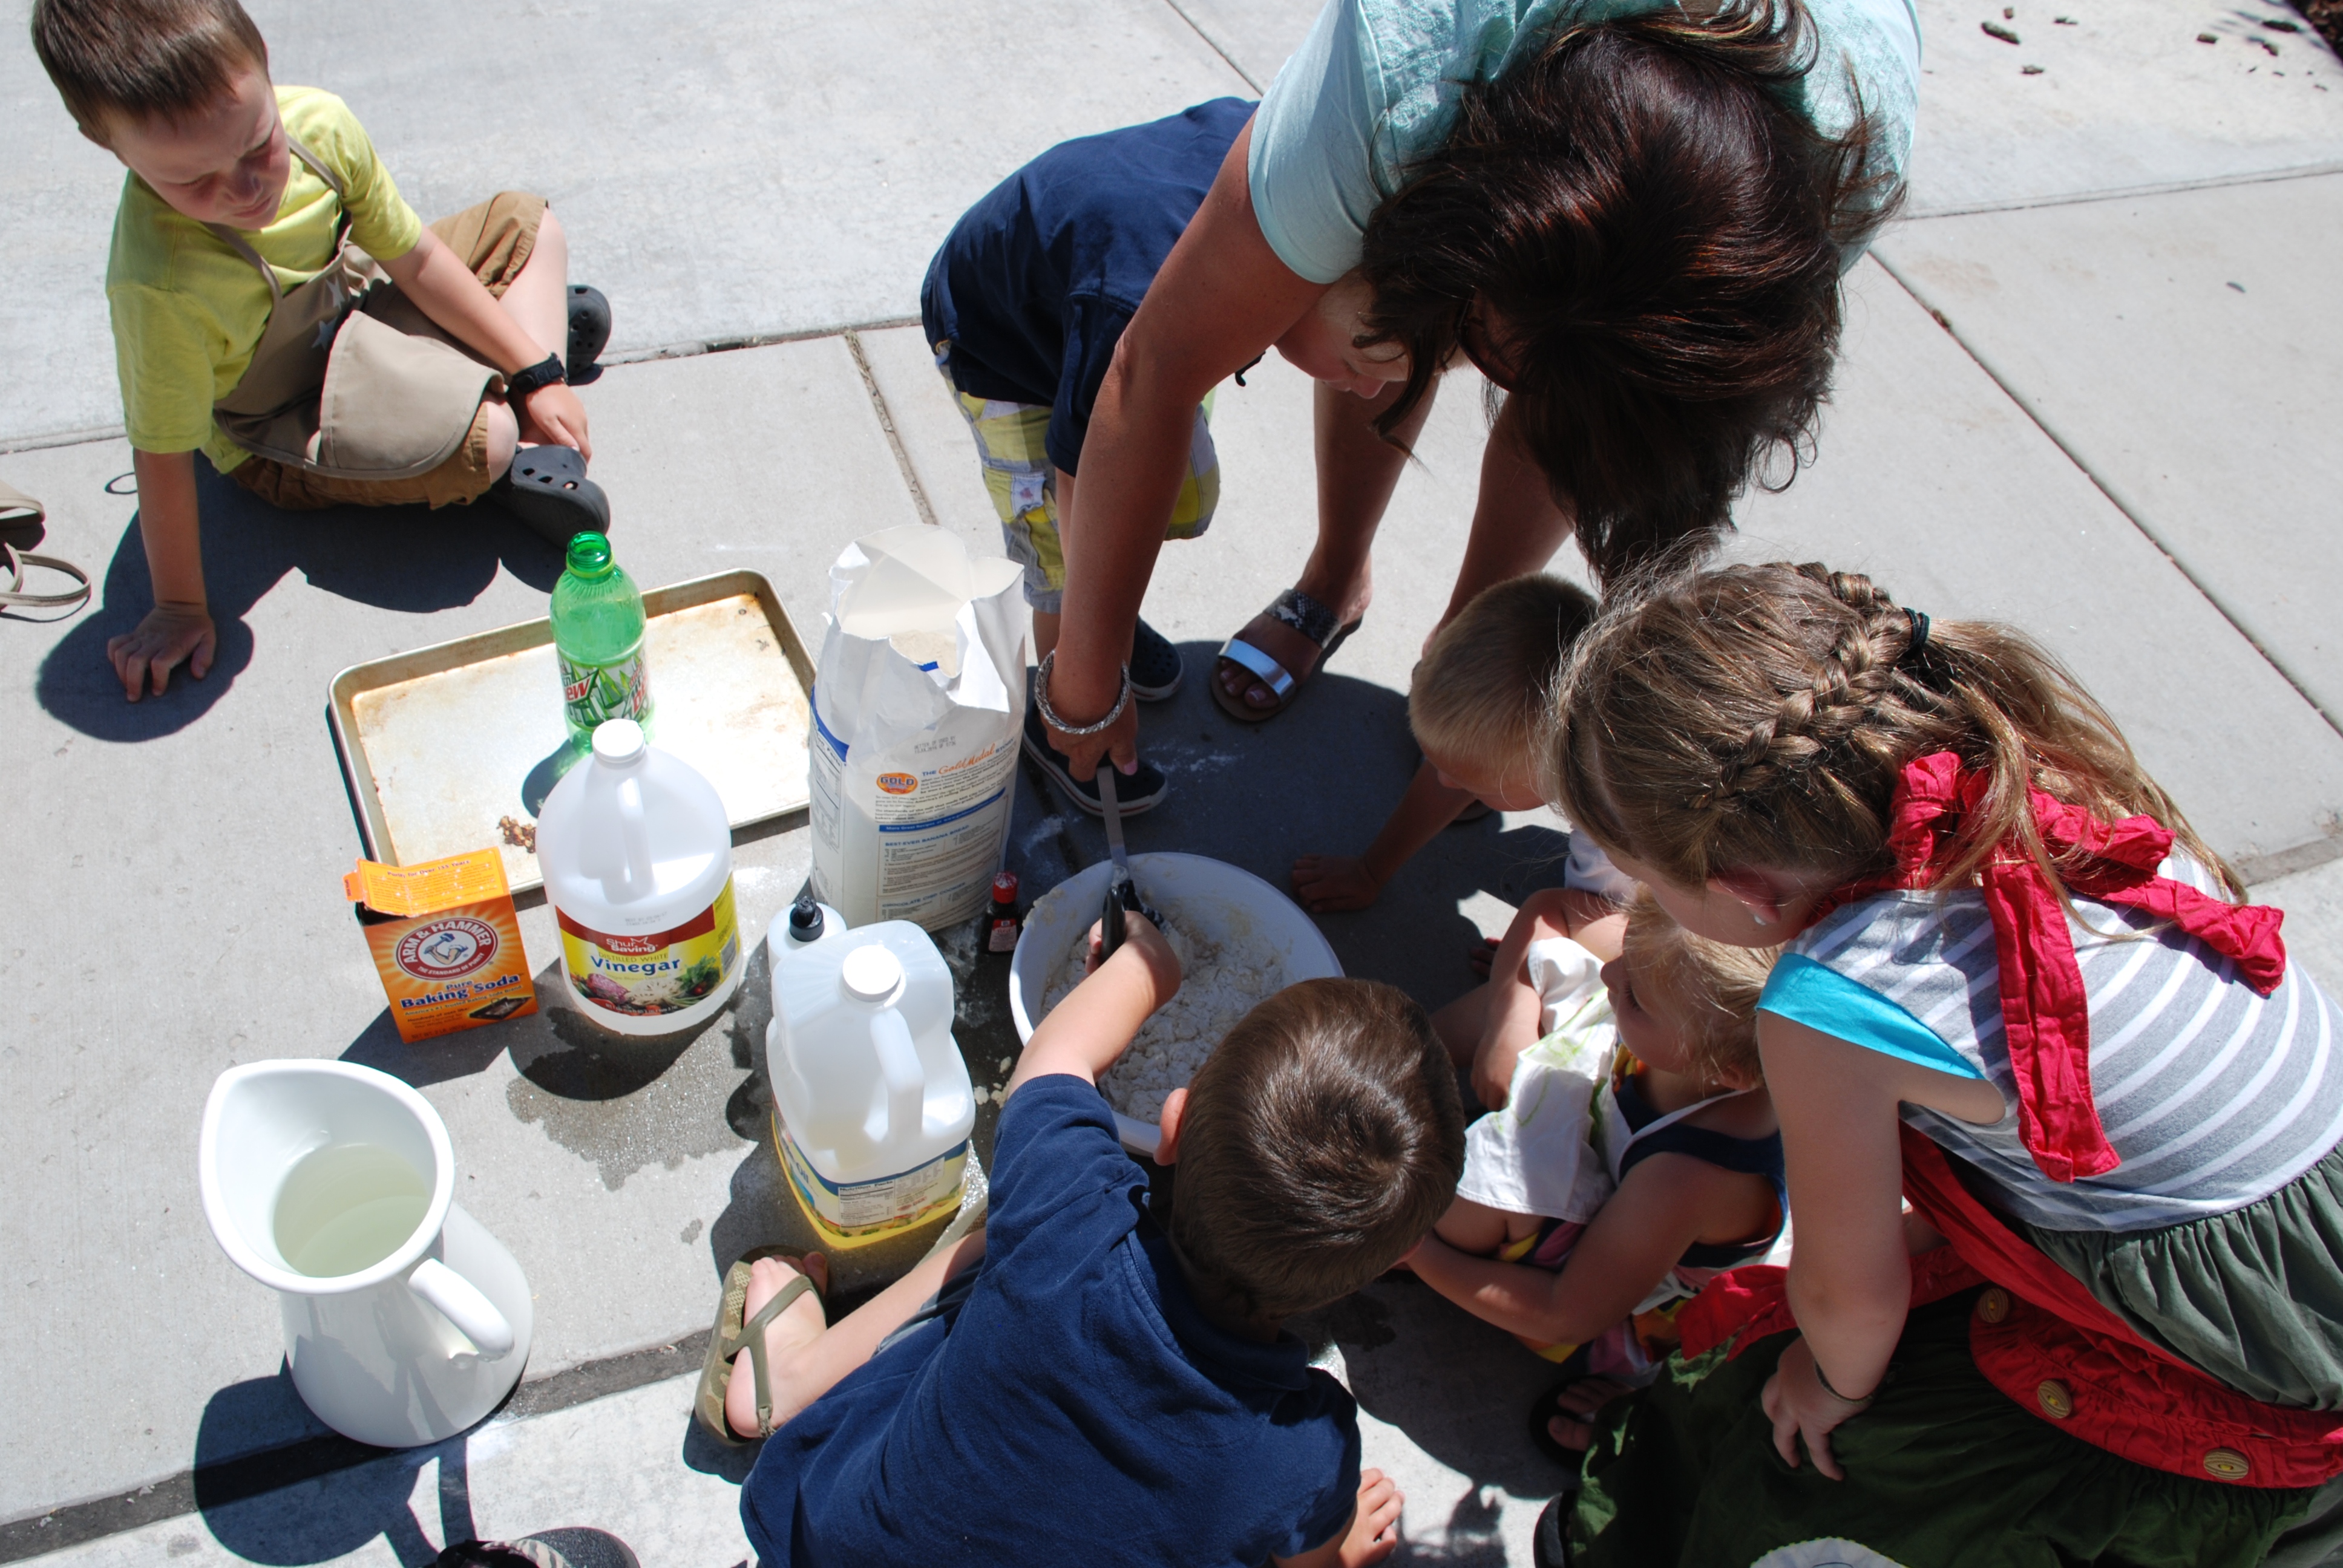
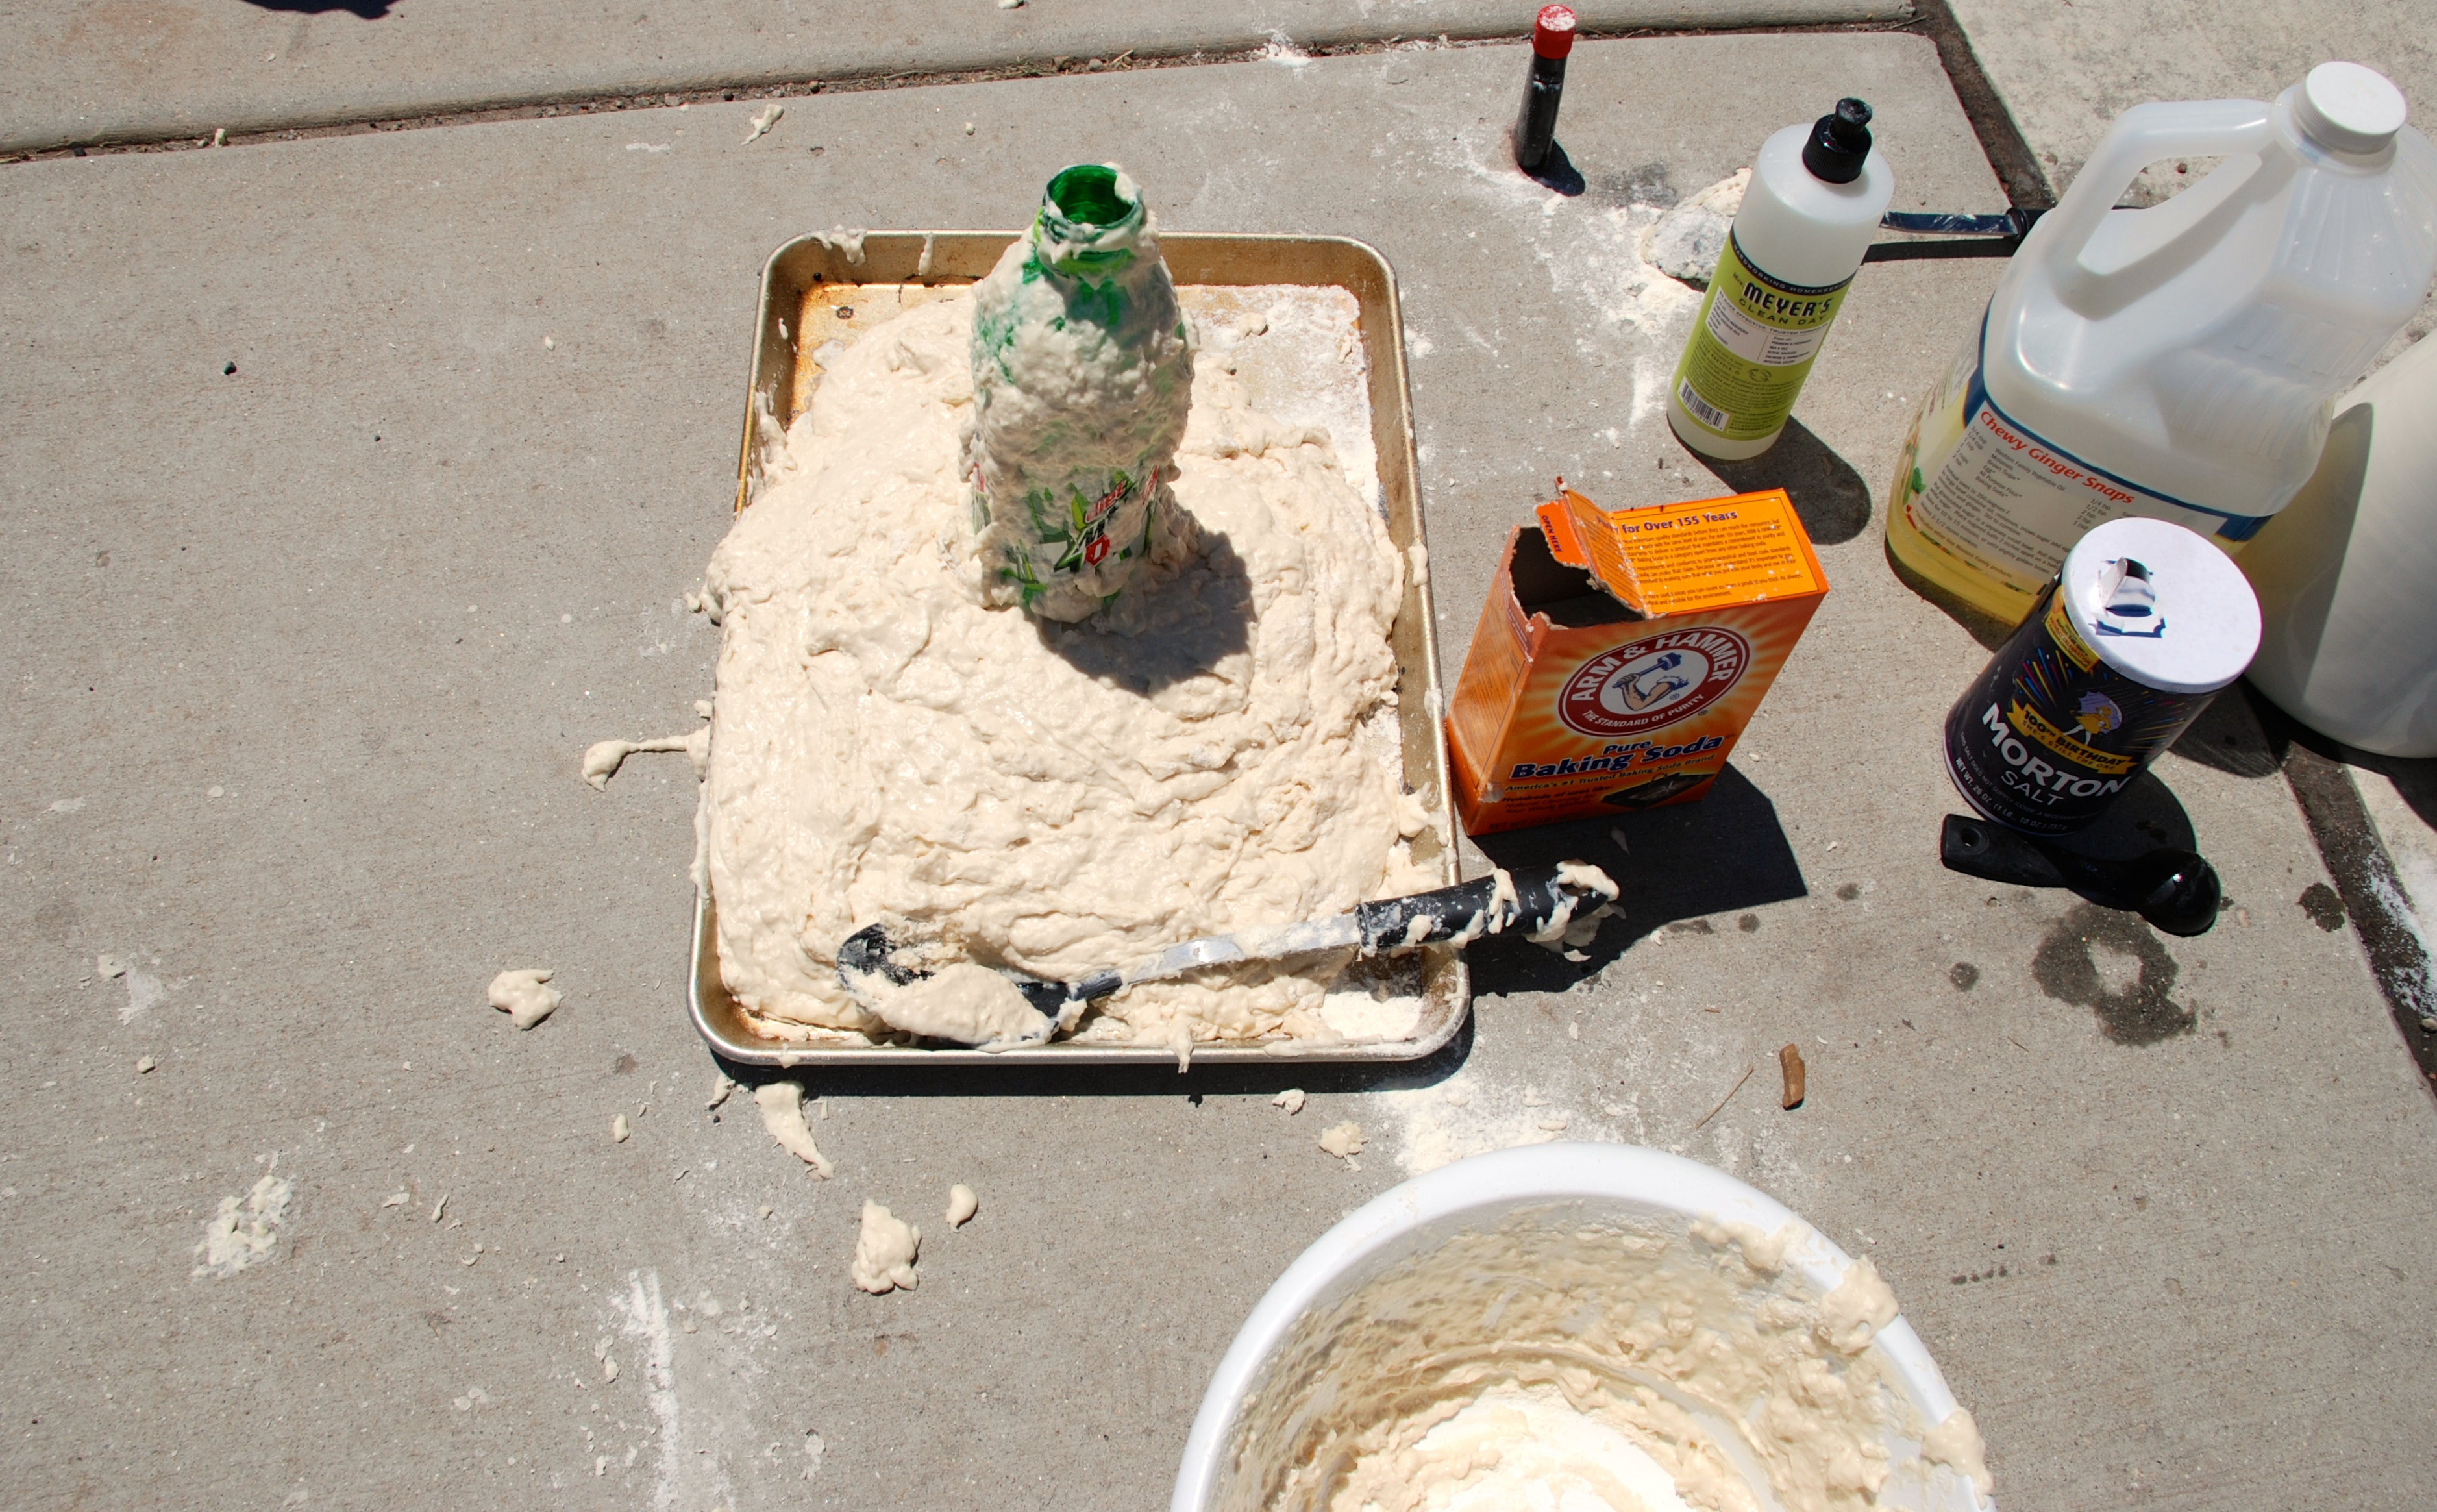
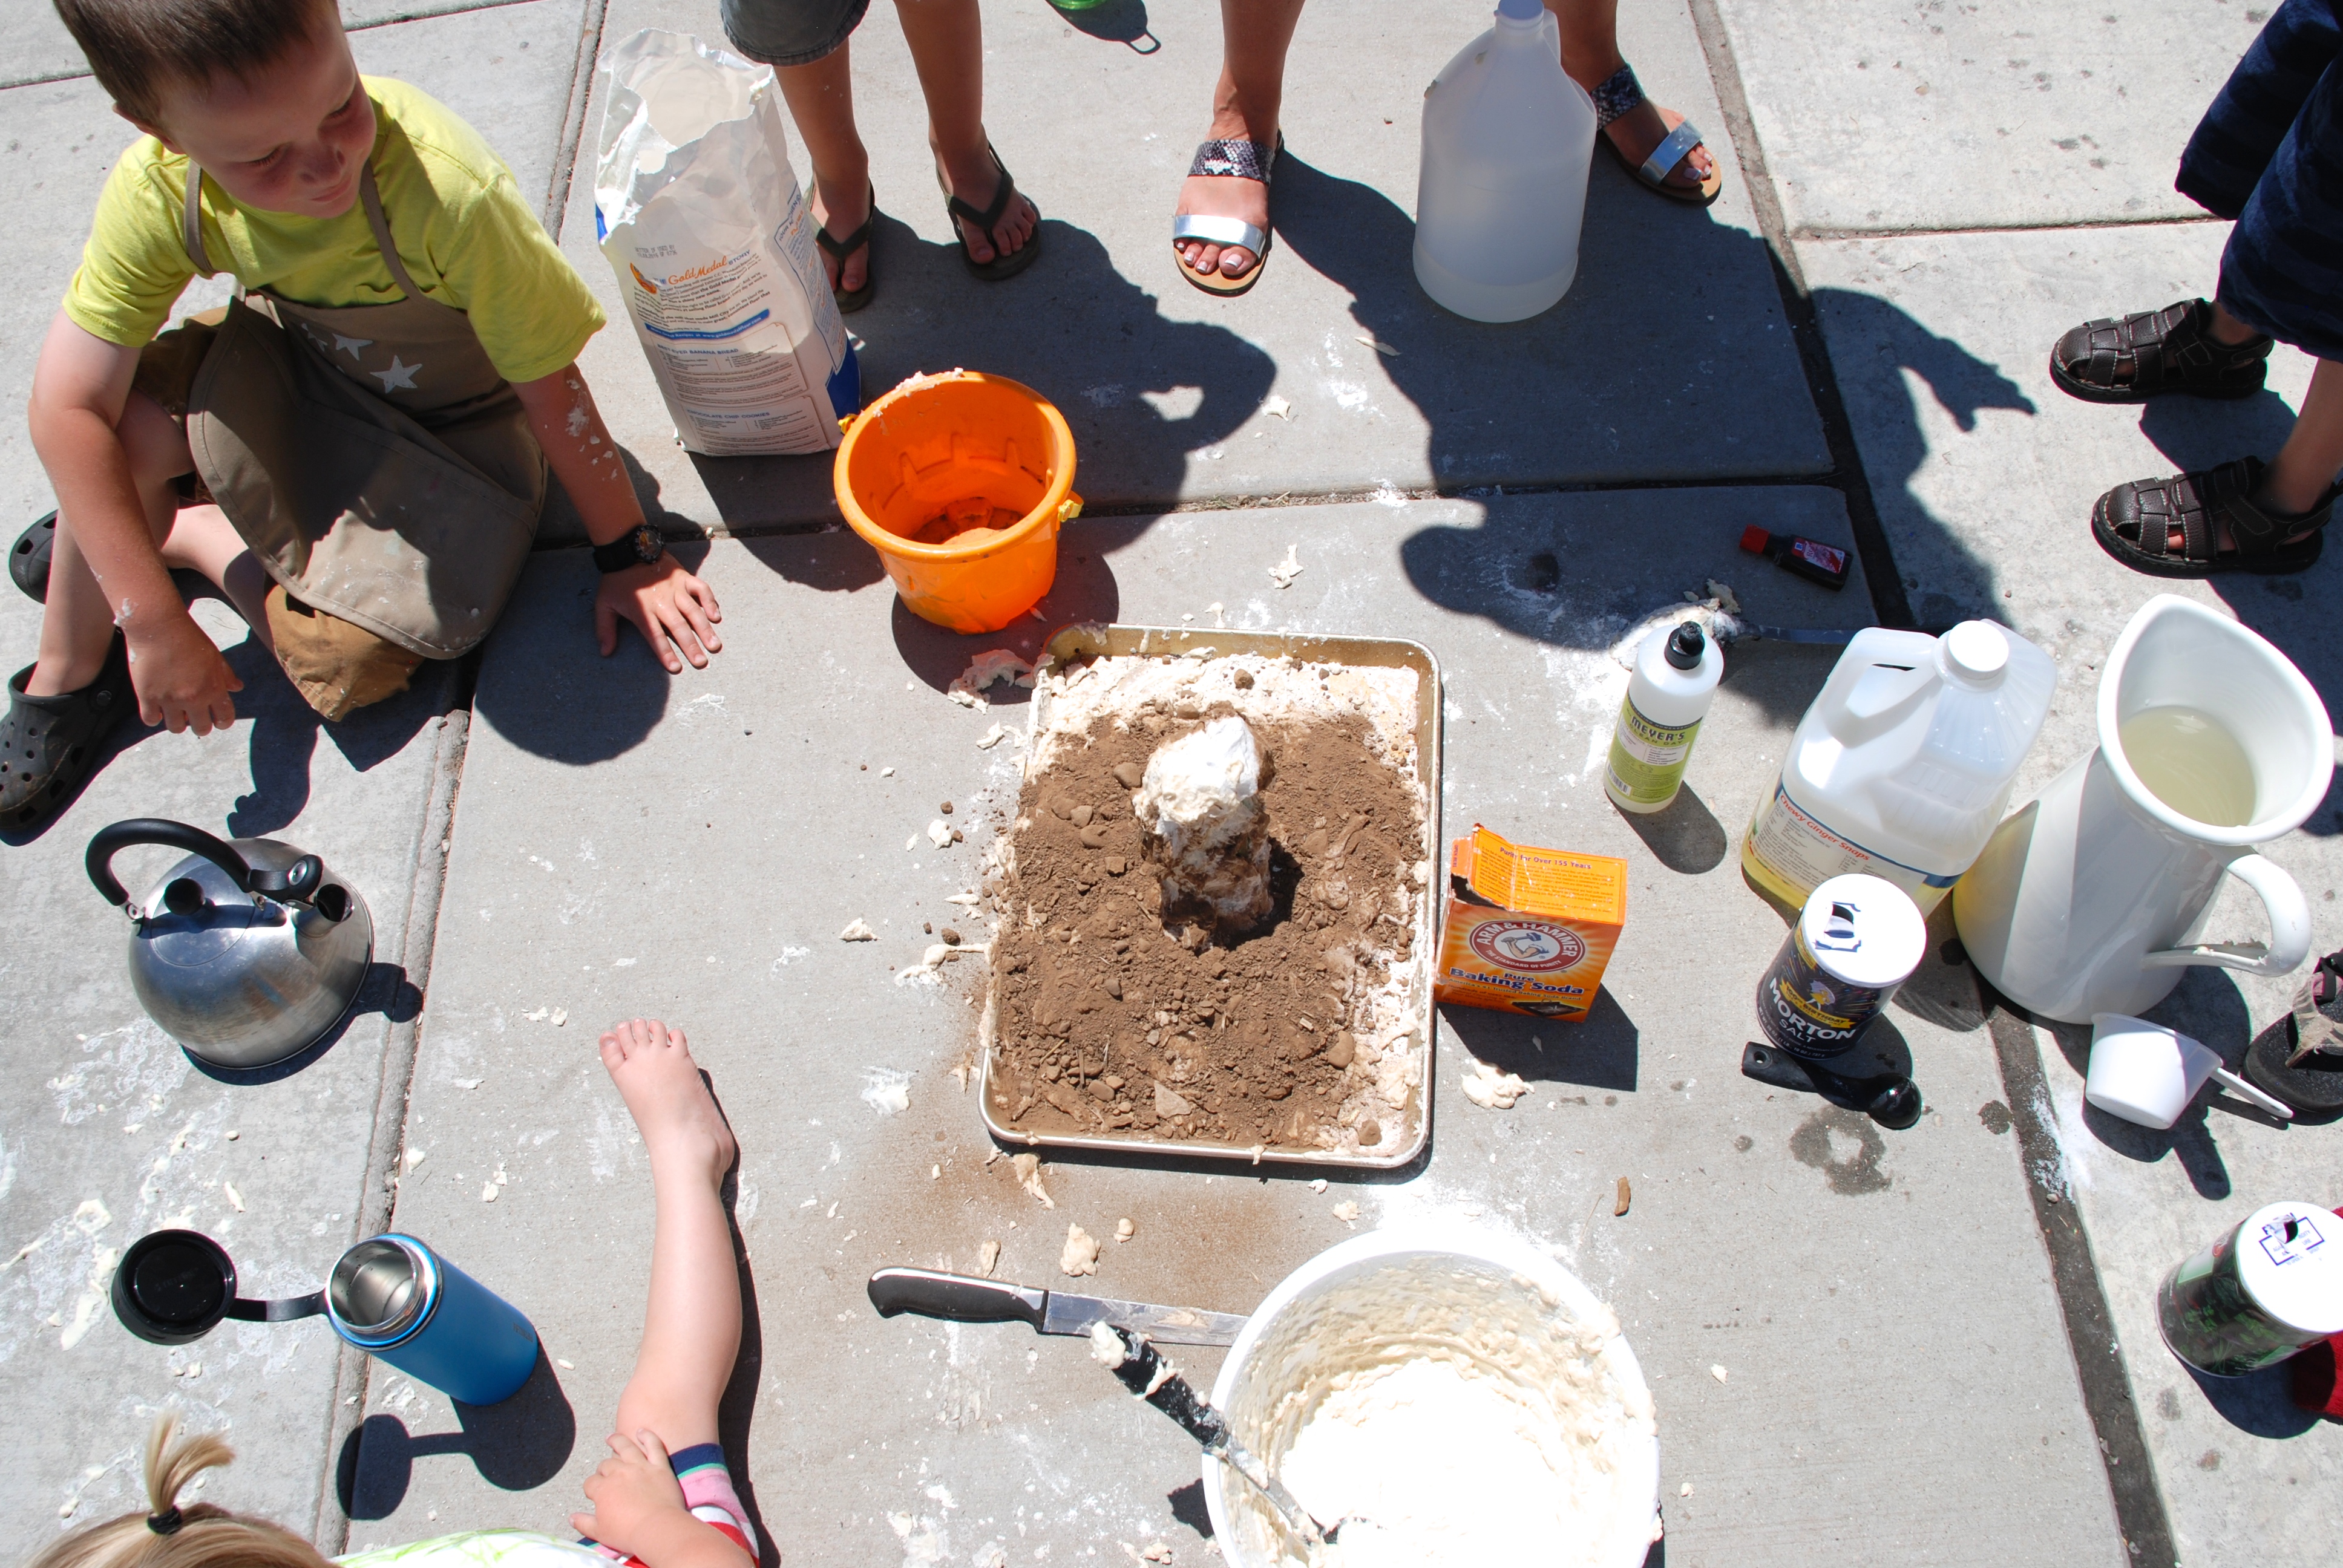
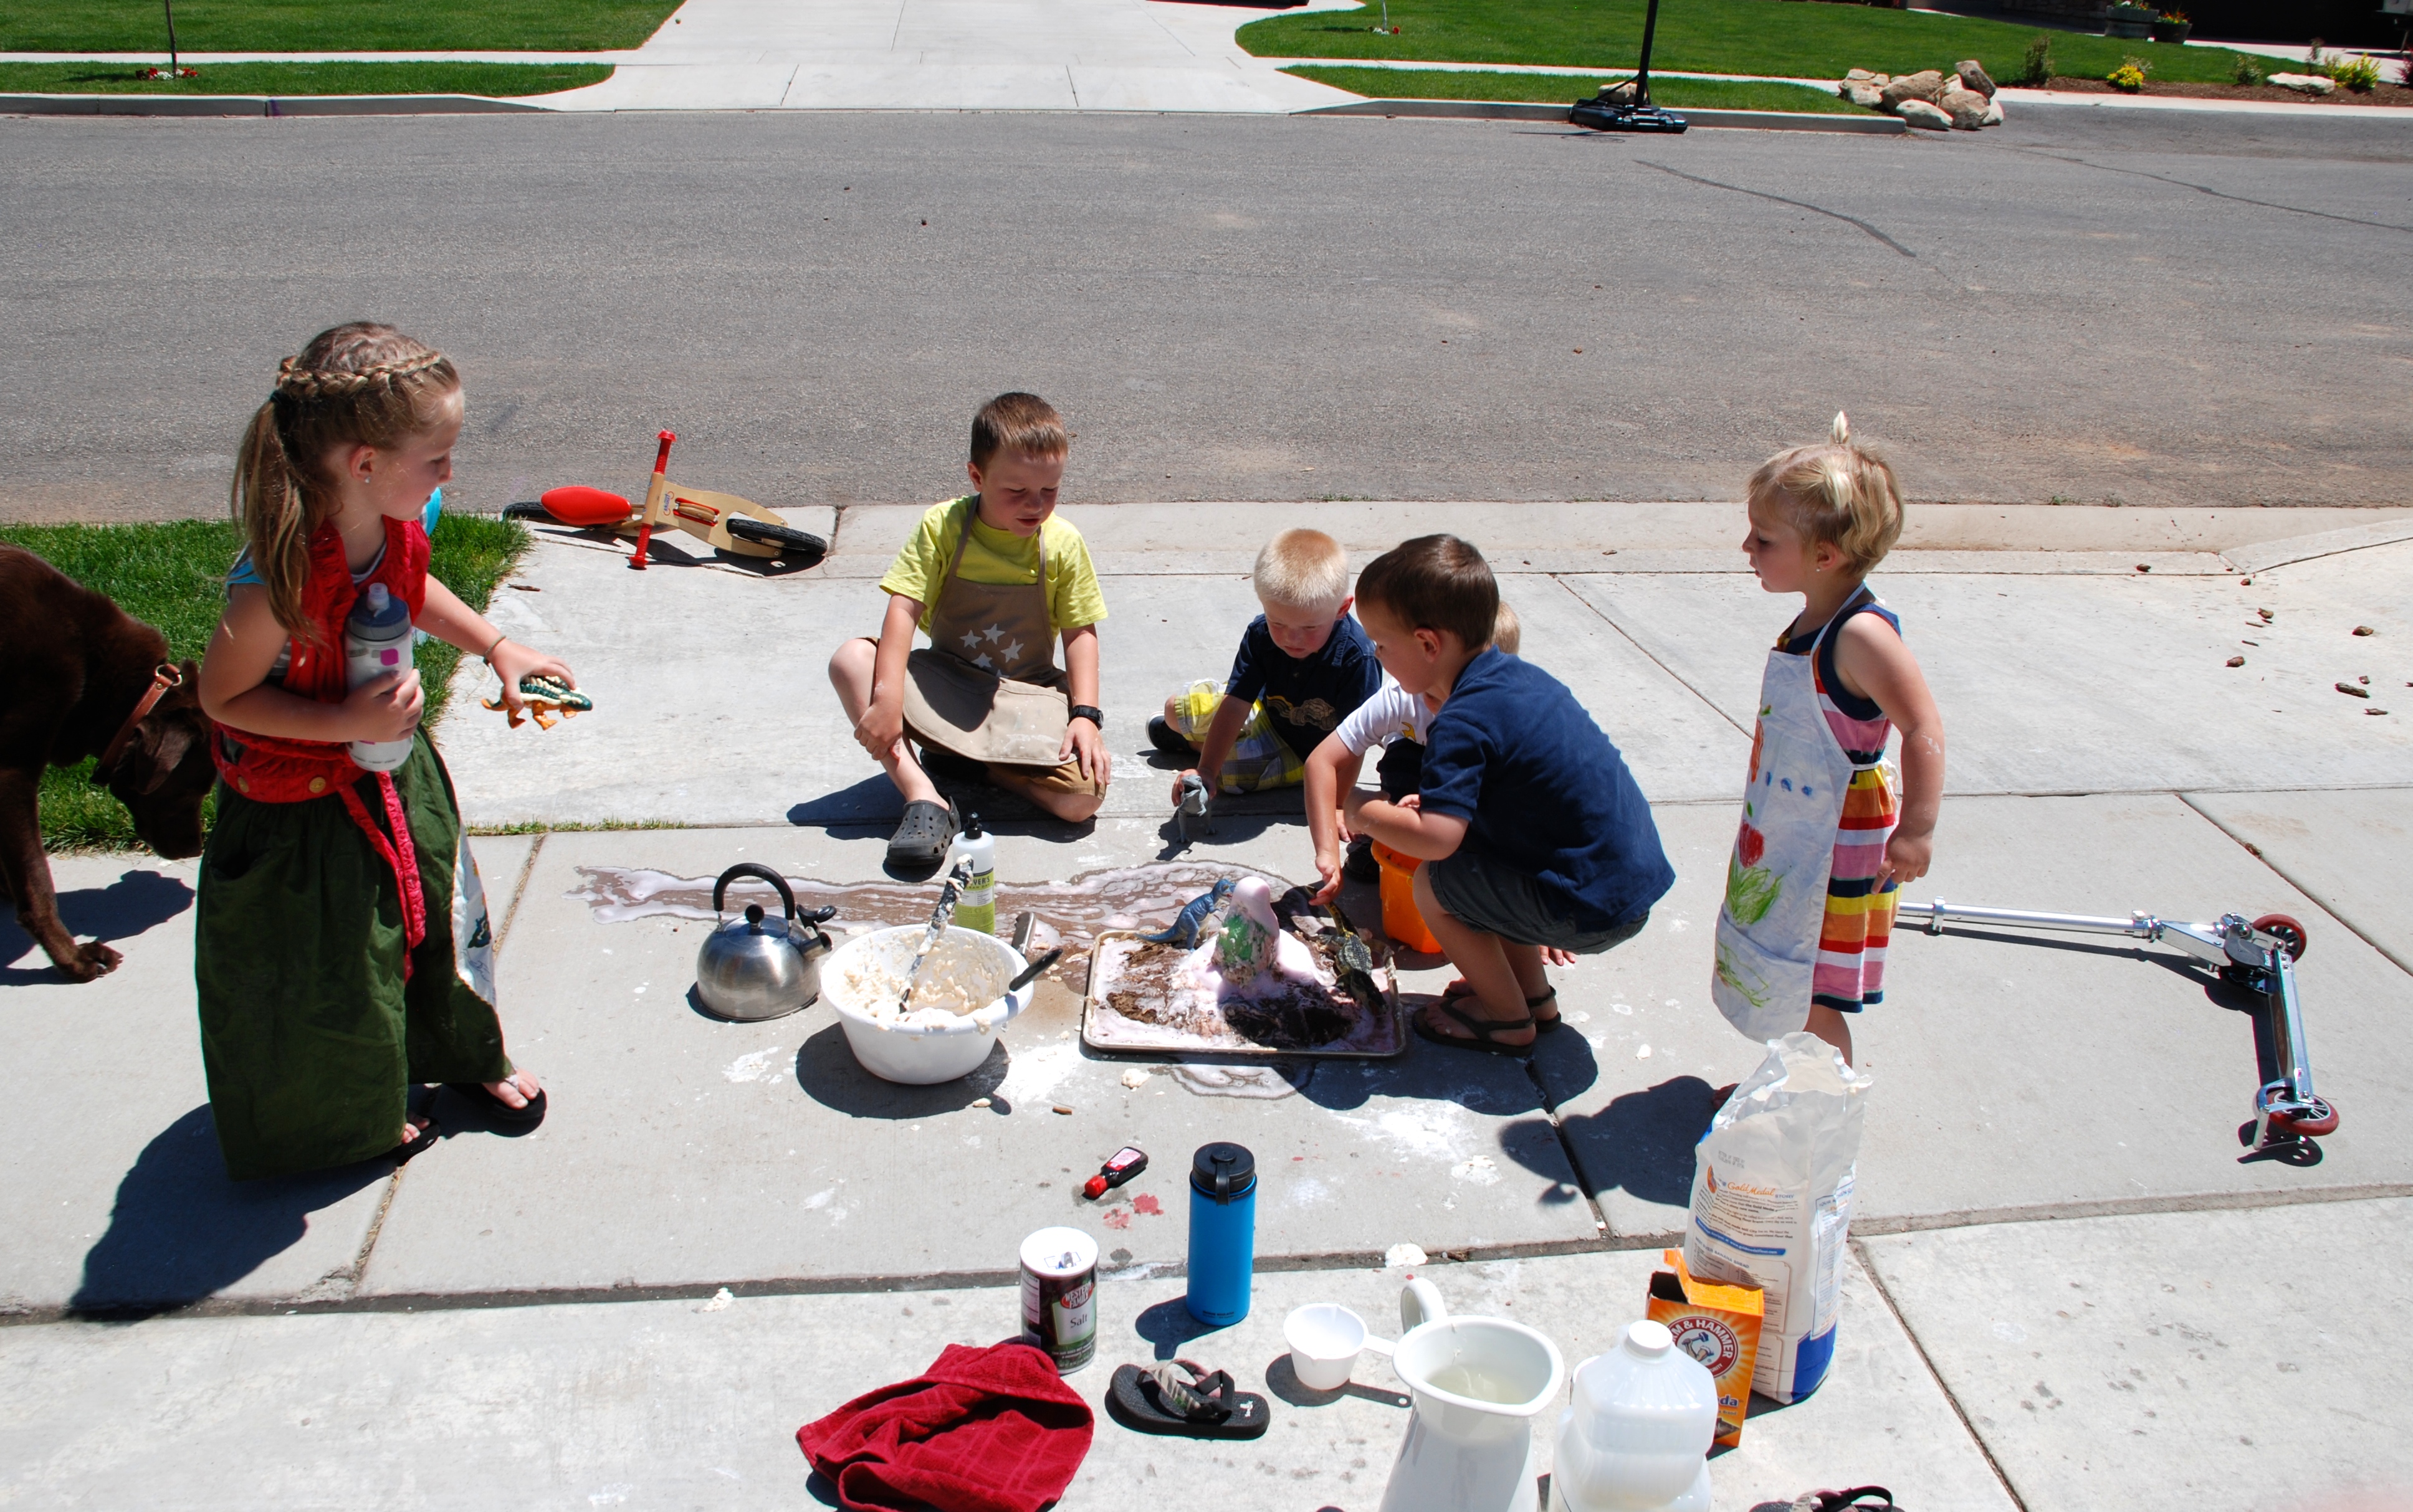
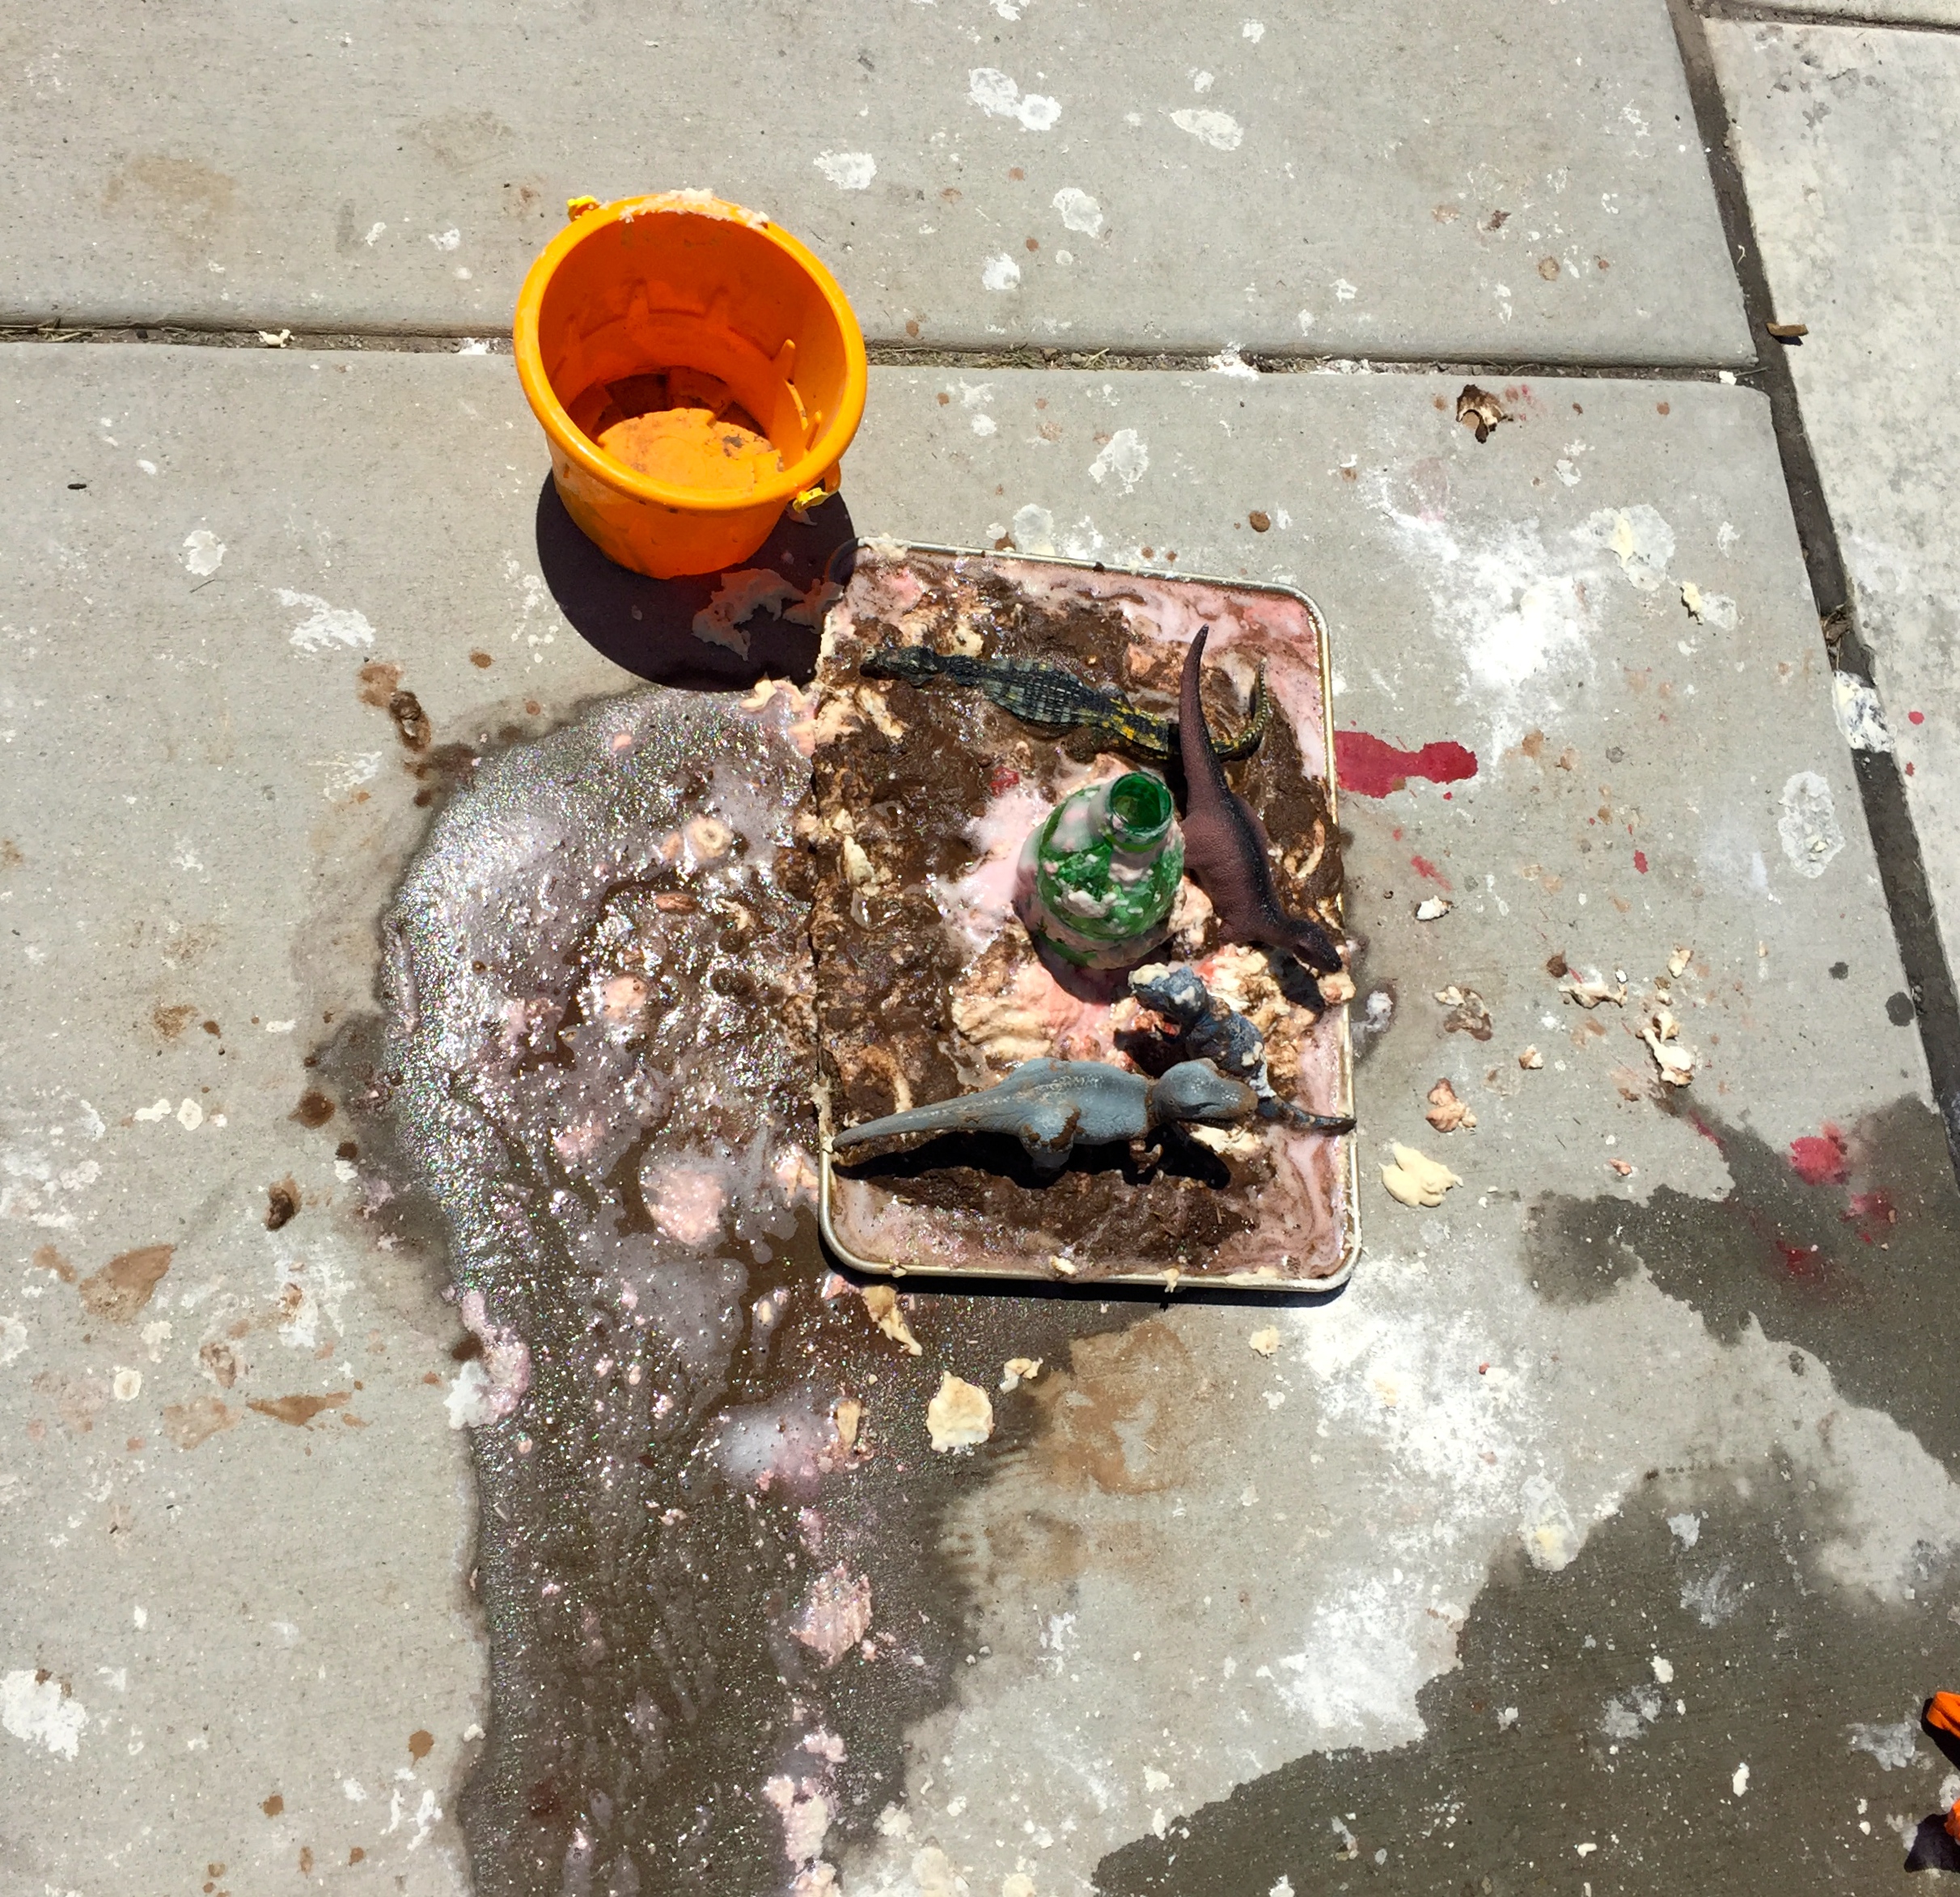
Making Homemade Root Beer for Miles’ Birthday.

I cannot believe that June is nearly over! I just can’t. I looked forward to this summer for what seemed like forever, and now it is FLYING by!

Perhaps this is due to the joy we’ve had in our everyday as of late. I did an outtakes post a few months ago, HERE. I talked a lot about balance, perfection, and REAL life moments that take place behind the blog curtain, and thought that it might be the perfect way to talk about life, love, and the pursuit of happiness openly and honestly here on the blog.

I’ve already mentioned that we’ve had the most WONDERFUL opportunity to have some special friends visit our house a couple times a week this summer. First of all, these two sweet little ladies are GIRLS and their dispositions, attitudes, and personalities are very different from my two BOYS.

The contrast has been delightful. They all seem to genuinely enjoy one another’s company, and have even been known to ask for one another through the weekend. As in, “When are Little J, and Miss I coming back to play?!?”

I’ve also posted a few pictures on Instagram, but along with our friends we have been able to take horseback riding lessons every Monday. (Thank you Sue!!!!!) This opportunity has been absolutely priceless. The girls have had a lot of experience with horses from birth right on up. They have their own horse, and are honing their horsemanship skills.

The boys are totally new to horses and horseback riding. My oldest is especially excited and counts down the days each week until he returns to the ranch. I cannot properly describe how heavenly that spot is for us. The first day of riding they got up and dressed themselves in their finest cowboy attire which was really code for their old Halloween costumes and went to it!

The blue sky, lazy clouds, smell of the deep, rich earth, hay being cut and turned and baled and brought in. The tall grasses and clover, the dance of the flies and the breeze across the flood-irrigated fields. The warm sun and the trips around the arena on Peppy, or Dan-o, or a special ride on Zoro behind Mimi. Alta and Finn, the two yellow labs, and after-lesson rides on the four wheeler to check on water, or see the progress of haying. Heaven.

IMG_6004

IMG_5865

IMG_6184

IMG_5894

IMG_6176

Another highlight of this summer has been the renovation of our backyard. Affectionately hash-tagged #sheddeckfence, my husband went TO TOWN on all things backyard construction related. From the outdoor lighting to custom window well covers, to the perfect adirondack chairs, to the finishing touch of the prayer flags he has carefully styled every part of this project.

He is still busy finishing a backyard fire pit complete with natural gas pipping, built-in benches along the fence, and a beautiful fire bowl to finish things off! It’s all in the details, and I love him for it.

IMG_6028

IMG_6273

IMG_6032
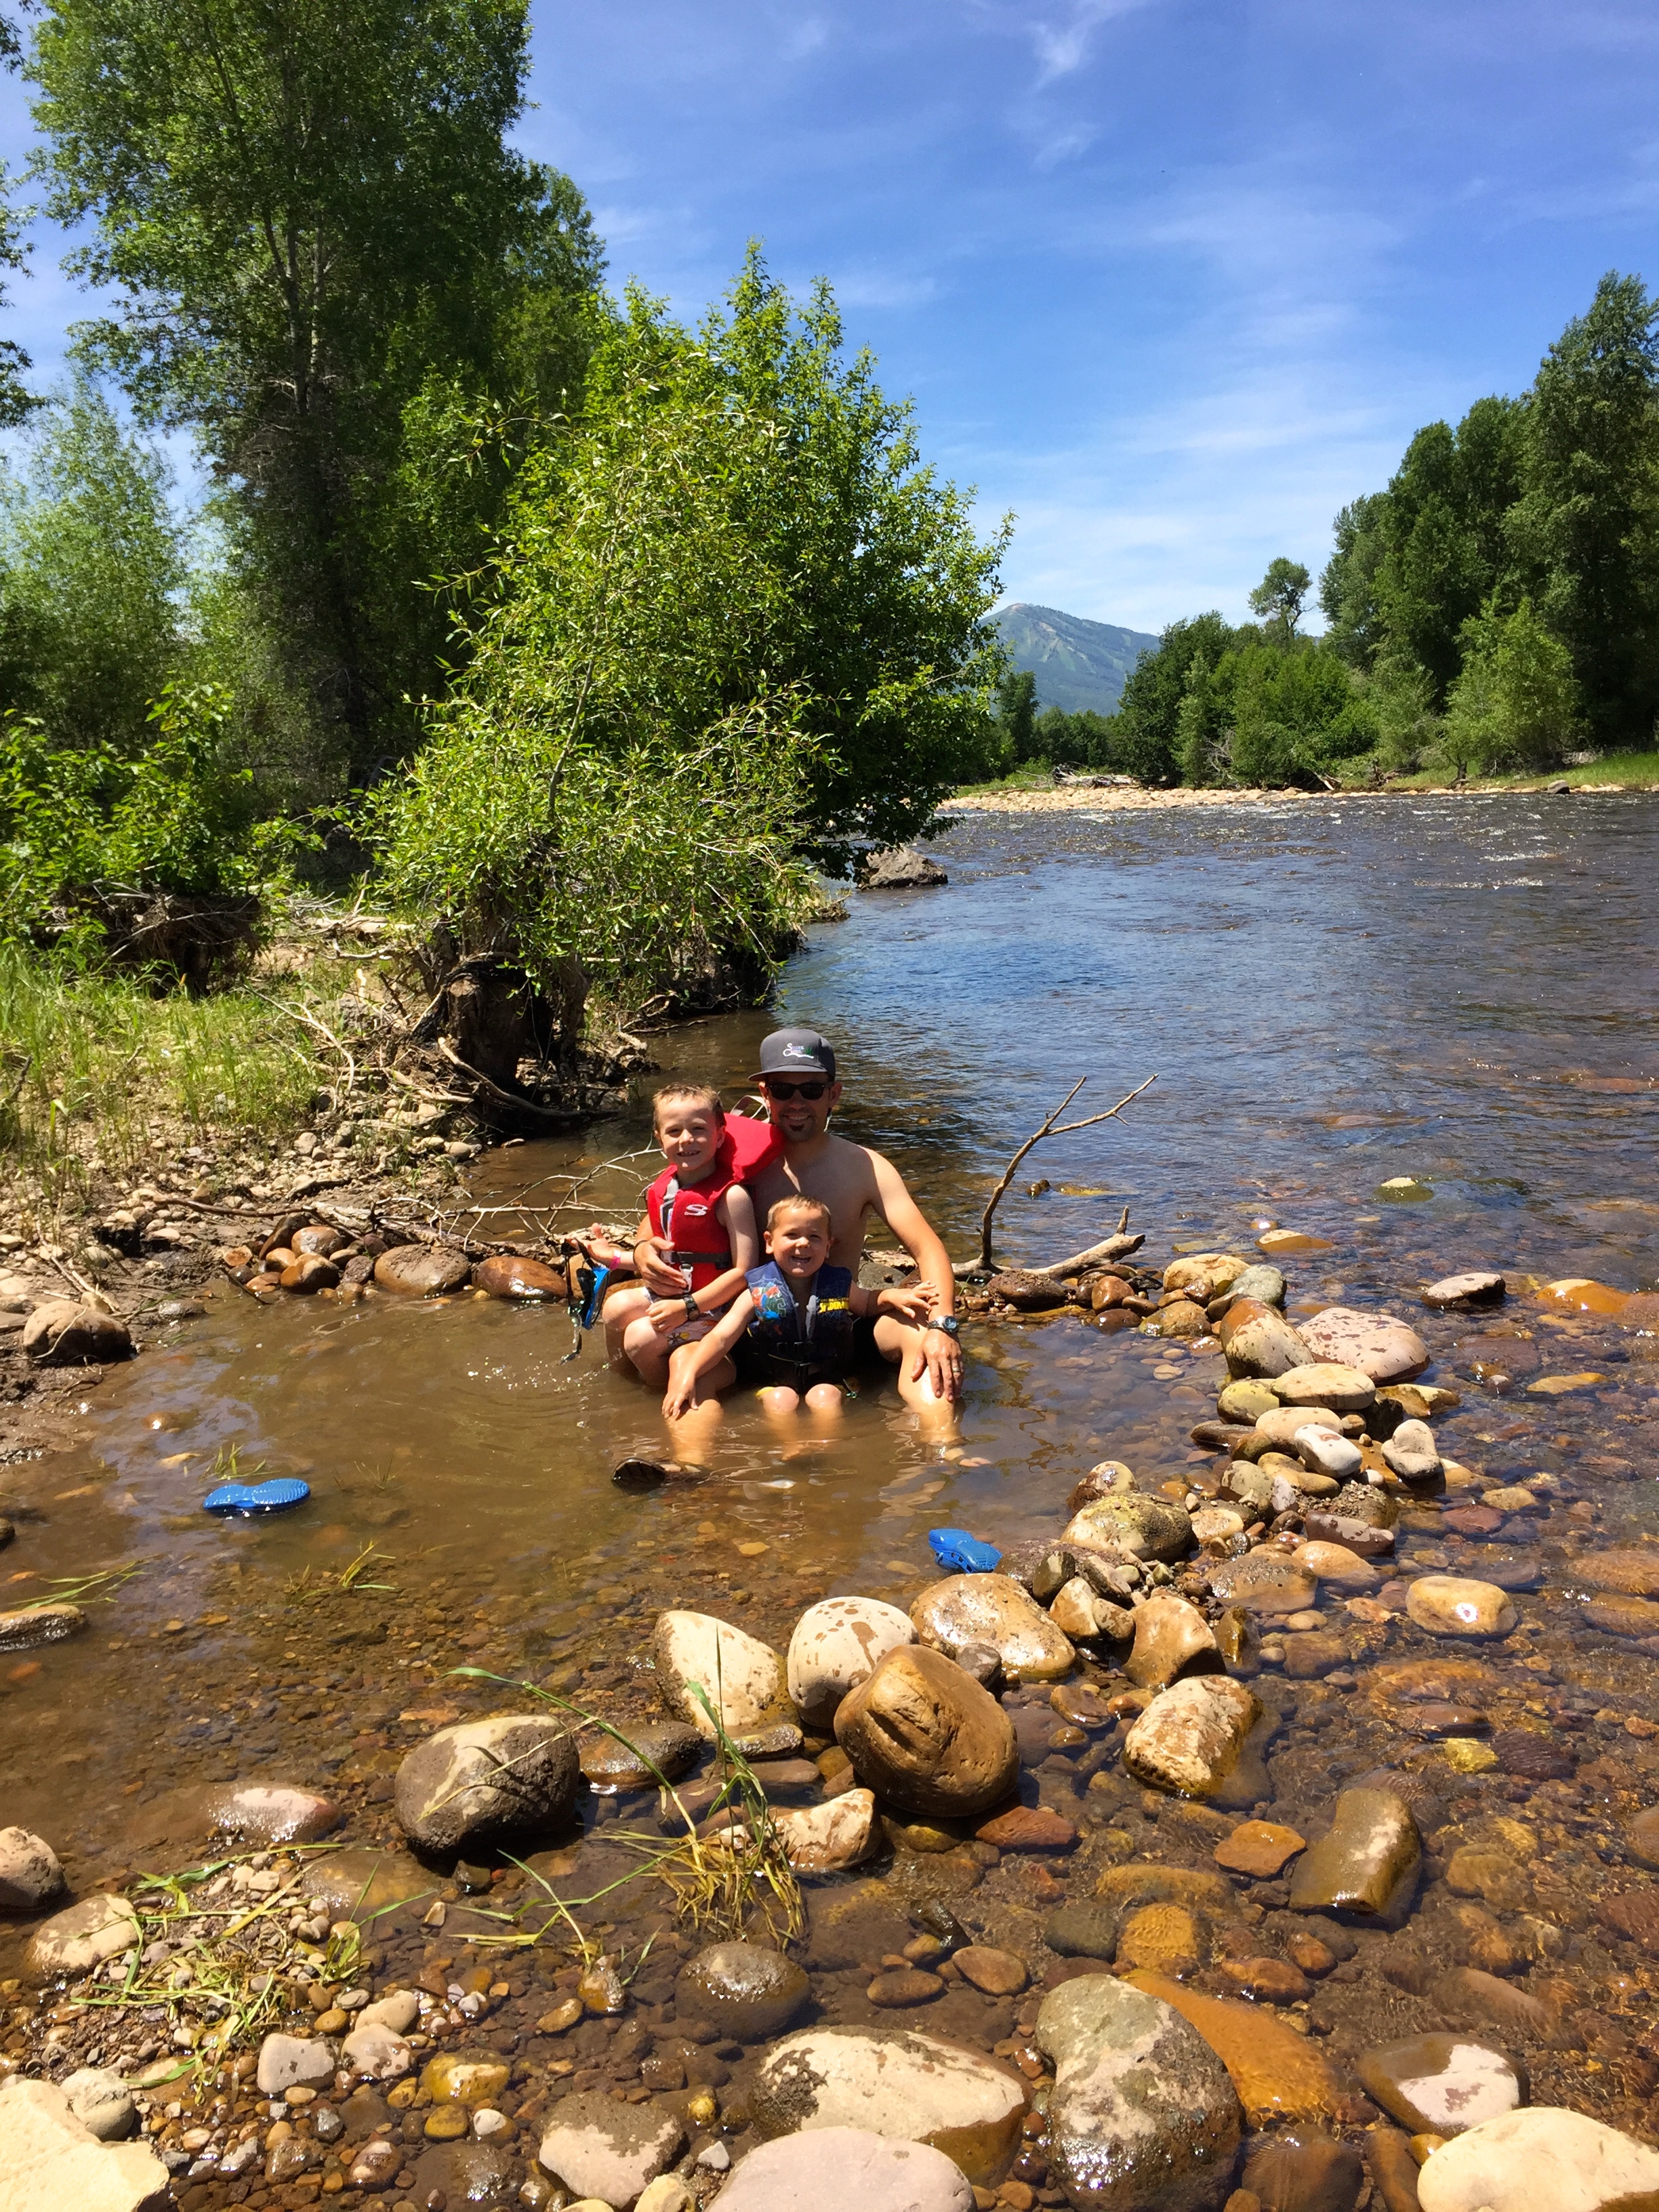
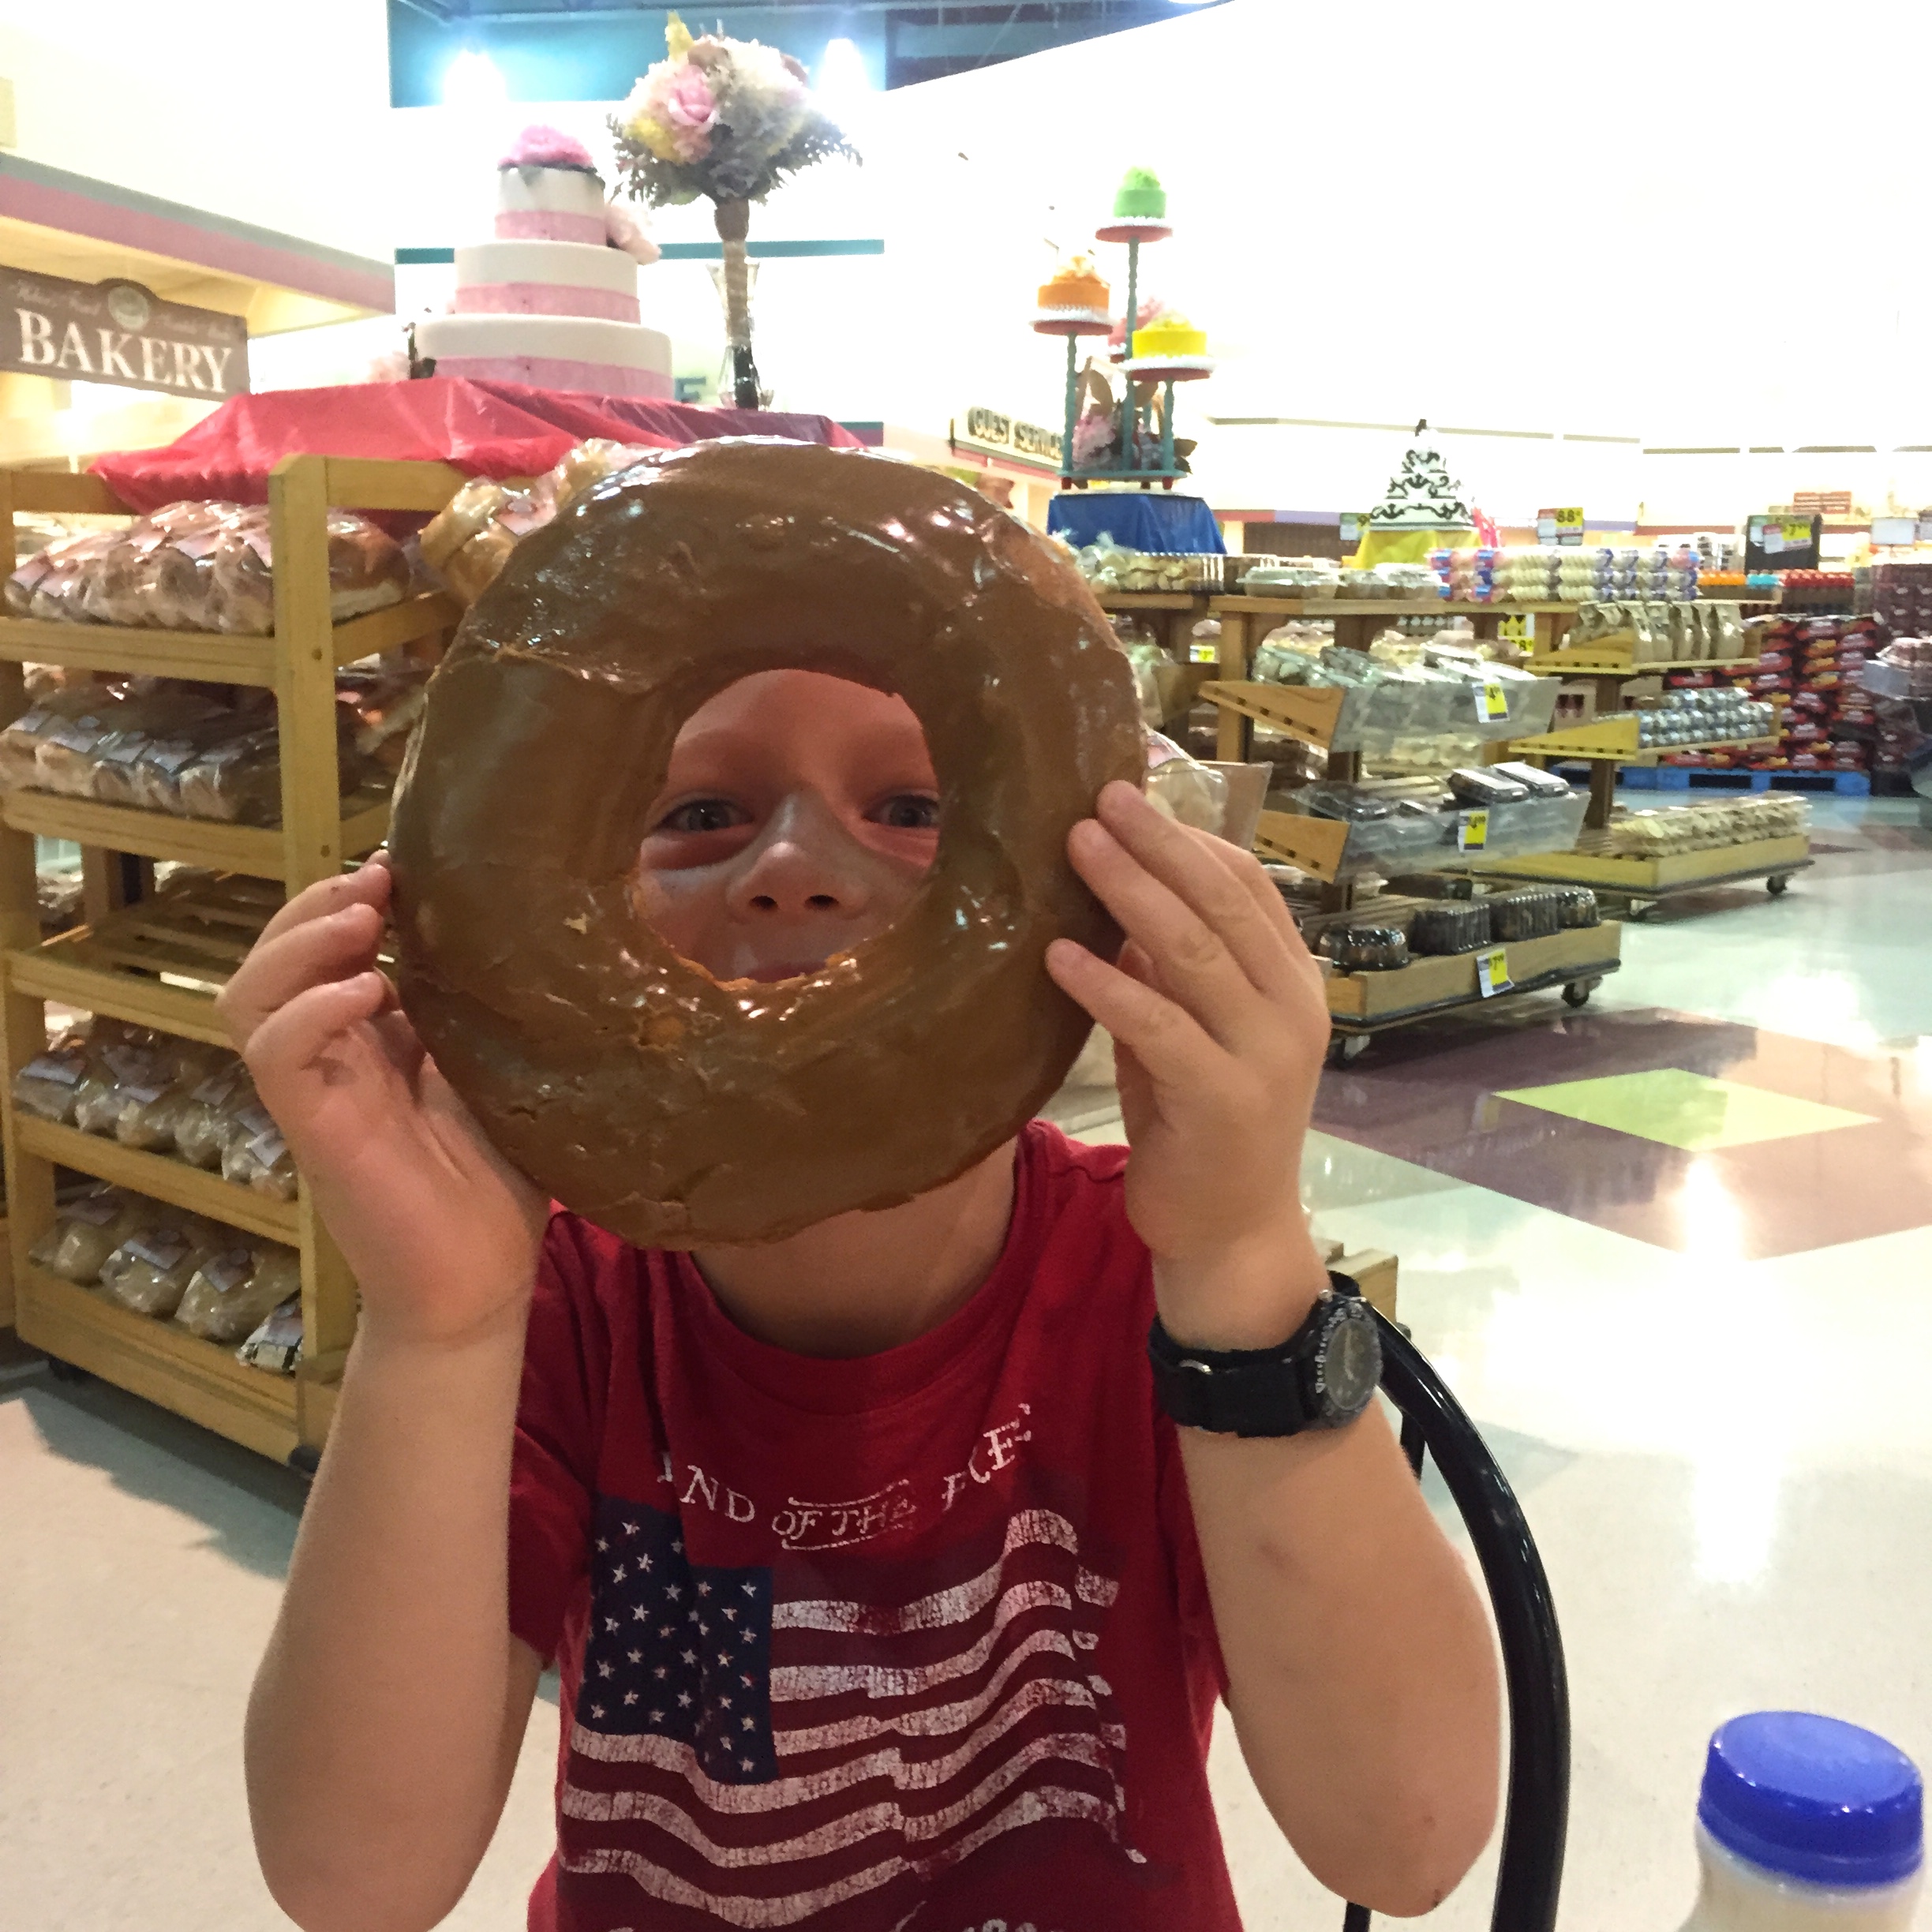
Other high points have been time spent on the river for Father’s Day, and many miles logged on bicycles. Yes, there is photographic evidence that our kid ate a donut the size of his head, and the Farmer’s Market started up again on Thursday evenings replete with pupusas, grilled corn, sweet mint limeade, and local music.

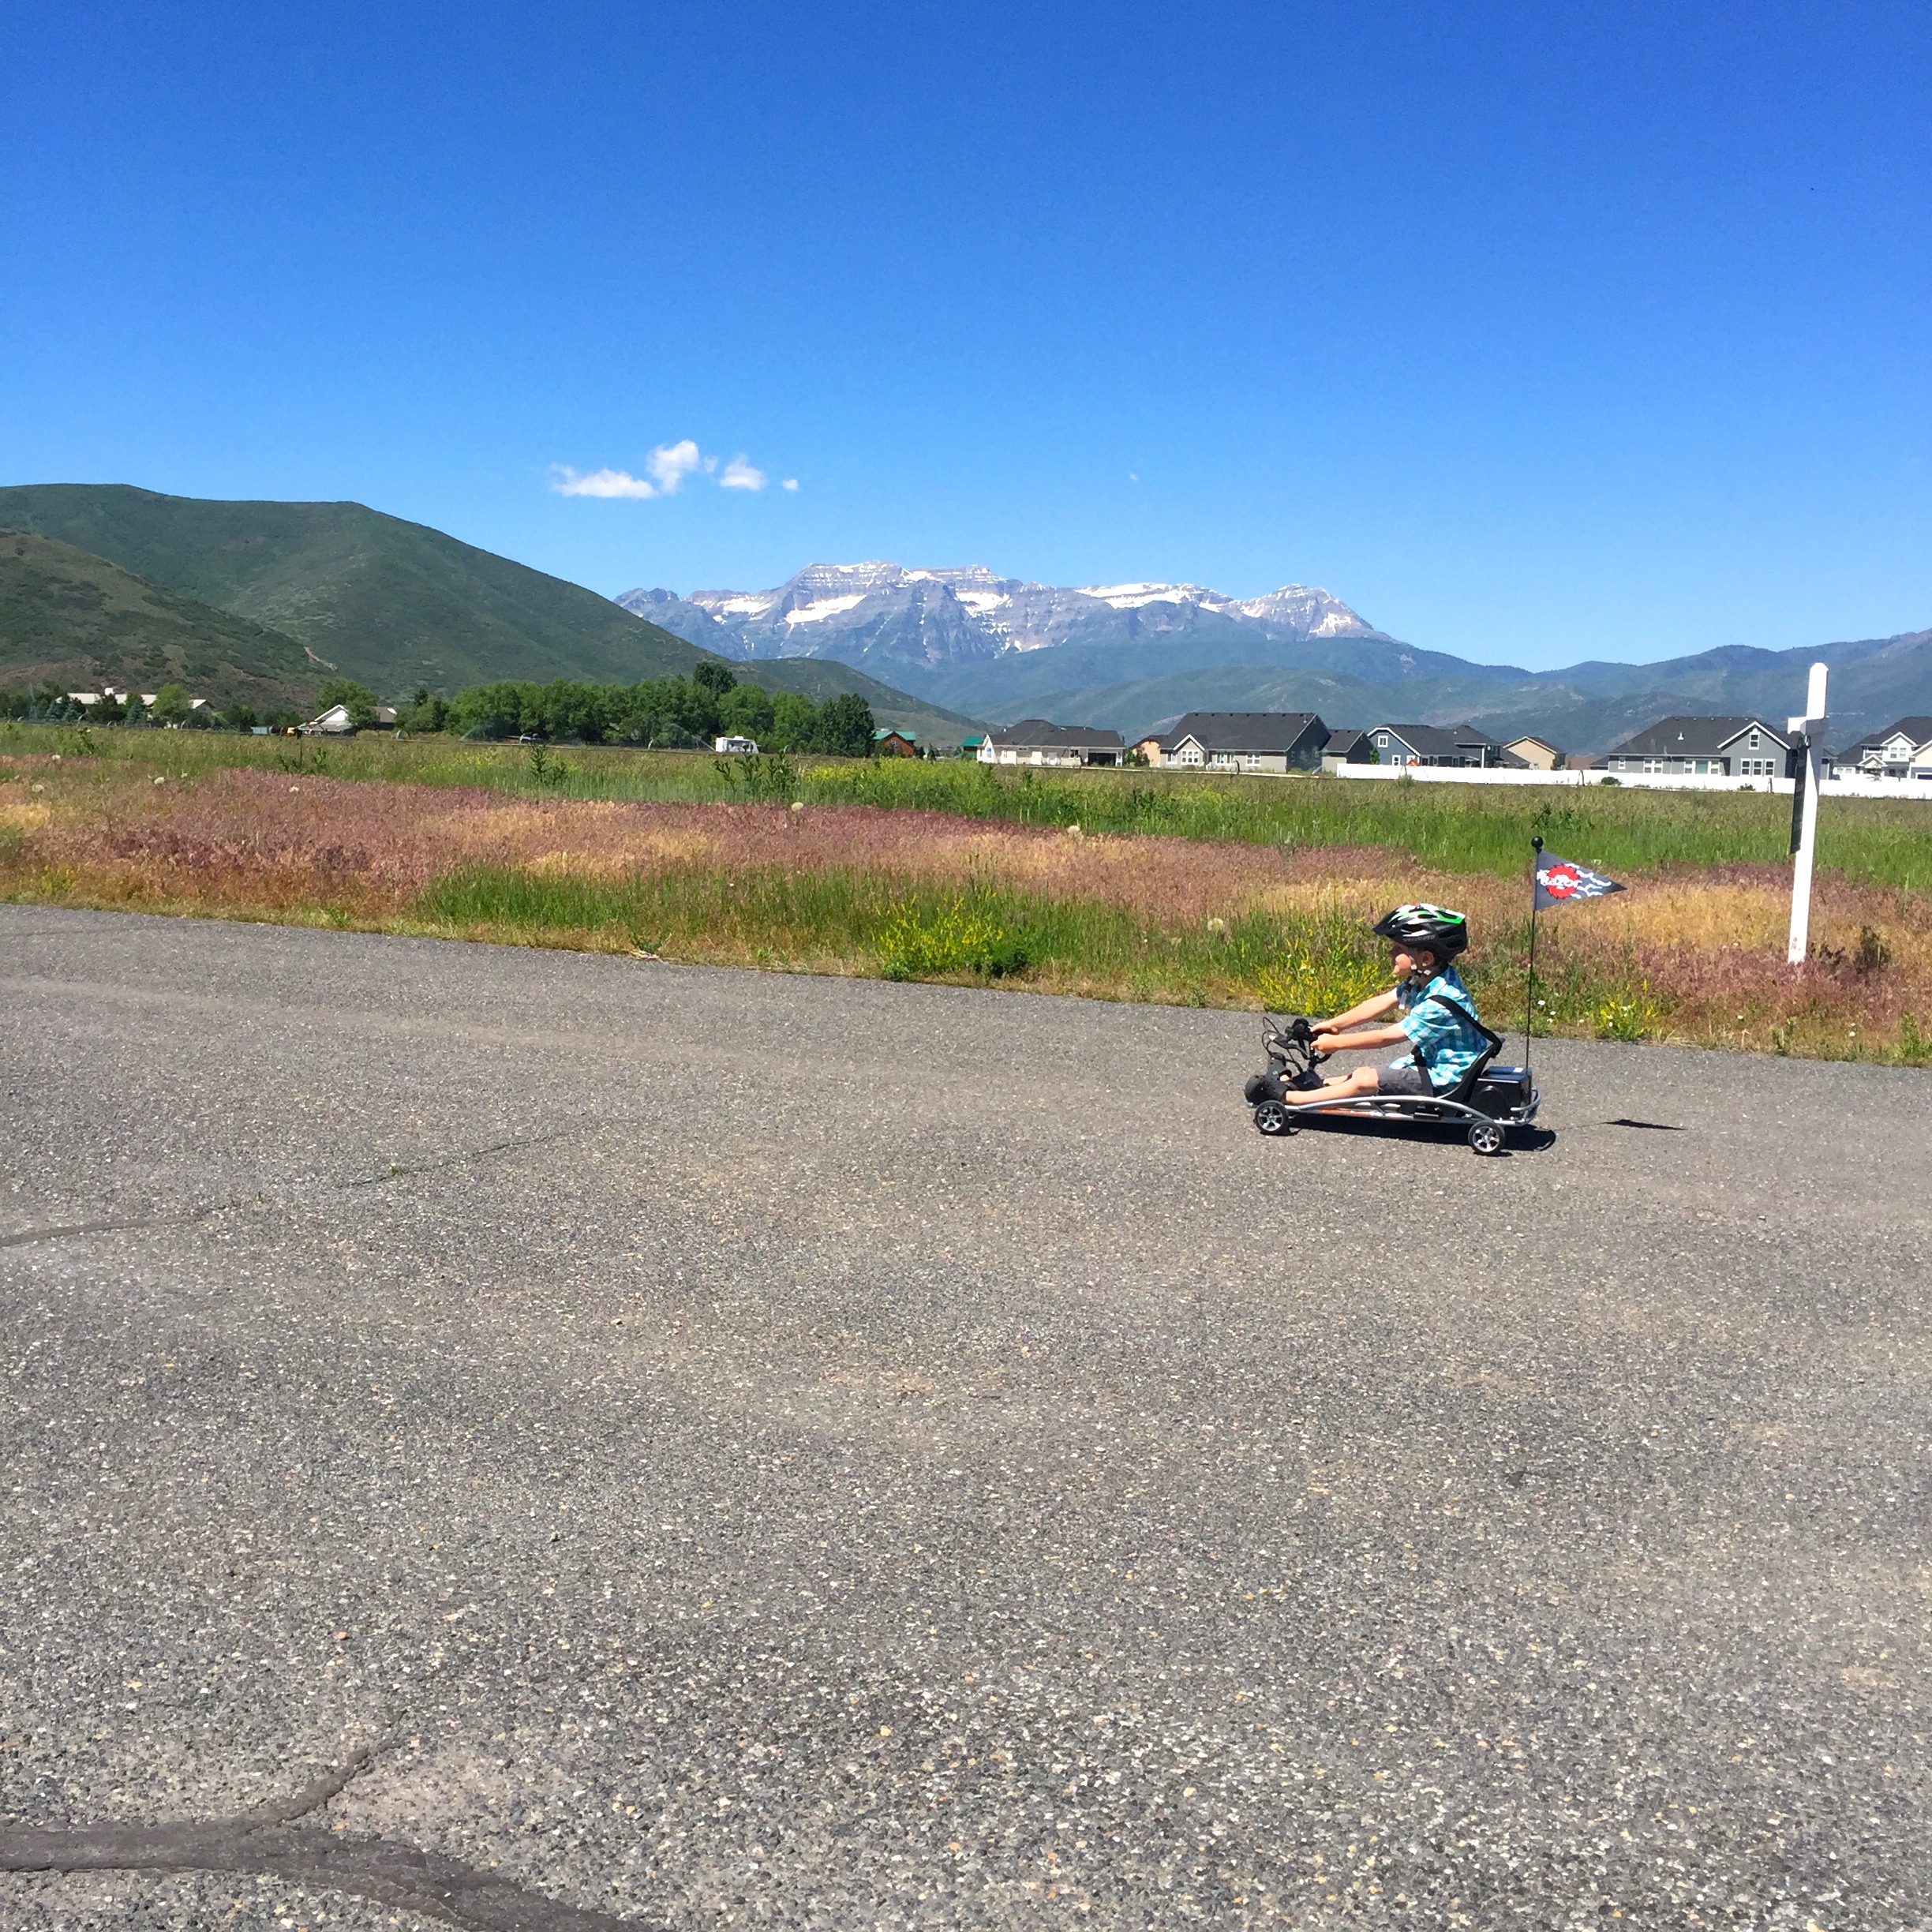
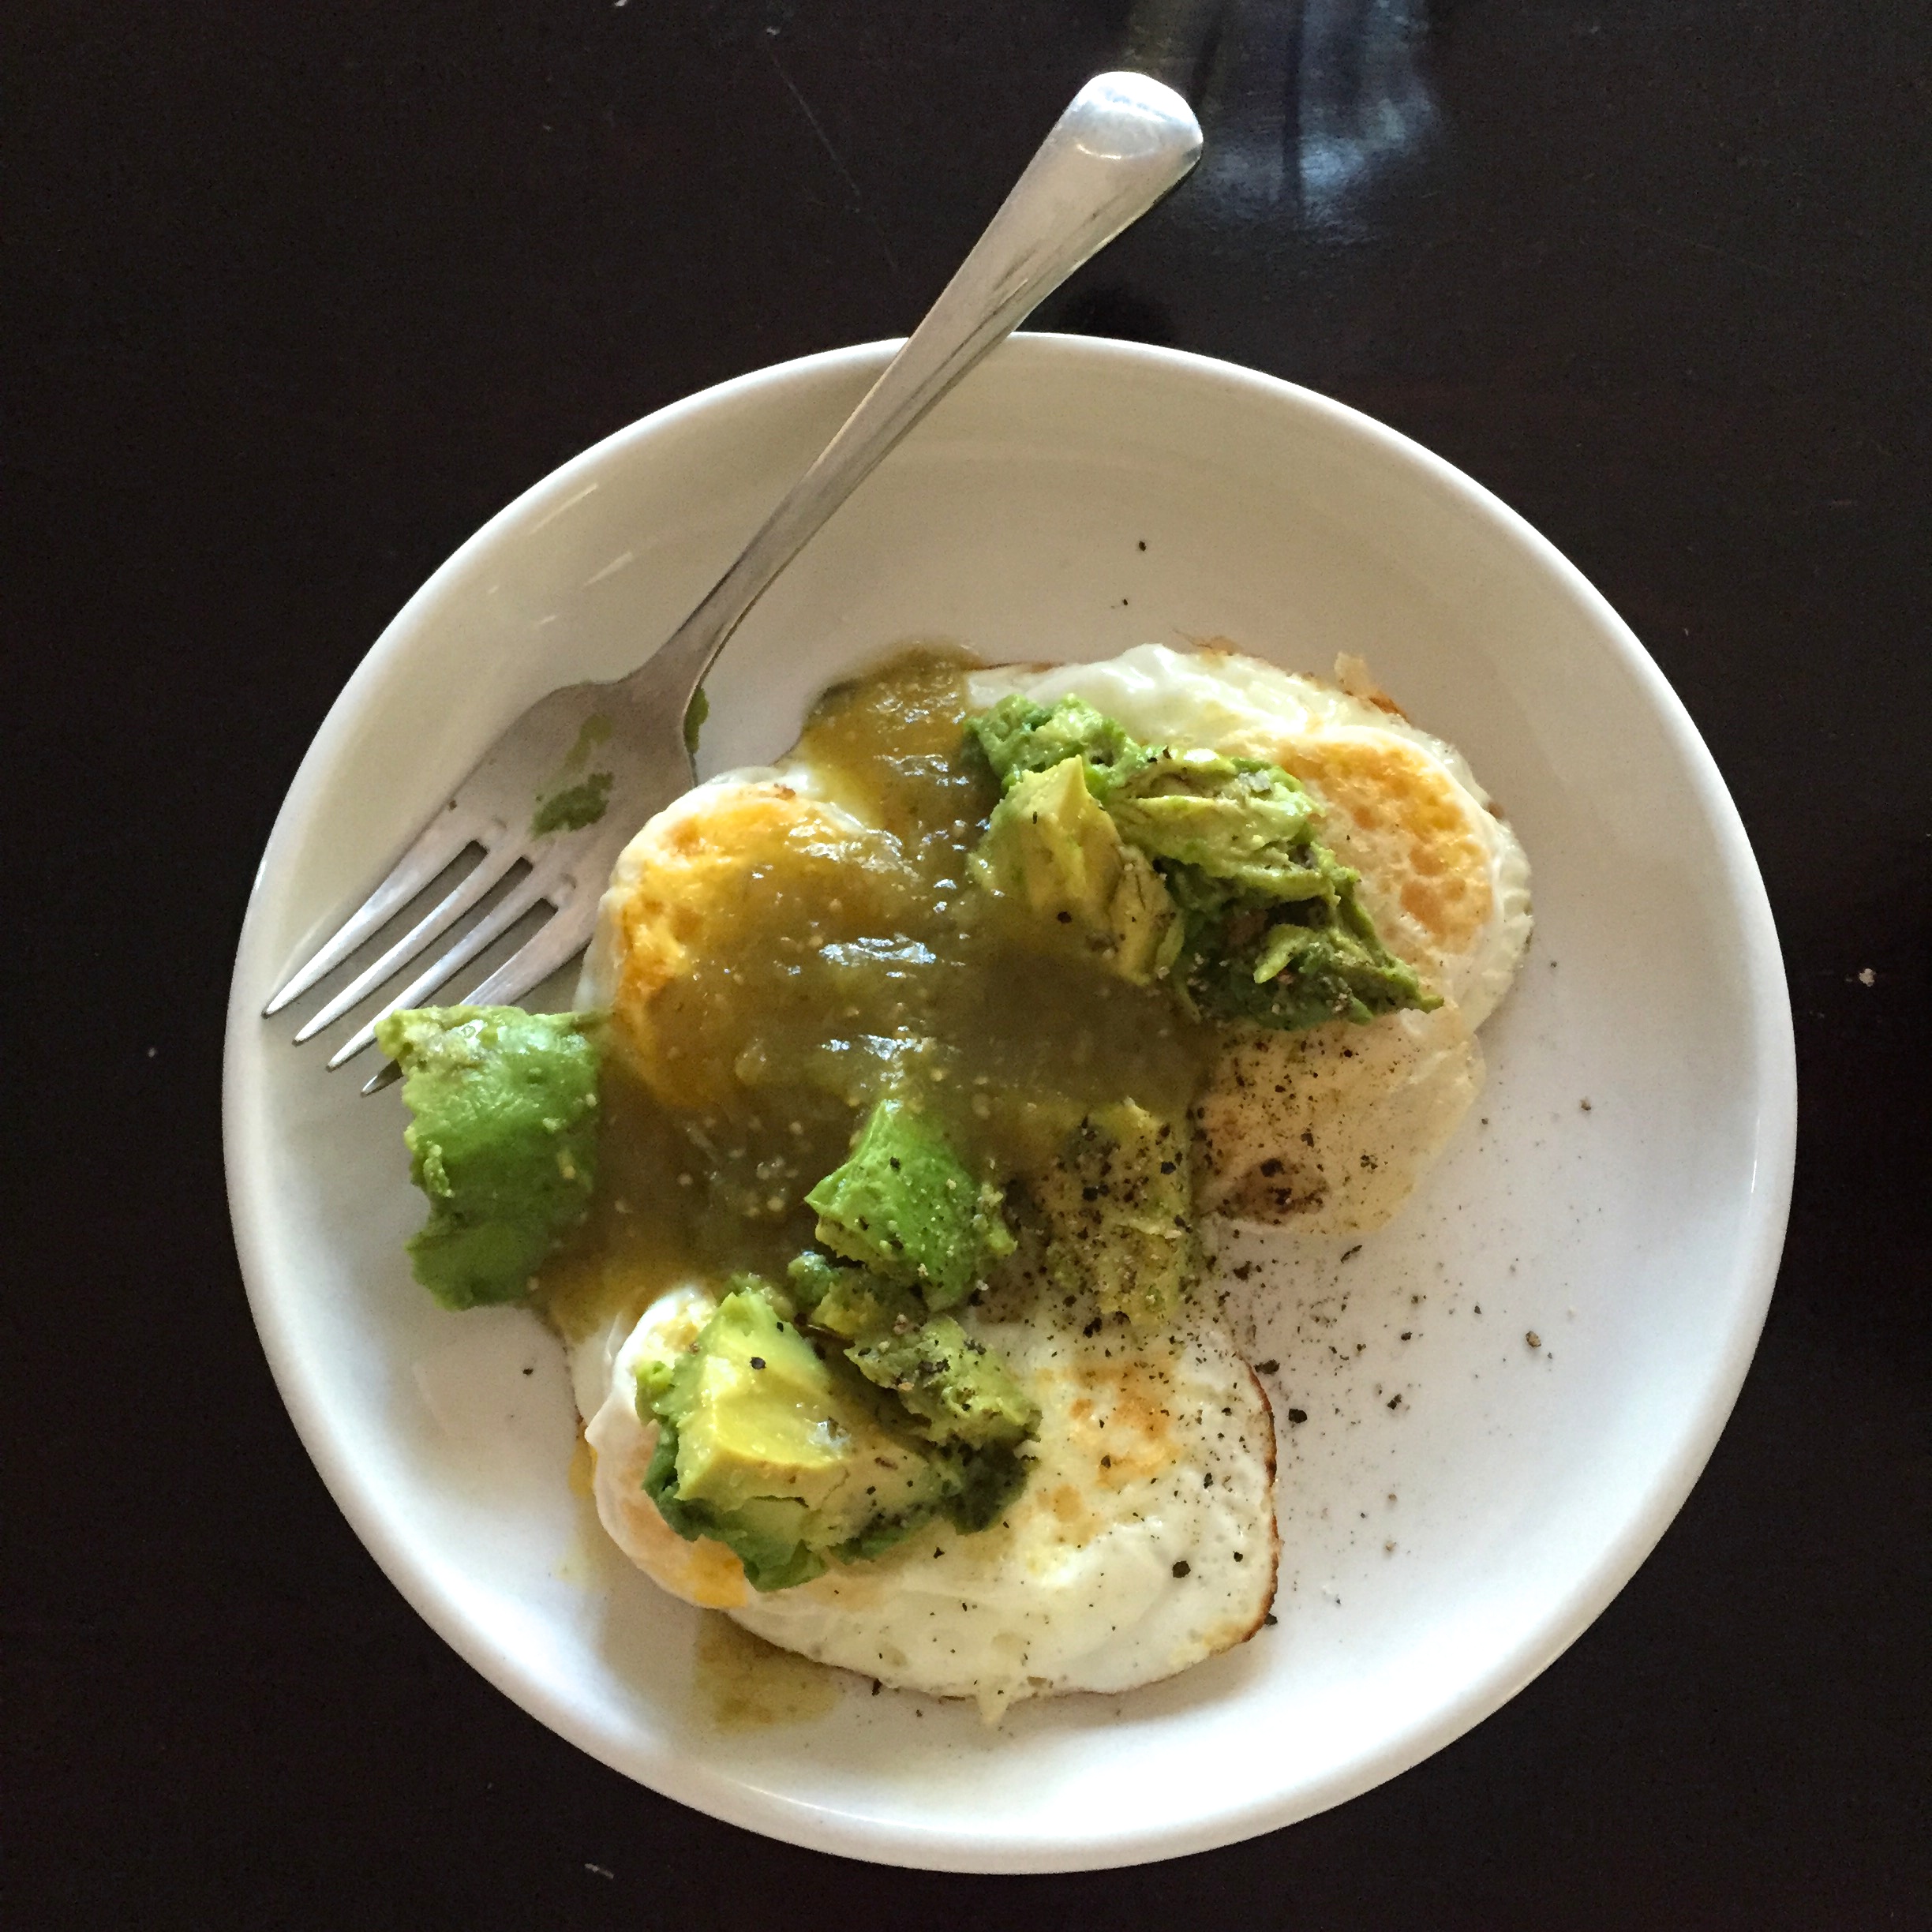
The boys’ received a go-cart for a shared birthday present front their Grandma! Thank you, Robin! And I received some fresh eggs from Tonya, Yum, yum. THANK YOU!

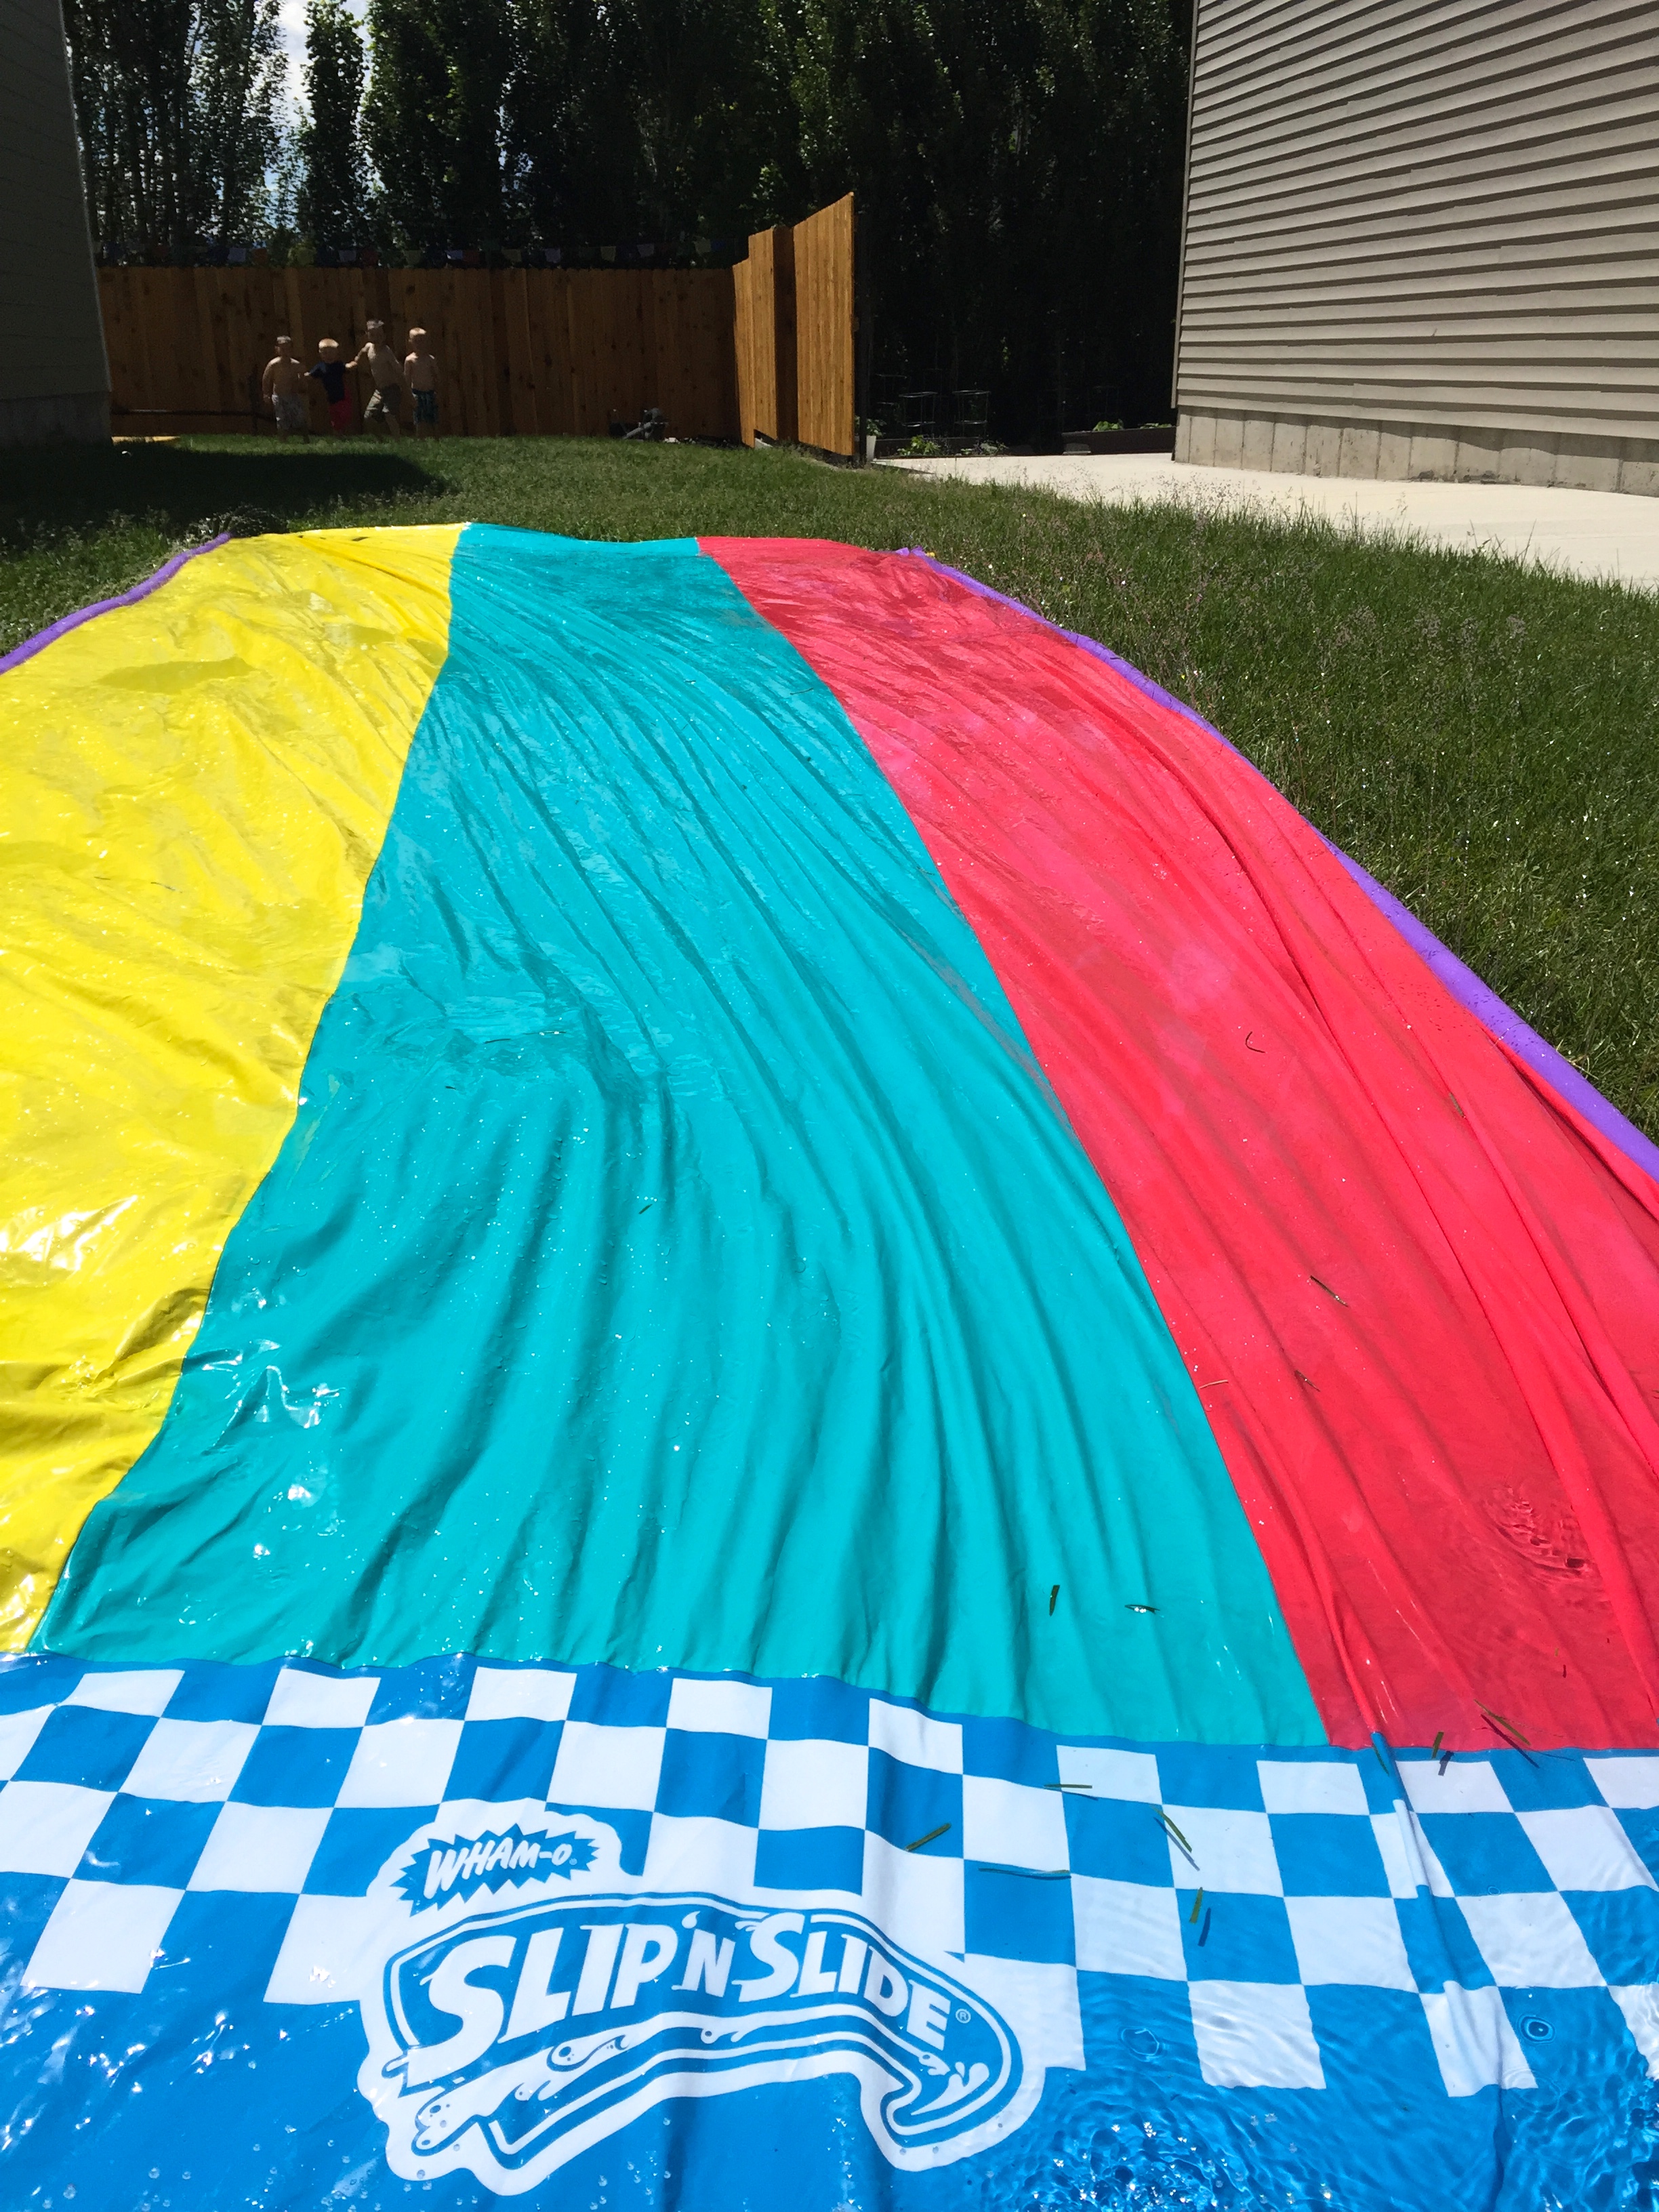
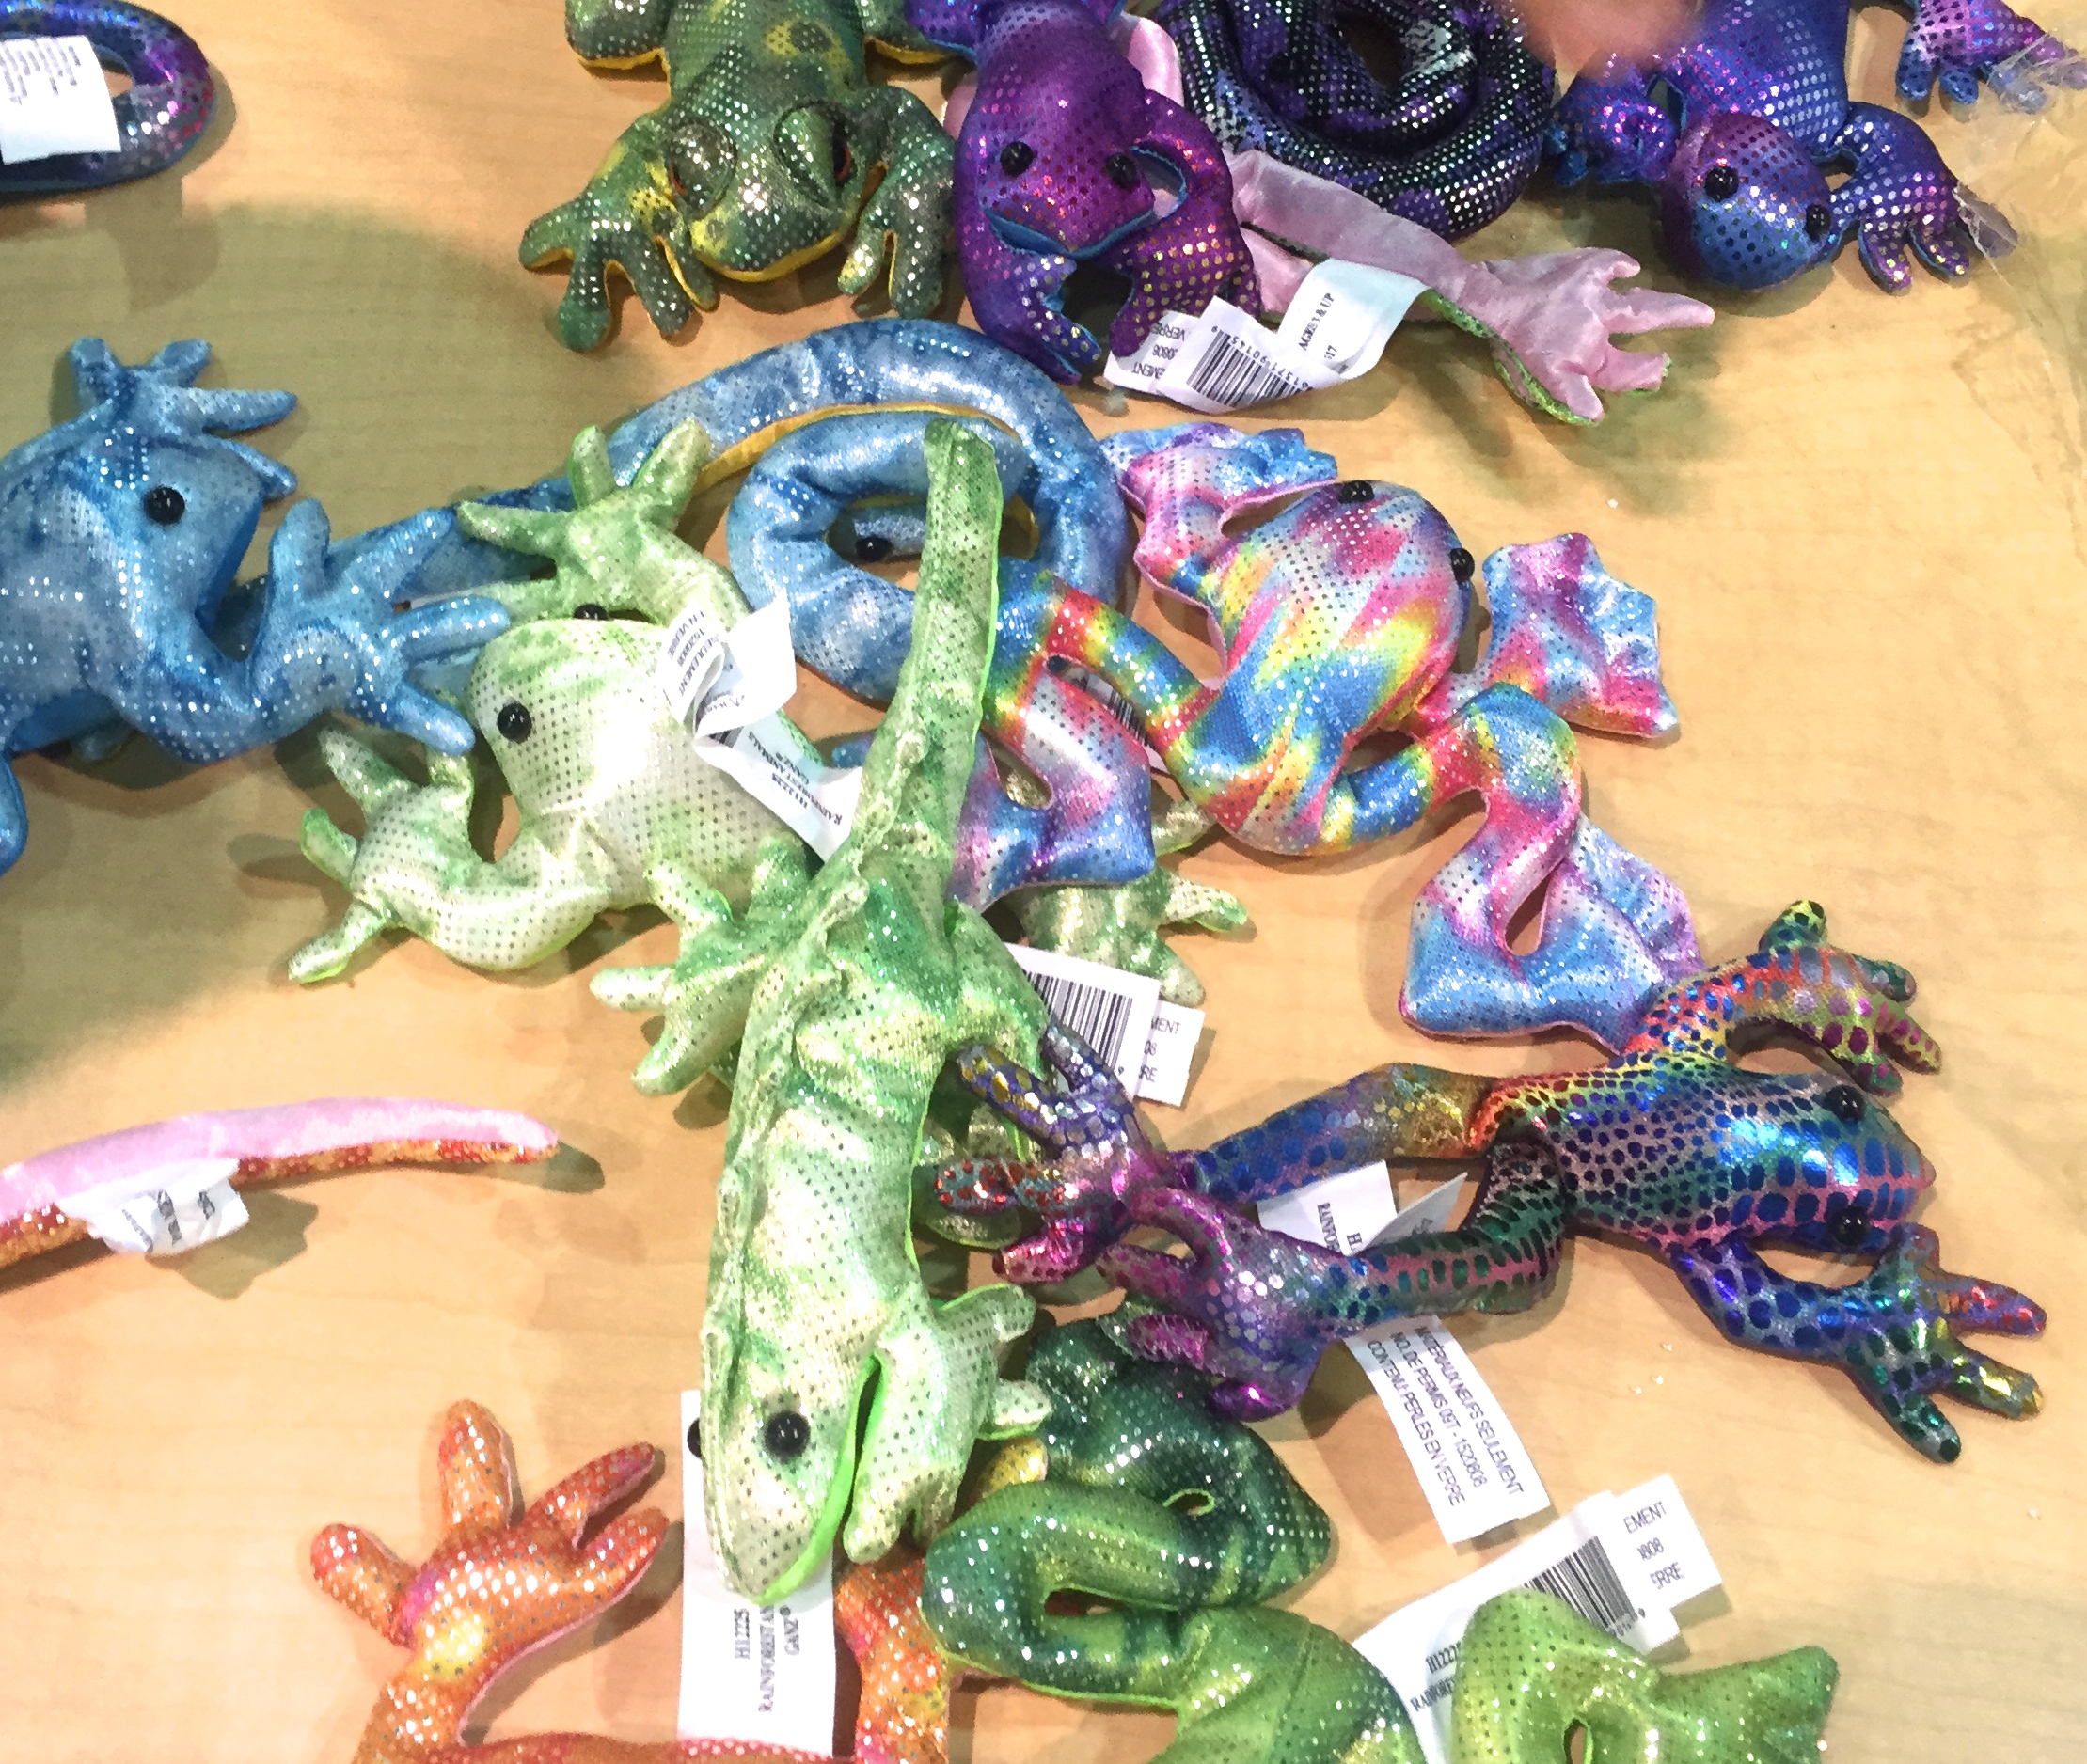
Water sports of every kind from the slip n’ slide, to sprinklers, to water balloons are in full effect. The frogs in the last shot are Miles’ favorite toy. Shiny, cuddly, colorful, filled with tiny beads, specially ordered by our local grocer to make him smile! 🙂 Thank you Lindsay and Rena!!!

We’re doing all this while trying to keep the toilets clean, the laundry at bay, and the dishes from turning into a scene from Sarah Cynthia Sylvia Stout!

Summer, you’ve been good to us. But that doesn’t mean that I don’t have other goals I need to tackle. I read an interesting article about FUN today in the Deseret News. Brooke Romney, the author, wanted to point out that we’ve grown up in a culture that worships that term. We base a lot of our time and effort and energy in the pursuit of this FUN, and sometimes we need to realize that being a fun chaser actually just leaves you thrusting for the next created high.

What about the value of hard work, trying to give your best in all you do, developing the skills to be a true friend, investing time into hard tasks. These things don’t often get the hype and the excitement, but they actually can be enjoyable, fun, and allow you to deepen your success, satisfaction, and personhood. You can read her article here.

I still need to jump on a chore list for my boys, and figure out how to set up a balance where they are asked to be responsible and contribute to home life maintenance before I end up writing them a letter like this, WORTH THE READ! I hope you are all experiencing an awesome summer however you’ve chosen or been able to use your time!

XX, Megan

IMG_6251

IMG_6221

IMG_5979

11221795_10102042168589686_7160423344067490711_o

IMG_6074

IMG_6115

IMG_6258

IMG_6079

IMG_6026

Science Friday: Sidewalk Volcano

DSC_0002

Ingredients:

6 cups flour
2 cups salt
4 tablespoons cooking oil
warm water
plastic soda bottle
dishwashing detergent
food coloring
vinegar
baking dish or other pan
2 T baking soda

Dog optional.

Dirt optional.

DSC_0008

Happy Science Friday, friends! We had a stellar time with our experiment this past week and are super stoked to share it with YOU!

Ever since our sweet friends came to visit the oldest little girl has been asking if we could make a VOLCANO! To be perfectly honest she would actually have preferred to make a CHOCOLATE VOLCANO, but this vinegar and baking soda substitute was okay with her, too. 🙂

I HIGHLY recommend that you perform this project OUTSIDE! I knew this was going to be a messy endeavor, but WOW! It was really really messy. I also want to note that you should probably plan on doing this experiment in two shifts.

Meaning, make your dough to form the volcano around the bottle. Form the dough around the volcano. Then plan on washing EVERYONE’s hands so that you can continue with the ACTUAL experiment.

I hope you all have had a fabulous week, that your Science Friday is rockin’, and your weekend is fantastic!

XX, Megan

First, mix the flour, salt, oil, and water in a large bowl. (FYI we ended up mixing up TWO full batches of this dough.)

DSC_0011

I also HIGHLY recommend convincing a friend that they should join you in your fool-hardy scientific adventure. Especially when volcanoes are involved and ESPECIALLY when SIX children are involved! Thank you, Carla!!!

DSC_0015

Second, form the dough around the bottle… For us, this was a FLOP. I don’t know how I’d do this differently next time. To be honest, I think that I would make the dough a little more dry, mix it for a little bit longer, and use a MUCH smaller bottle (I was going for effect, folks, ha! I ended up having to cut the bottle in half to achieve a more volcano-like look).

DSC_0018

Third, add dirt. I don’t know what other experiments suggest you use to make your white paste look like rock, but we used rocks. I covered the top of the bottle with a paper towel to ensure that no dirt got dropped into the bottle. It looked… just as bad, but a little more authentically soil based!

DSC_0022

Fourth, inside the bottle add the red food coloring, six or so drops of dish soap, and fill your bottle 3/4 of the way full of warm water.

Fifth, add the baking soda to the water/soap/coloring.

Sixth, slowly add the vinegar.

IMG_6200

Now things were starting to pan out! Finally! Some actual half-way decent volcano action! The crowd was pleased. Then a few of them asked to try.

We added a few more tablespoons of baking soda, and let a few kiddos pour the vinegar.

DSC_0023

DSC_0030

Then someone mentioned dinosaurs and more quickly than our model volcano could erupt the race for the plastic dinosaur figurines was on!

DSC_0035

Just one more. Another friendly reminder that this experiment is really best taken OUTSIDE!!! Happy Science Friday!

IMG_6203