Peach Upside Down Cake

DSC_0028

DSC_0075

Oh if only you all could have seen me as I made this cake. I wish I’d had the presence of mind to film it, even just to watch again myself and LAUGH! I’d laugh because I decided to whip this baby up a mere 19 minutes before an afternoon appointment.

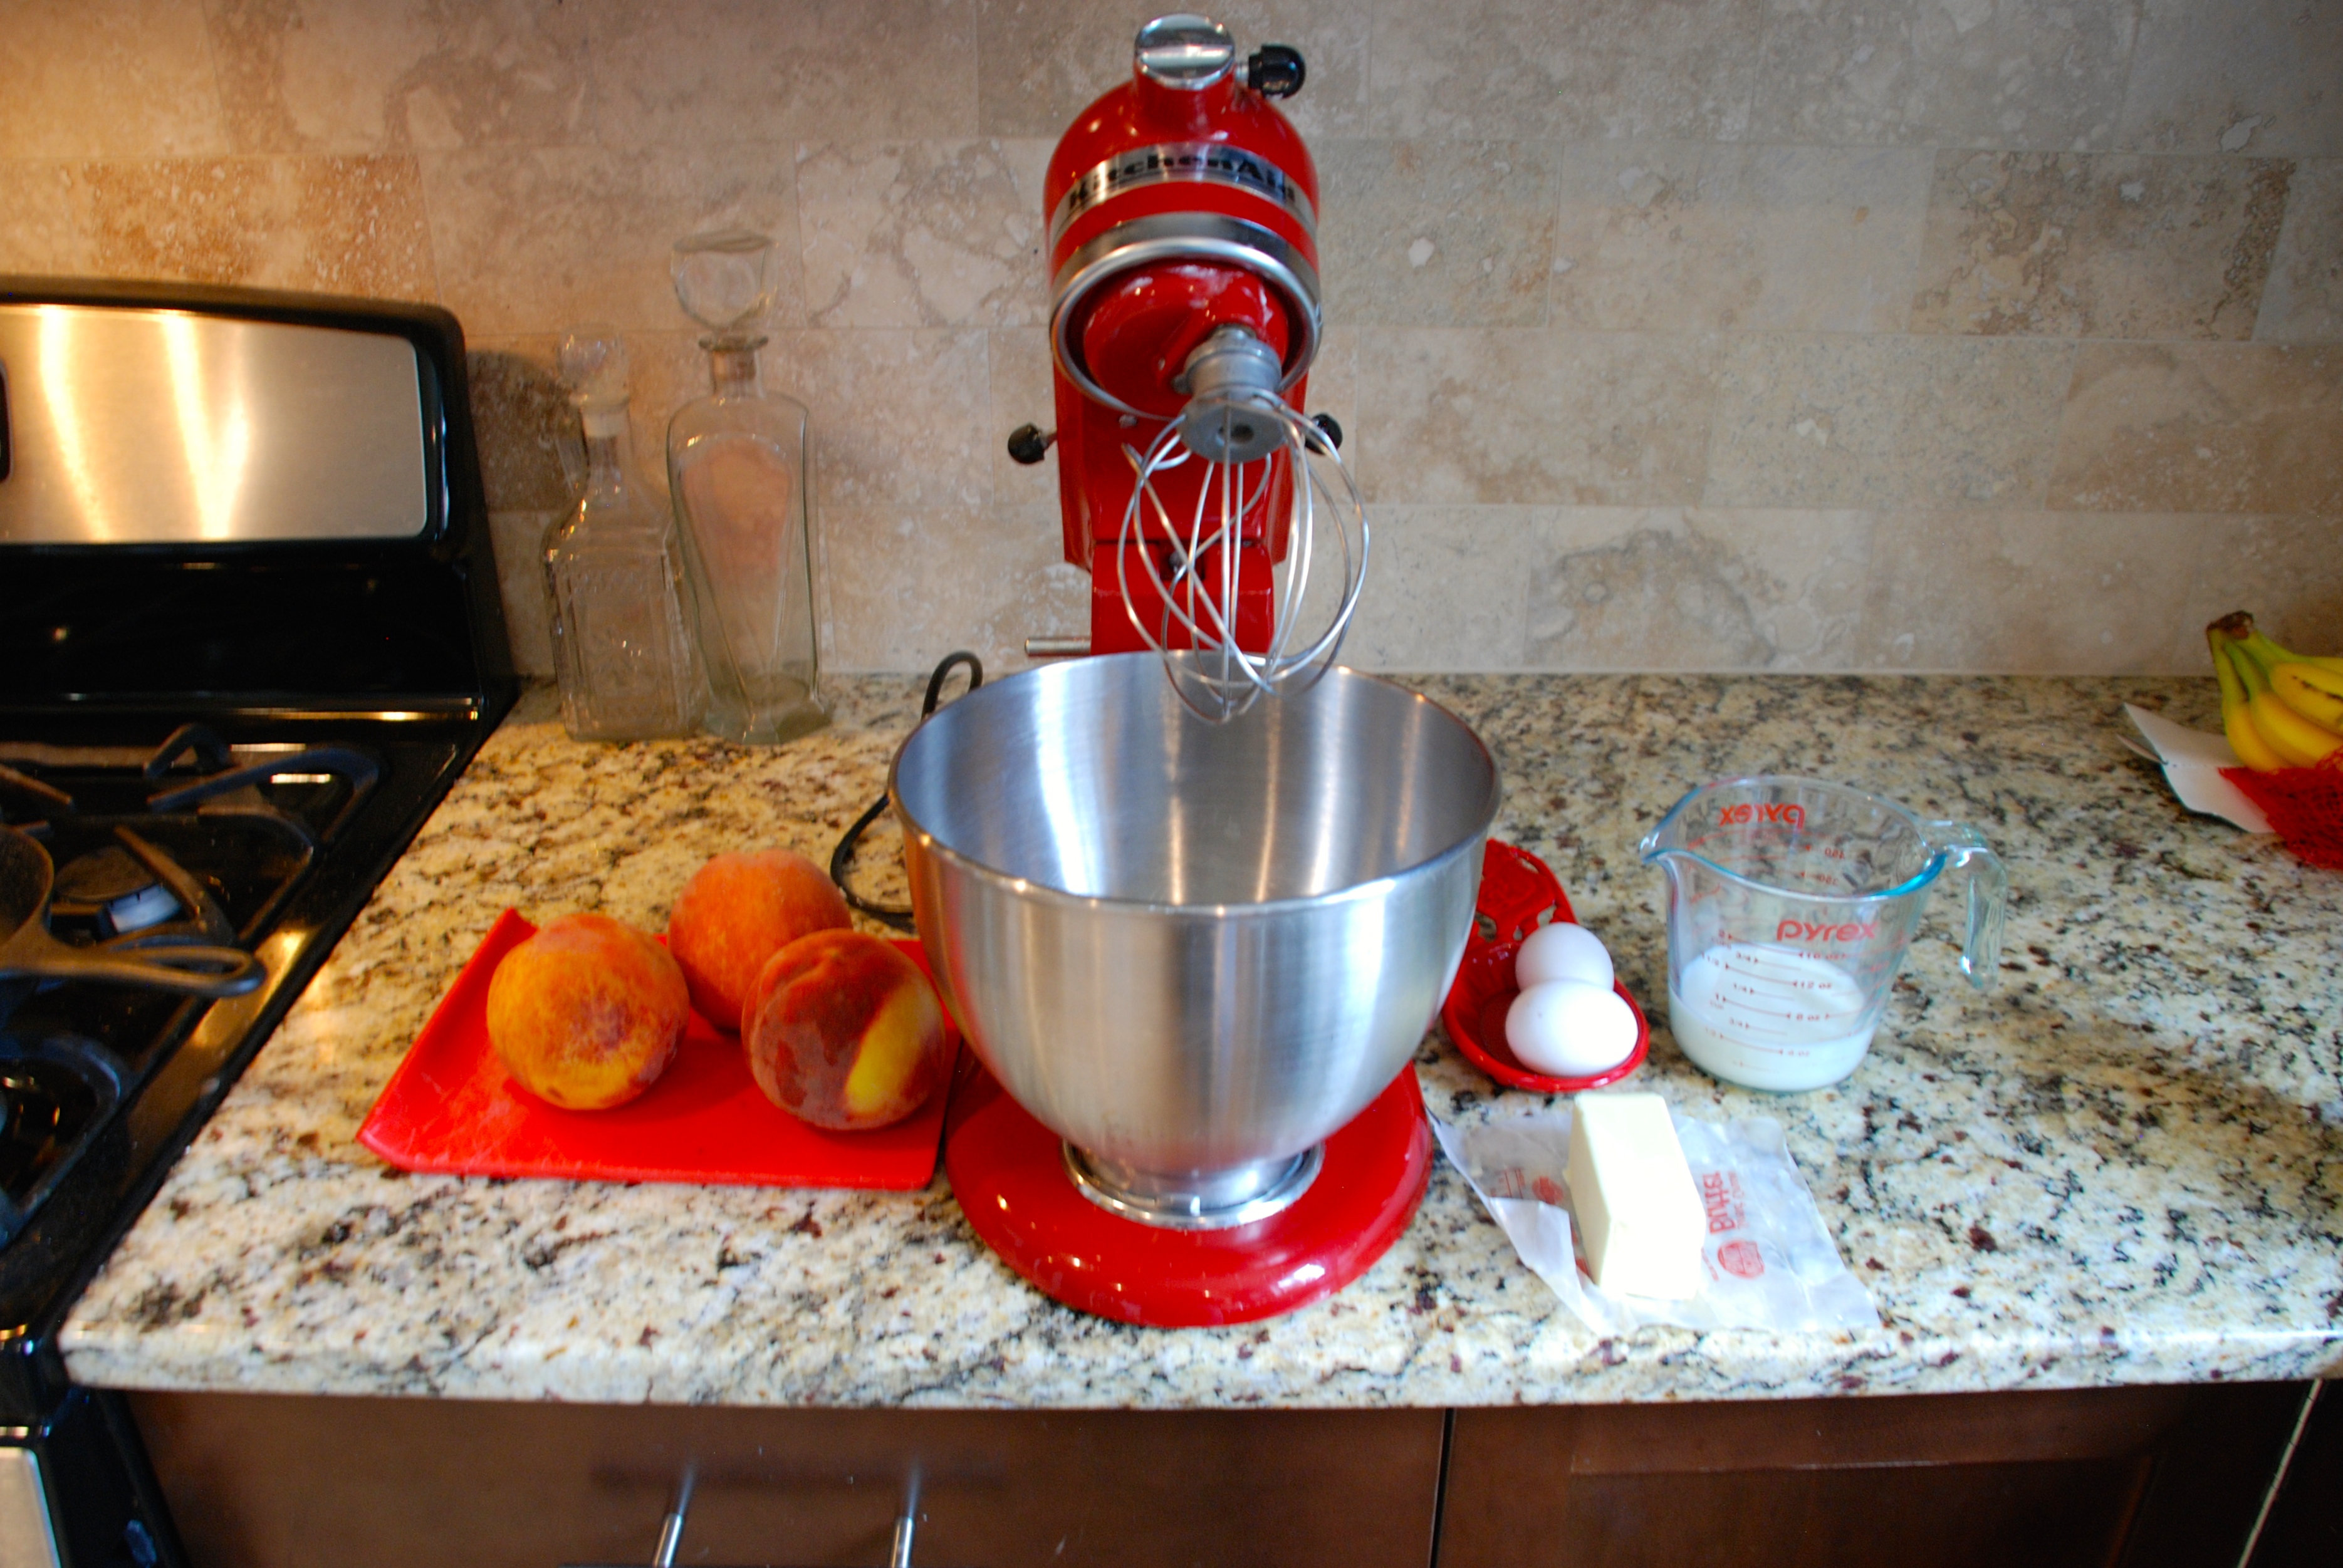
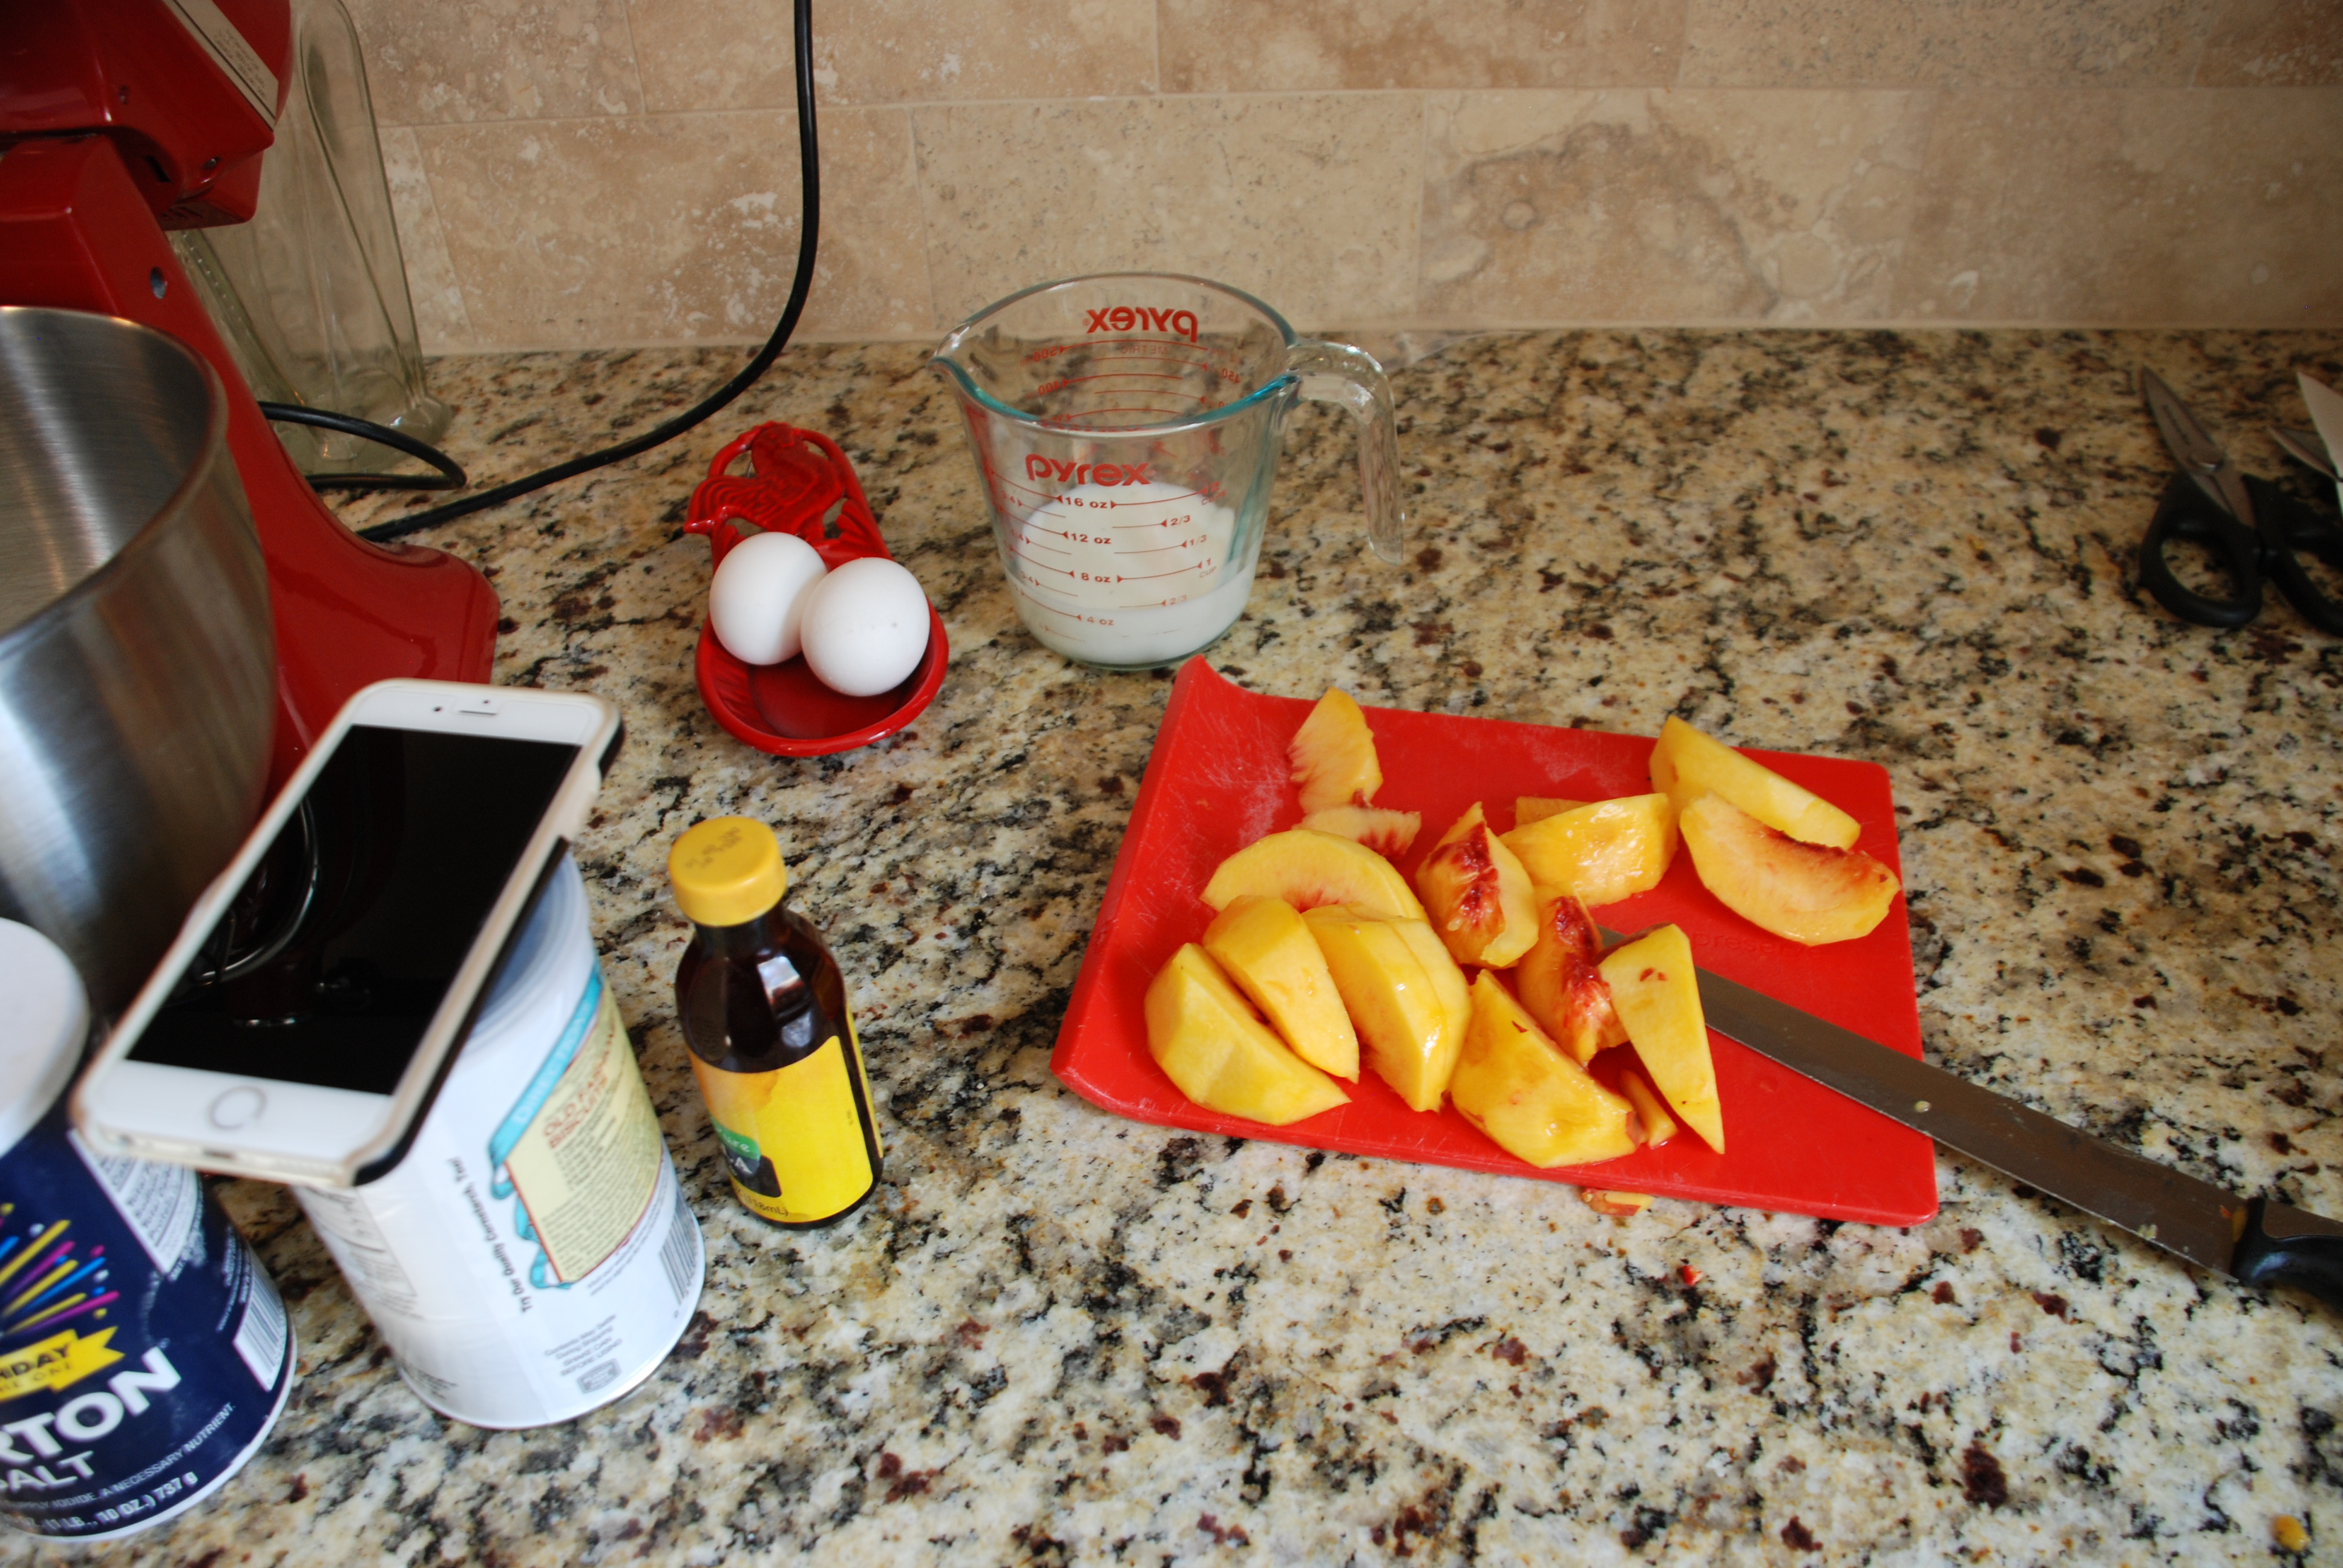
I went into turbo mode. Notice the cell phone live on the baking powder container. Notice the hack and whack I did to the peaches. I chopped them up so fast there wasn’t time for pretty! Notice the flour smattered across my kitchen counters and the crumbs from dinner sprinkled on the stovetop! Wow.

Add to that the irony of this Peach Cake and Monday’s post inviting all of my friends and faithful readers to take on a September Sweat Session with me. I want you to know that I have hit the gym every day since that post. So maybe we should save this cake for our celebratory meal at the end of Sweating it out in September… Or maybe not.

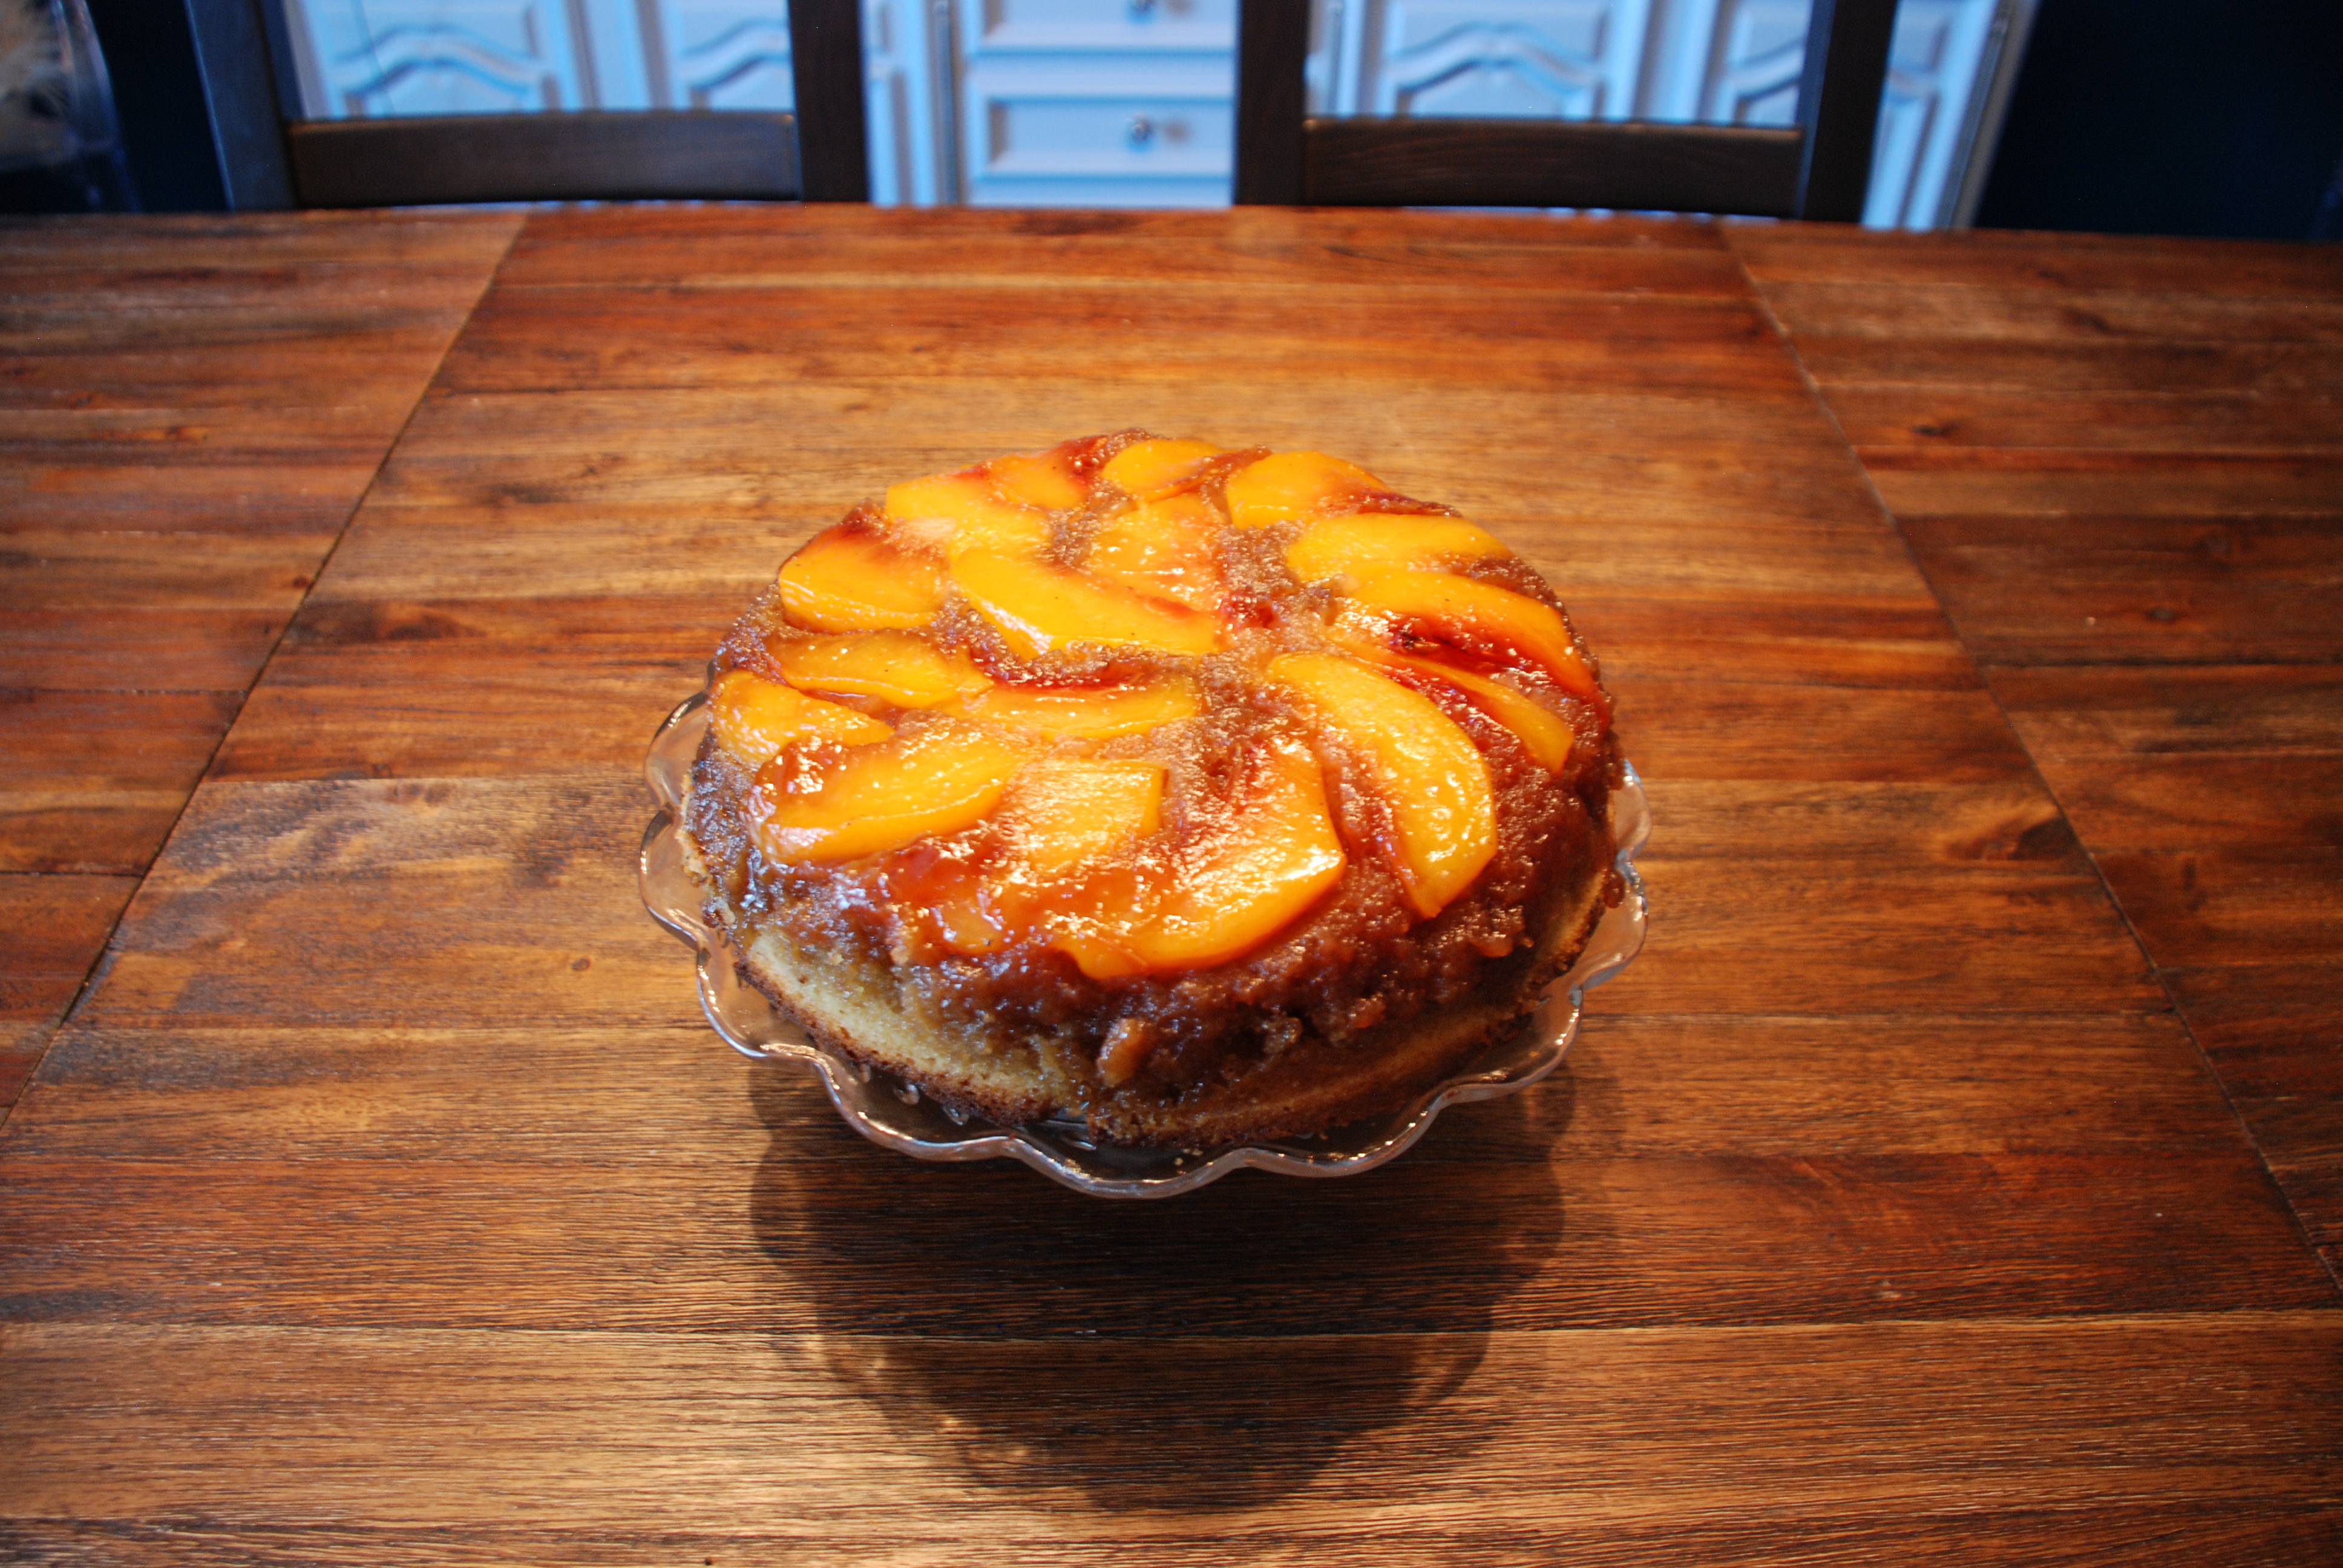
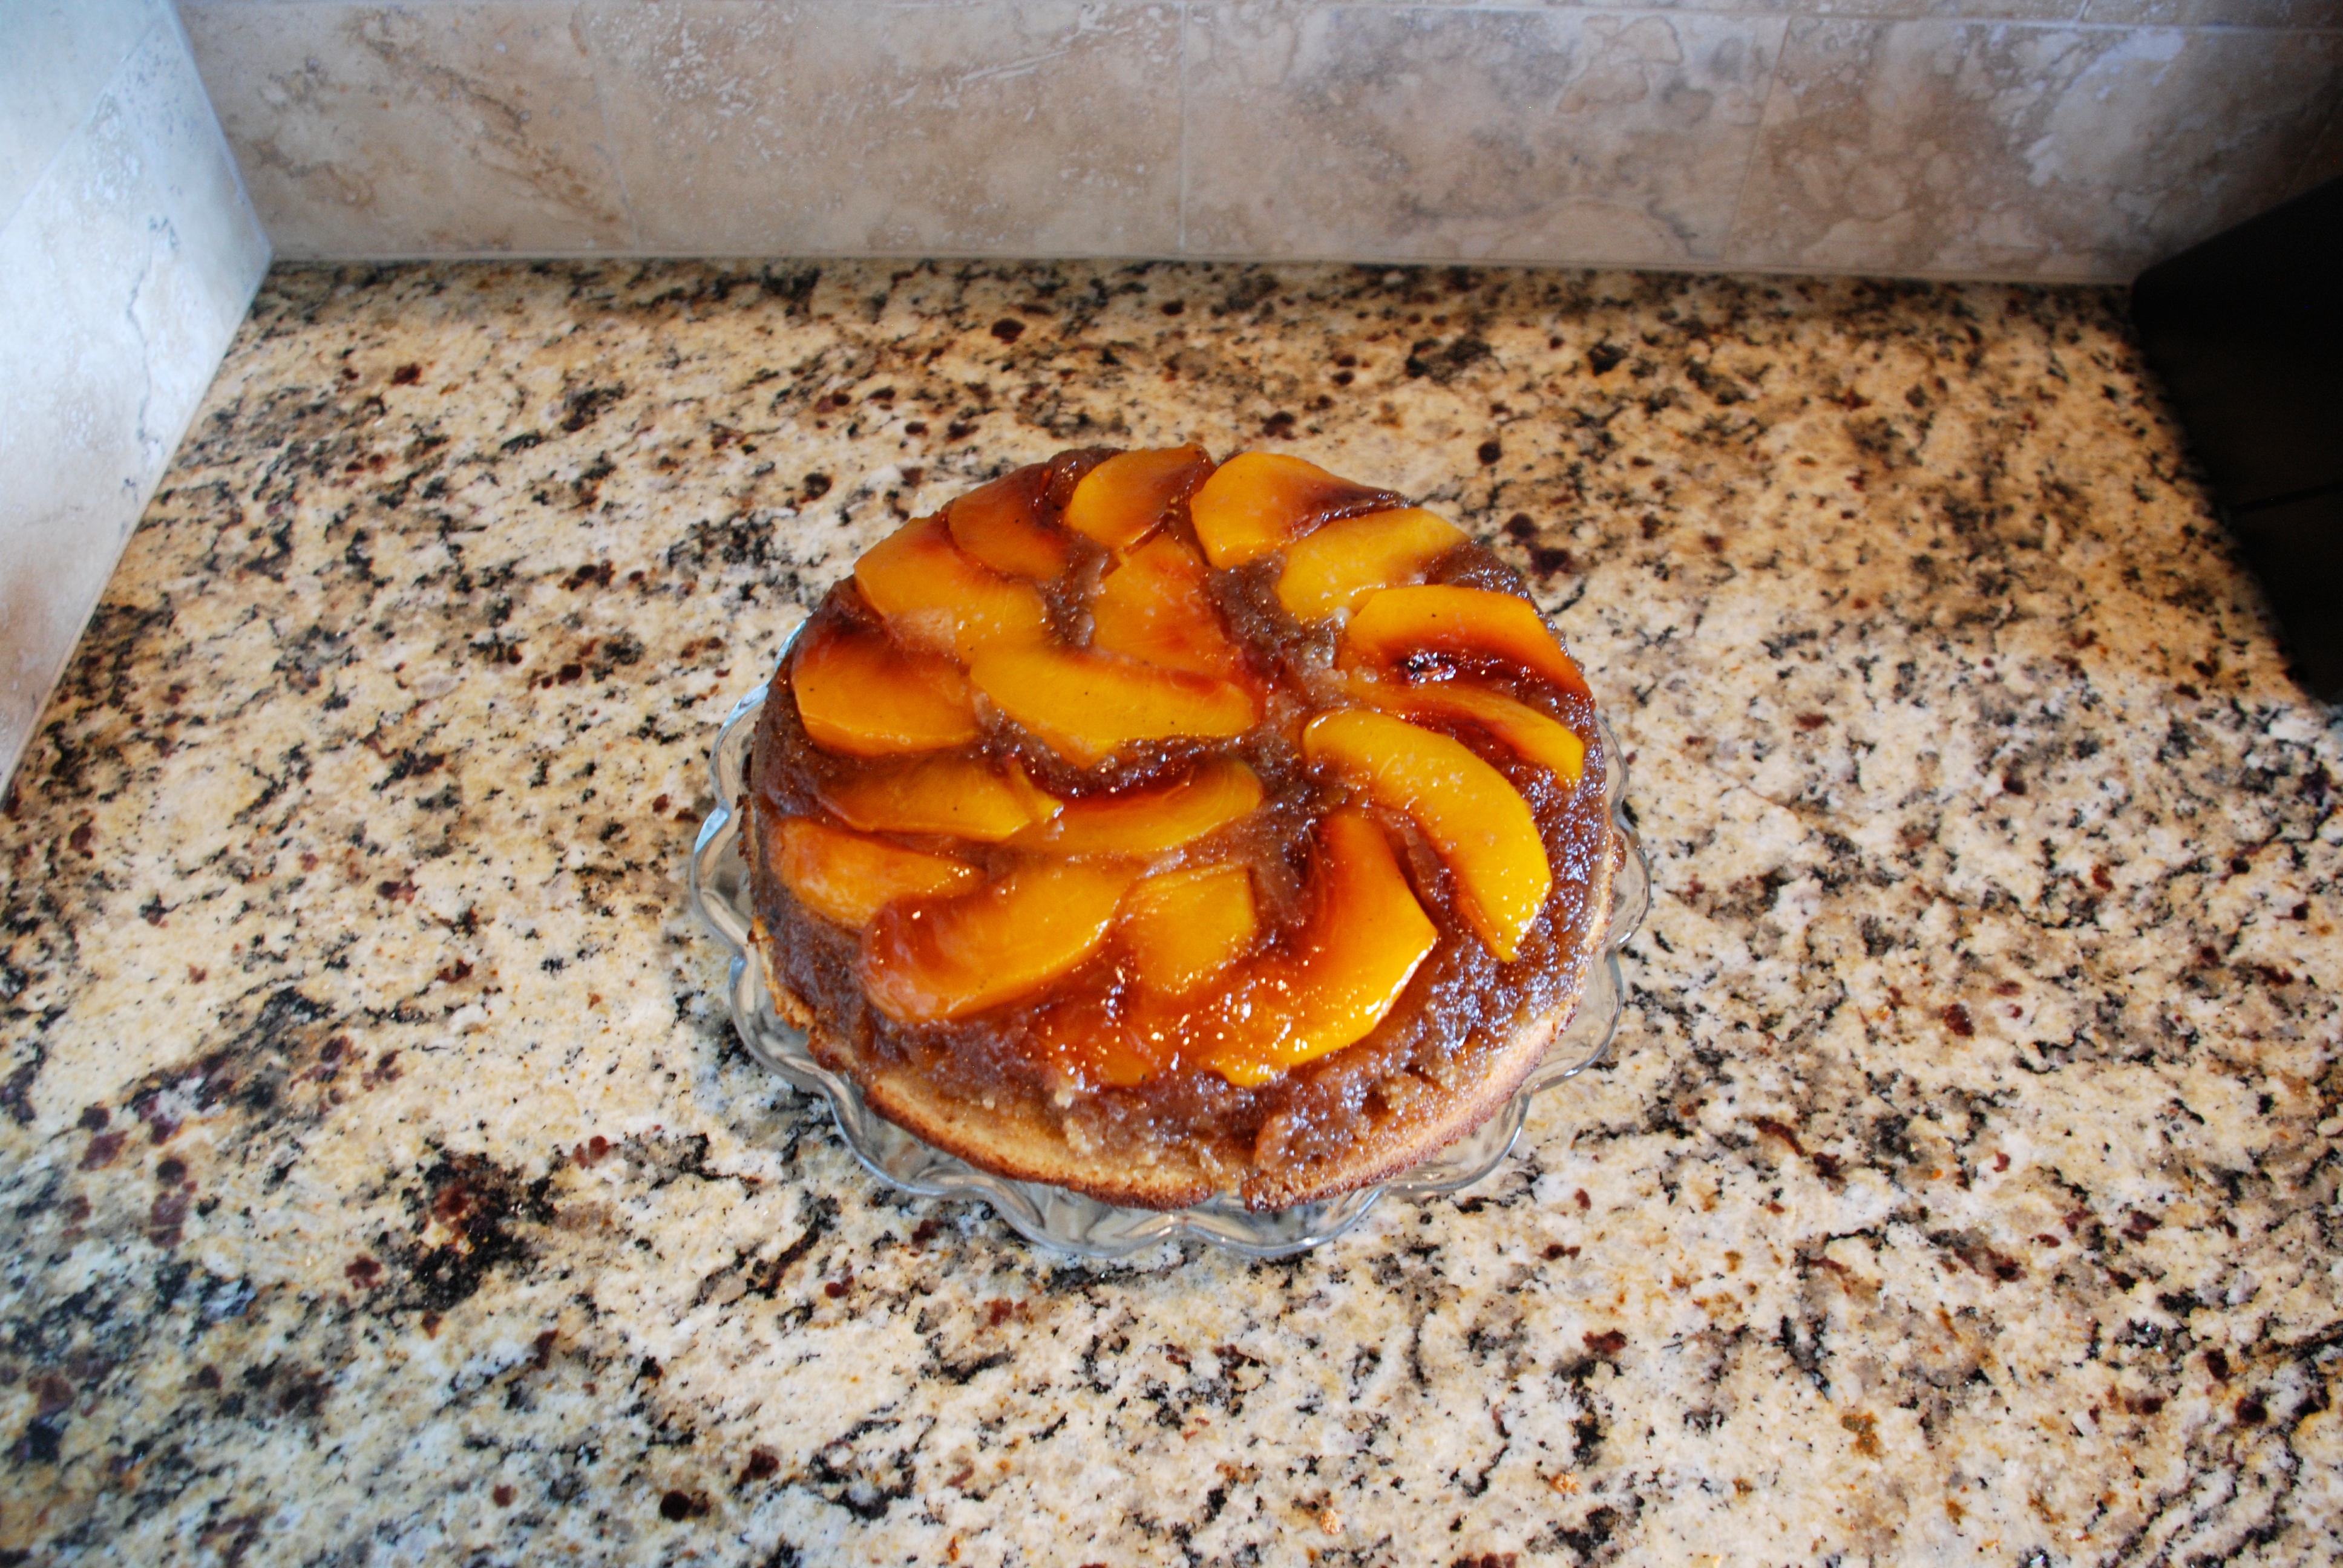
Regardless, the important part of this story sits before you. A perfect Peach Upside Down Cake. Heaven!

I was late to my appointment. I was sweaty and flour sprinkled. I probably had a bit of batter on my chin (because I wasn’t kidding about the part where I licked the bowl. See below.)

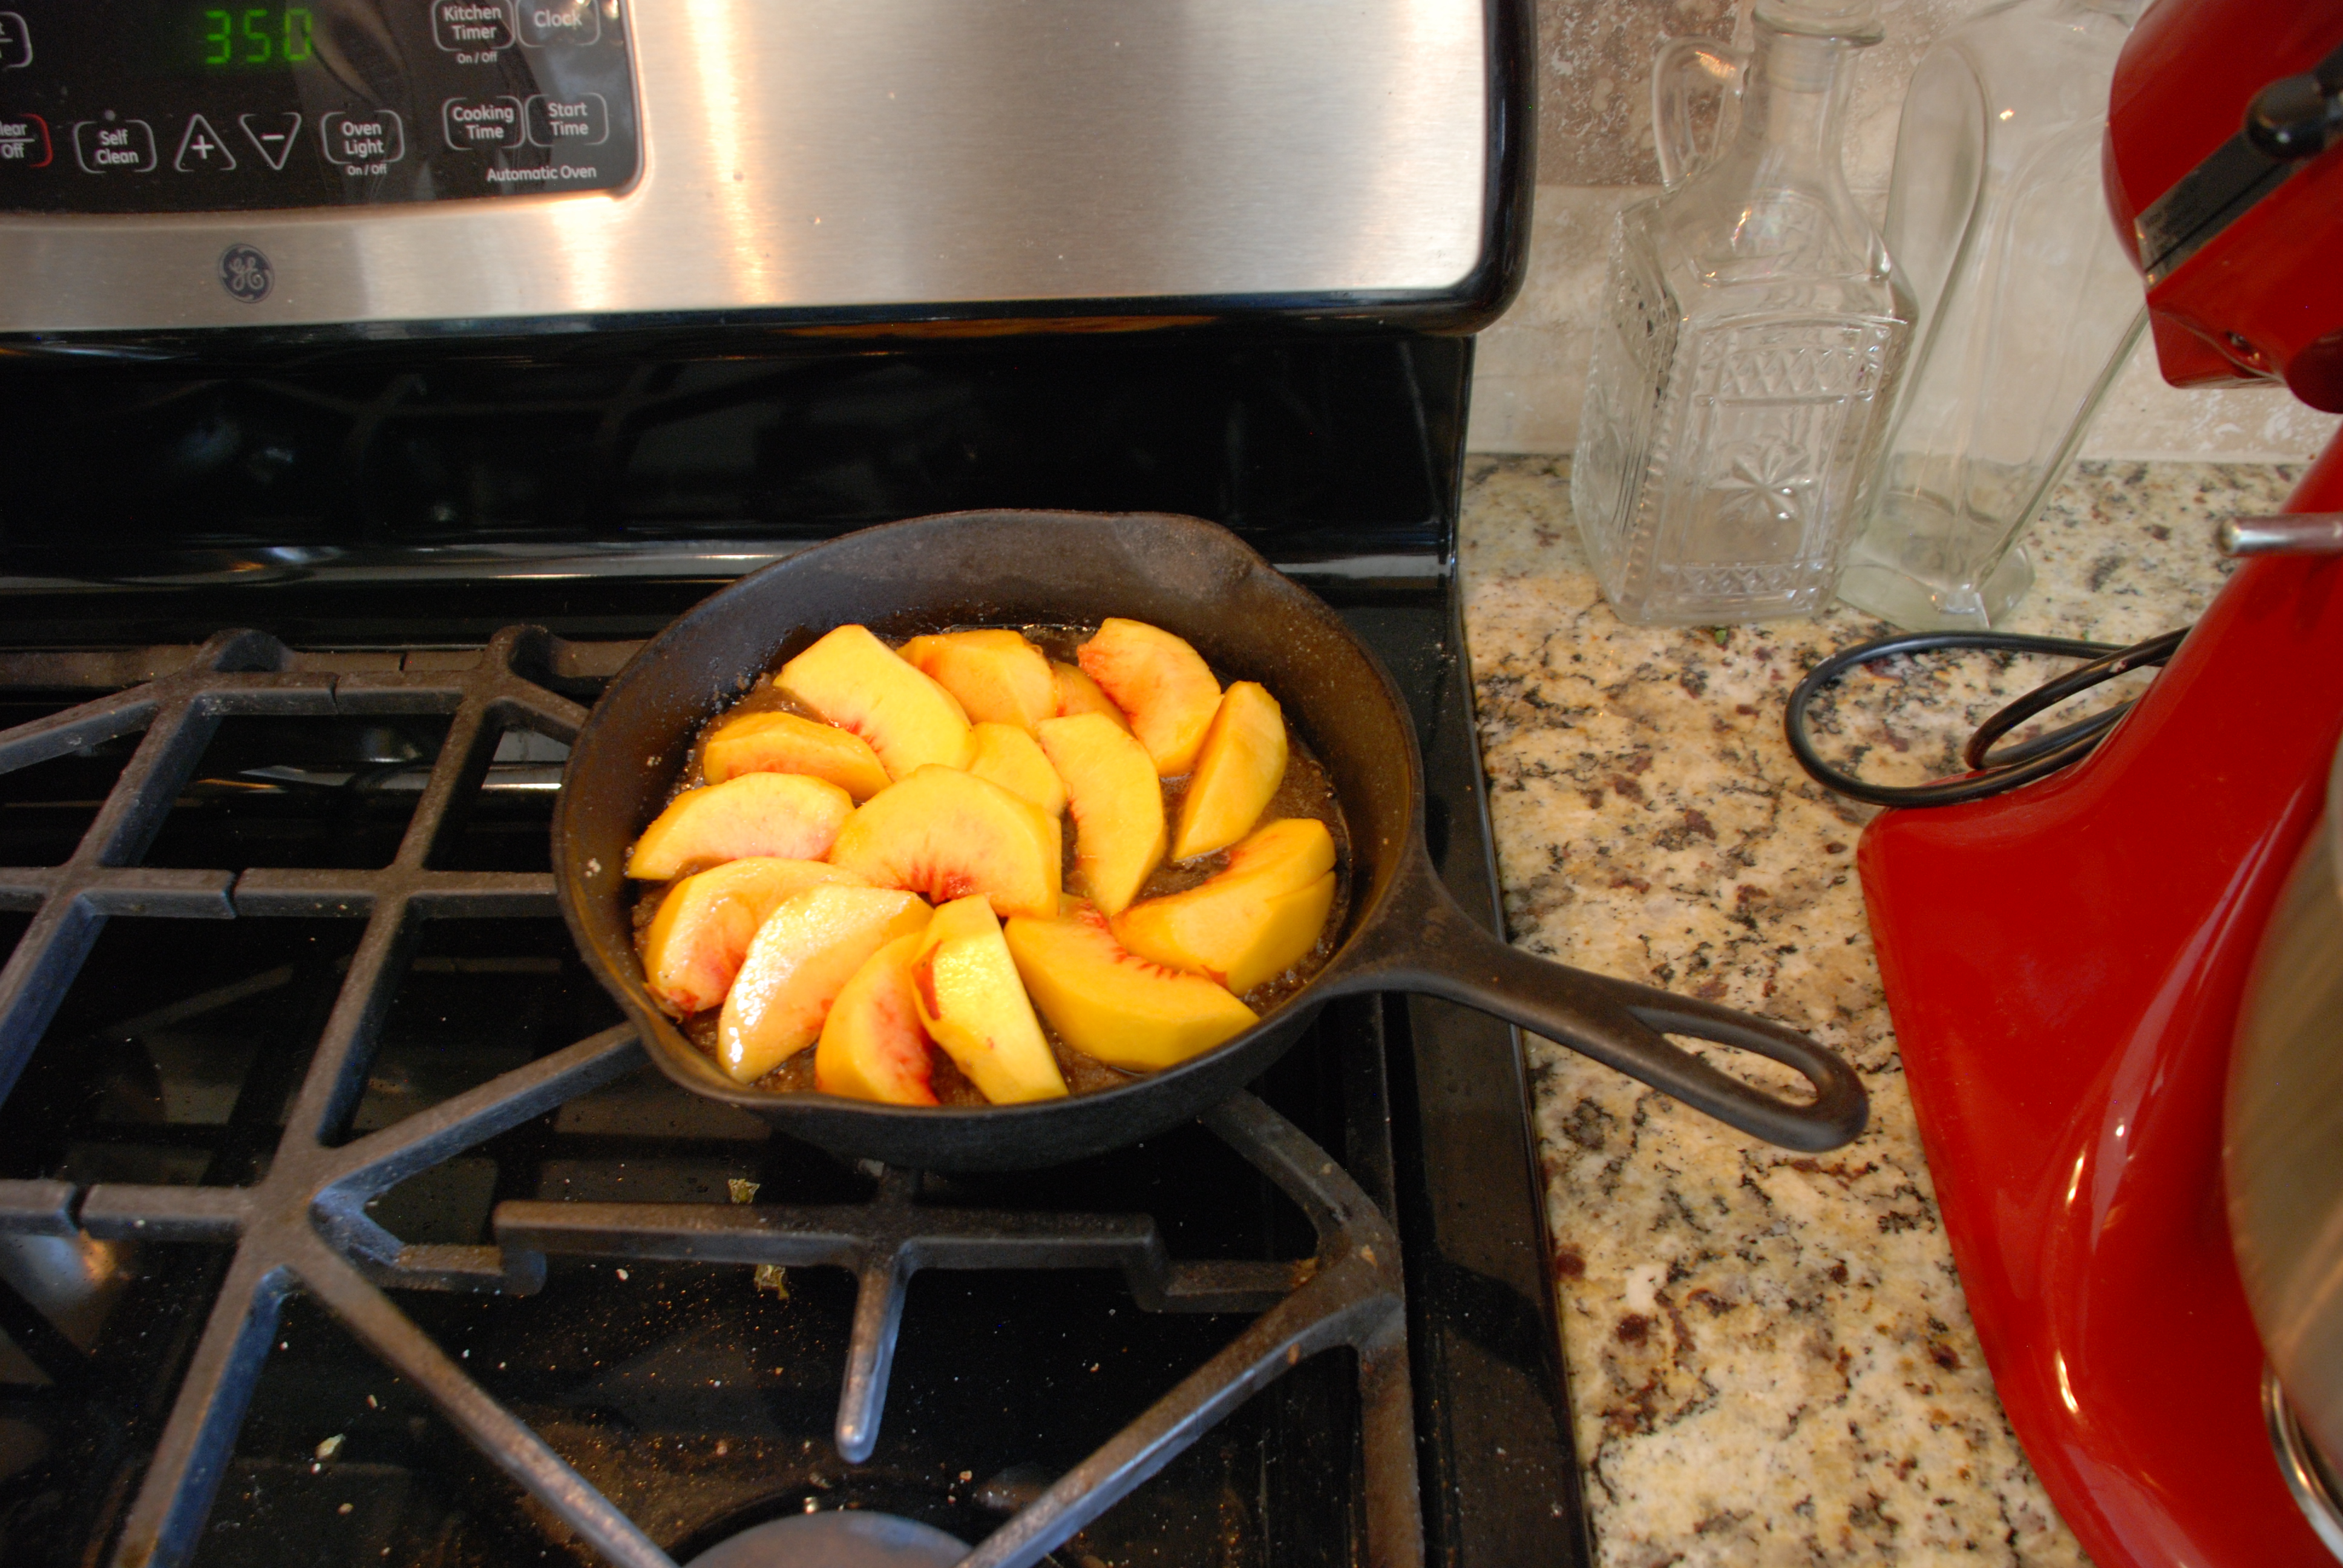
For all of it’s beautiful turnout, this cake is pretty straightforward. I used a 9 inch cast iron skillet, though the recipe calls for a 10 inch skillet. I would double the peaches if I made it again. Meaning I would load those puppies up two rows deep on top of the brown sugar buttery goodness.

Other than that, I am patting myself on the back for this one. I am also thanking the gracious friend who alerted me to the recipe! Thank you, Mel!

Without further ado, Peach Upside Down Cake!

XX, Megan

Peach Upside Down Cake

Topping (in the bottom of the pan)

3 tbsps unsalted butter
3/4 cup light brown sugar
3-4 large peaches, peeled and sliced thick (like 3/4-inch thick)

Cake

8 tbsps unsalted butter, softened
3/4 cup sugar
1 tsp vanilla extract
2 eggs, room temperature
1 1/2 cups (210 g) flour
1 1/2 tsps baking powder, aluminum-free
1/4 tsp salt
1/2 cup (125 ml) whole milk, room temperature

Place 3 tablespoons of unsalted butter and the light brown sugar in your skillet or cake pan over high heat and stir until the sugar has melted. It should begin to bubble, remove it from the heat and let it cool. Place the peach slices down in the pan (just make it look nice).

Preheat the oven to 350°F while you start the cake batter. Beat the 8 tablespoons of butter and sugar together until they are fluffy. Add the vanilla, then beat an egg in until smooth and repeat for the last egg. In a separate bowl, mix the flour, baking powder, and salt together. Stir half of the dry ingredients into the batter. Stir in the milk. Then stir in the rest of the dry ingredients until just mixed (don’t overmix the batter).

Pour the batter over the peaches in the pan, spreading it around to nooks and crannies in the fruit. Bake 45-60 minutes or until the edges of the cake pull from the sides and the center is not gooey. Remove pan from oven and let cool 20 minutes. Flip the cake onto a plate. Serve warm. Serves 8-10.

Notes: Use a 10-inch cast iron skillet or a 9-inch cake pan for this recipe. This recipe originally comes from David Lebovitz, on his blog David Lebovitz: Living the Sweet Life in Paris. But I got my recipe from use real butter. Also a food blog, by Jen Yu, which I heard about from my friend Melanie. Enough attribution? I think.

Peach Pictures

First, melt your butter and your brown sugar, waiting for them to meld together and bubble.
DSC_0033

When you have base that looks like this (or is even more bubbling and enmeshed), remove from heat to await peaches.

DSC_0036

Take three or four ripe peaches.

DSC_0030

Peel them and chop them up into 3/4 inch slices.

DSC_0039

Place the peaches prettily in the pan atop the sugary butter mixture.

DSC_0040

You can preheat your oven to 350 at this point. Cream sugar and butter in a mixer. Then add vanilla and eggs, one at a time.

DSC_0051

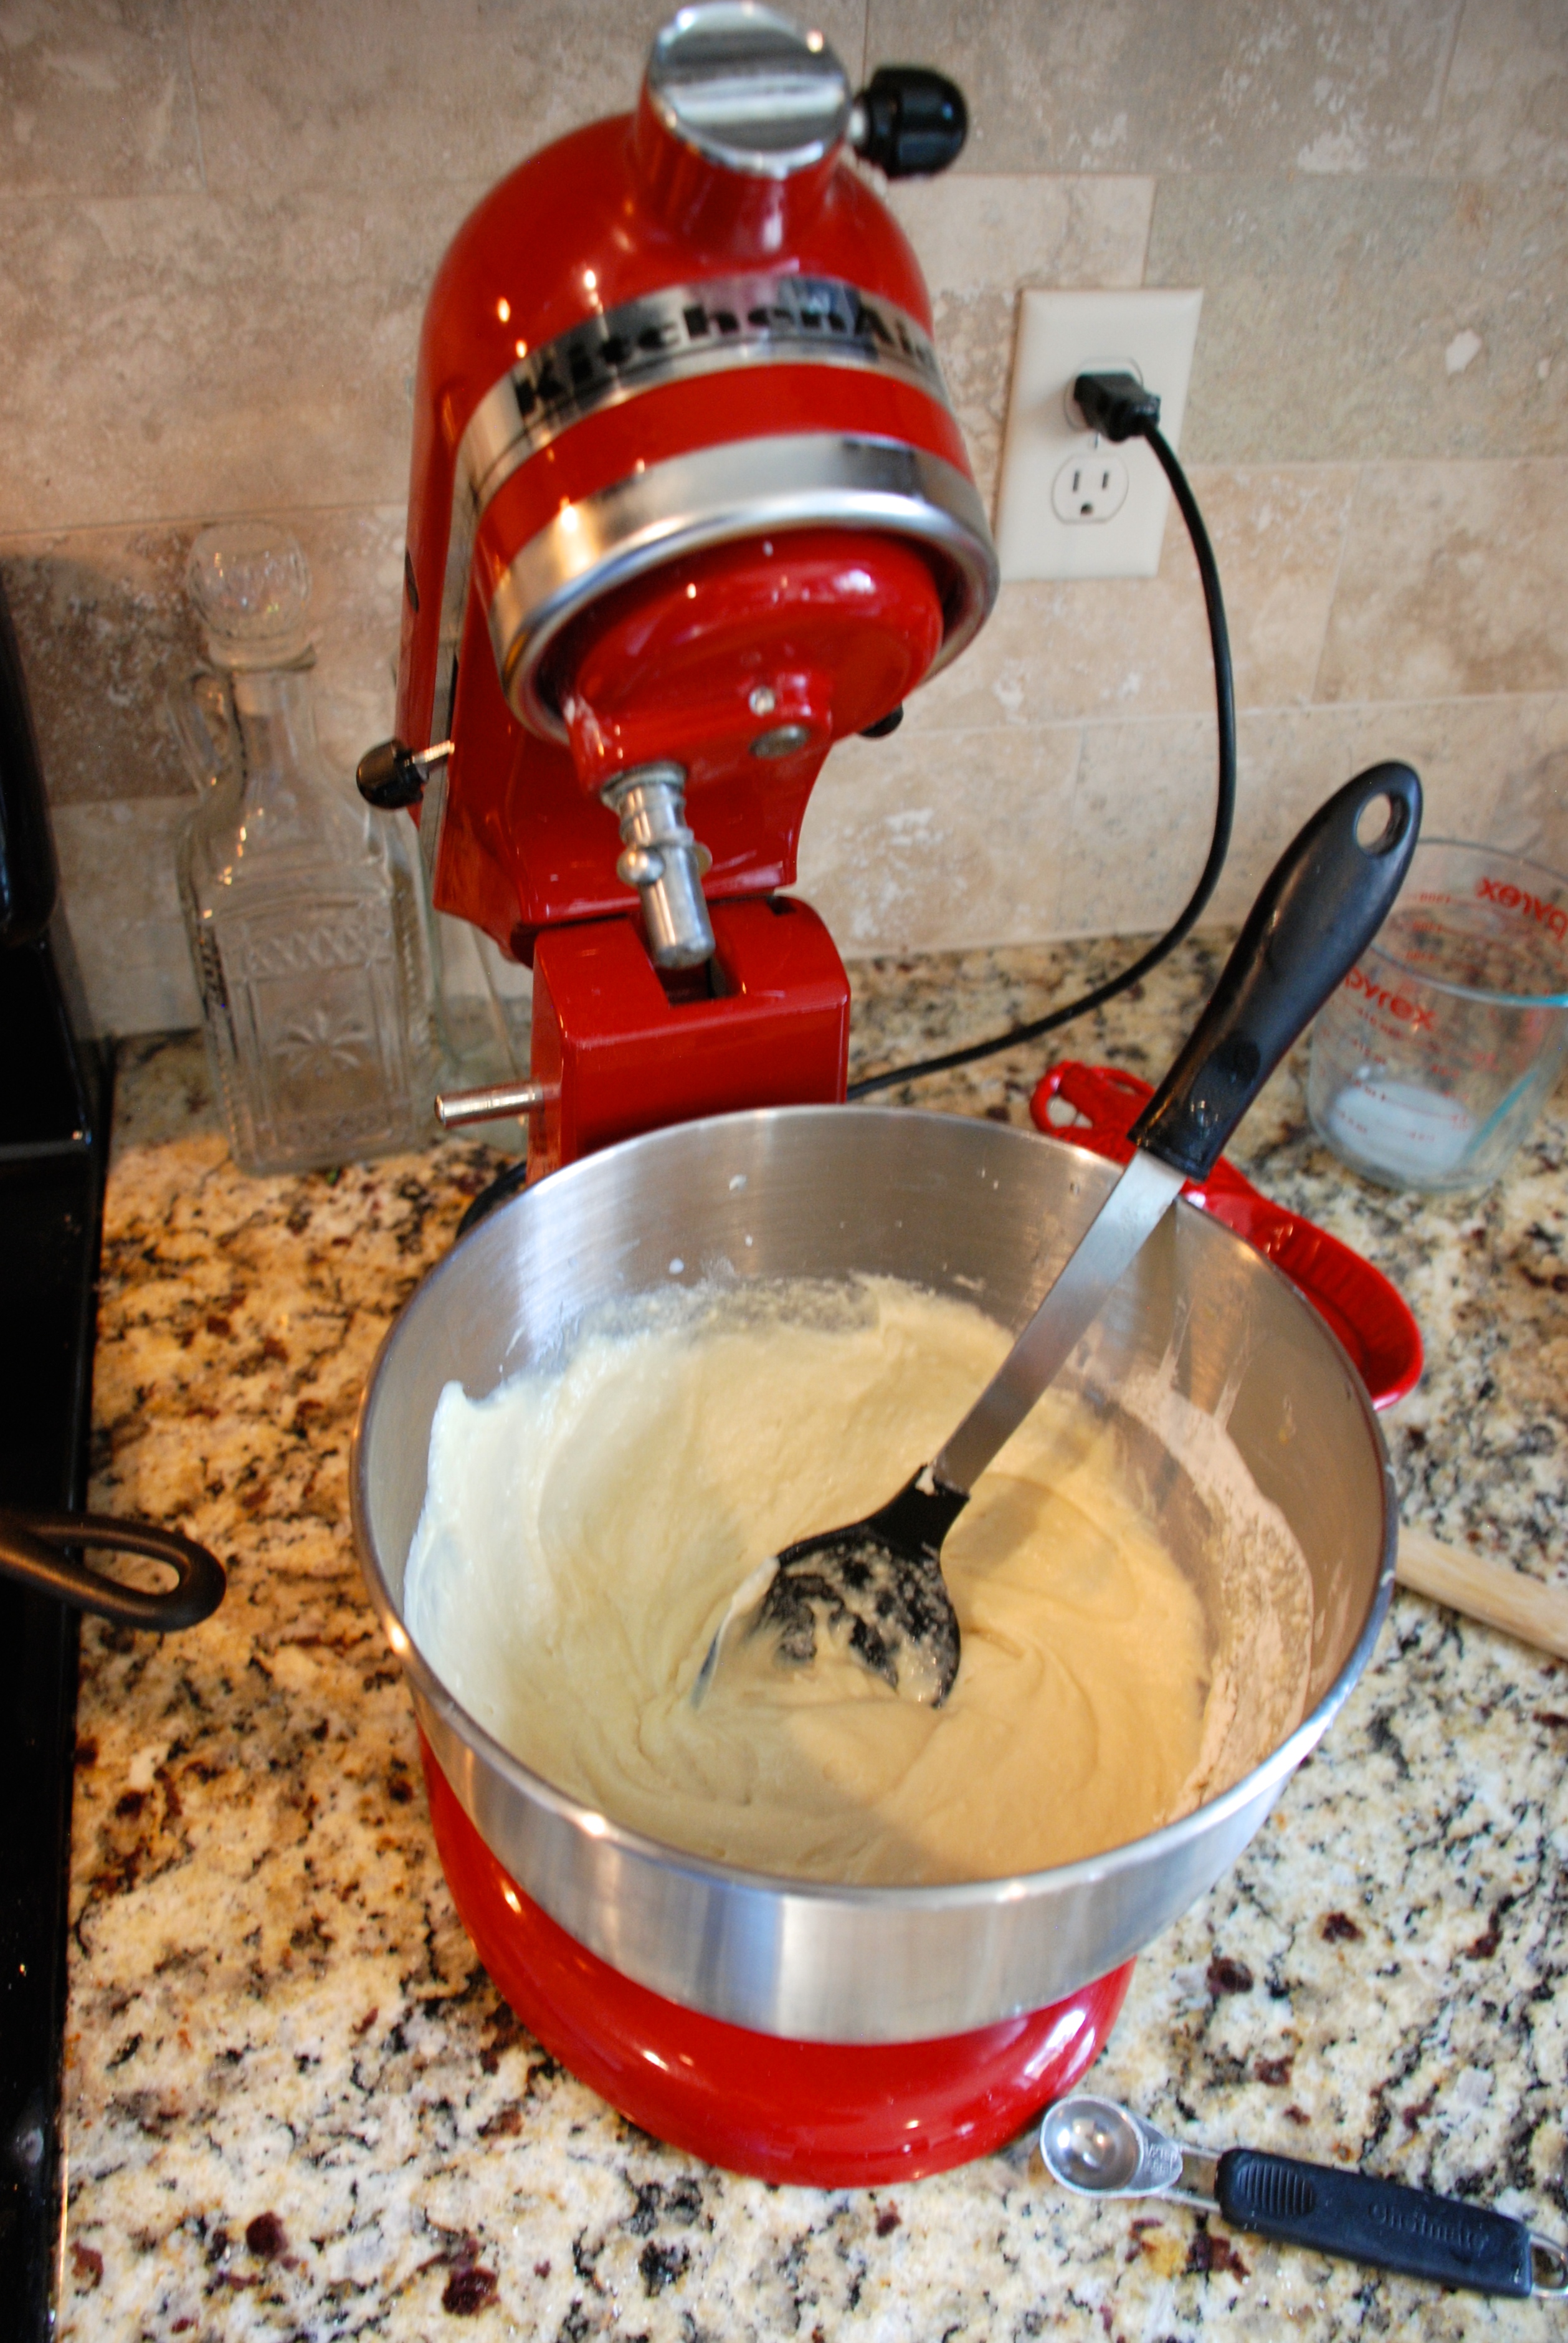
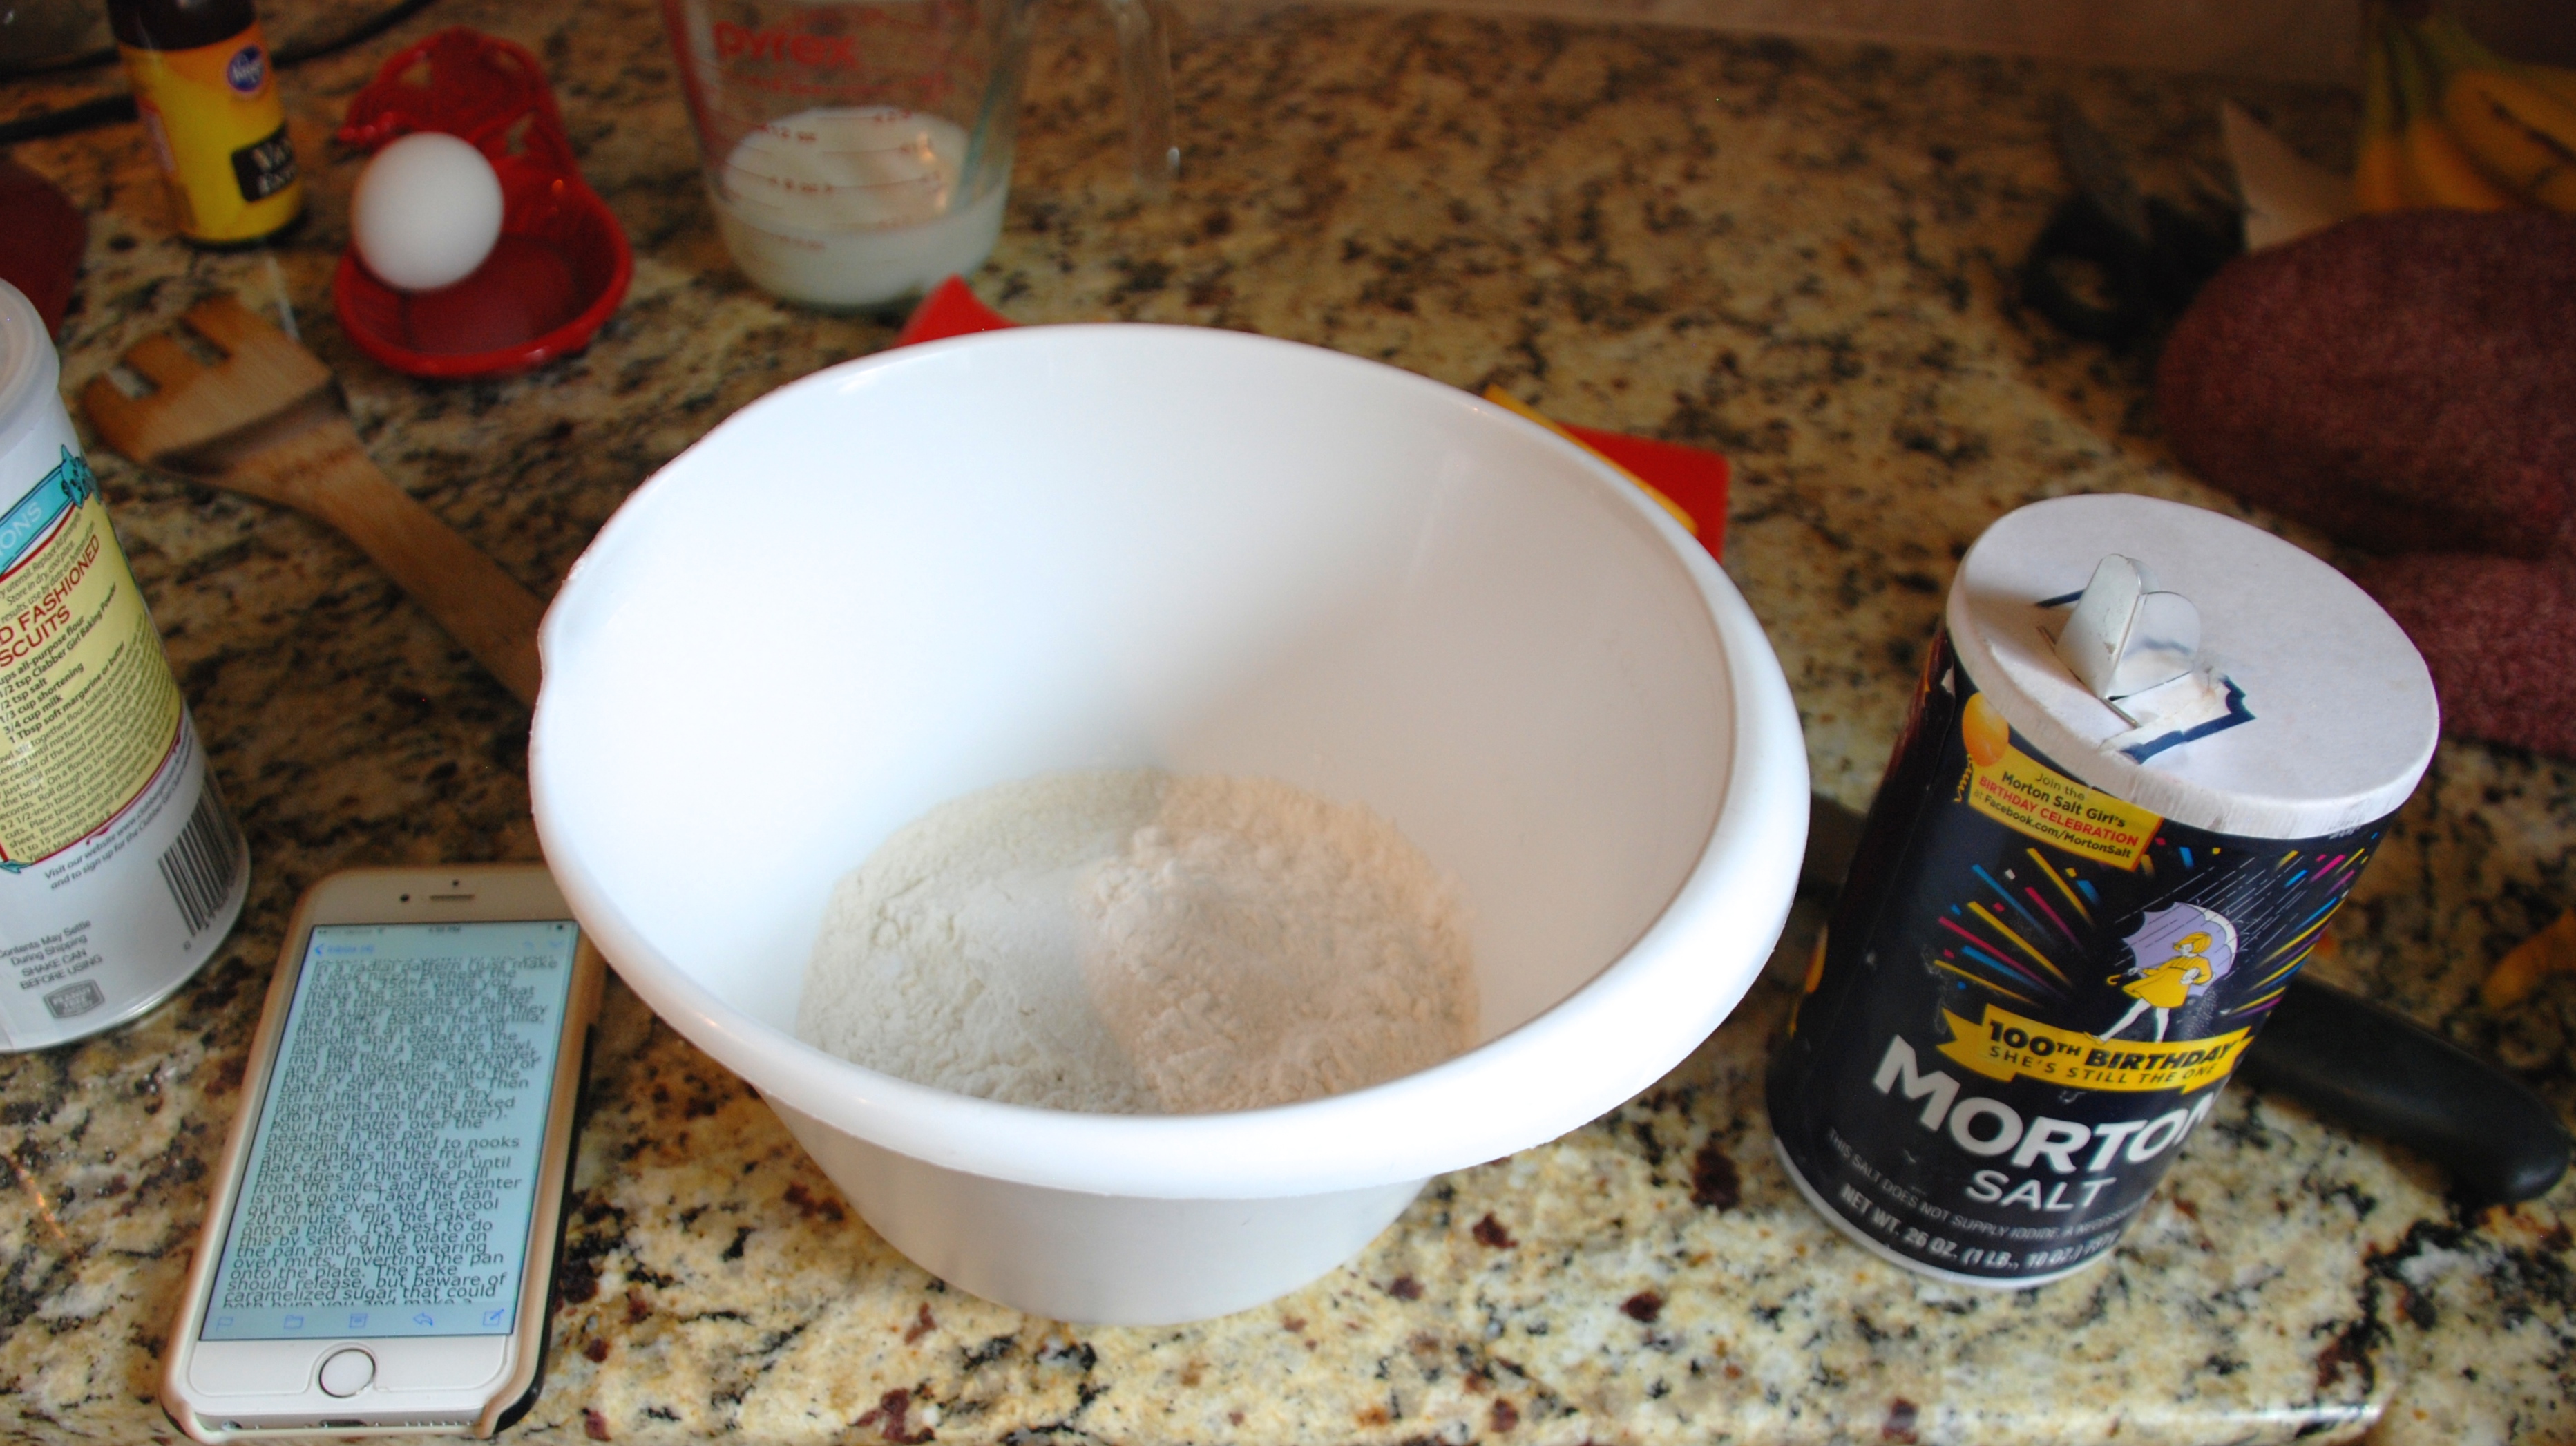
As you finish creaming, mix together flour, baking powder, and salt. Add half the dry ingredients, to your creamed ingredients. Stir through. Then add the milk. Mix through, again.

DSC_0046

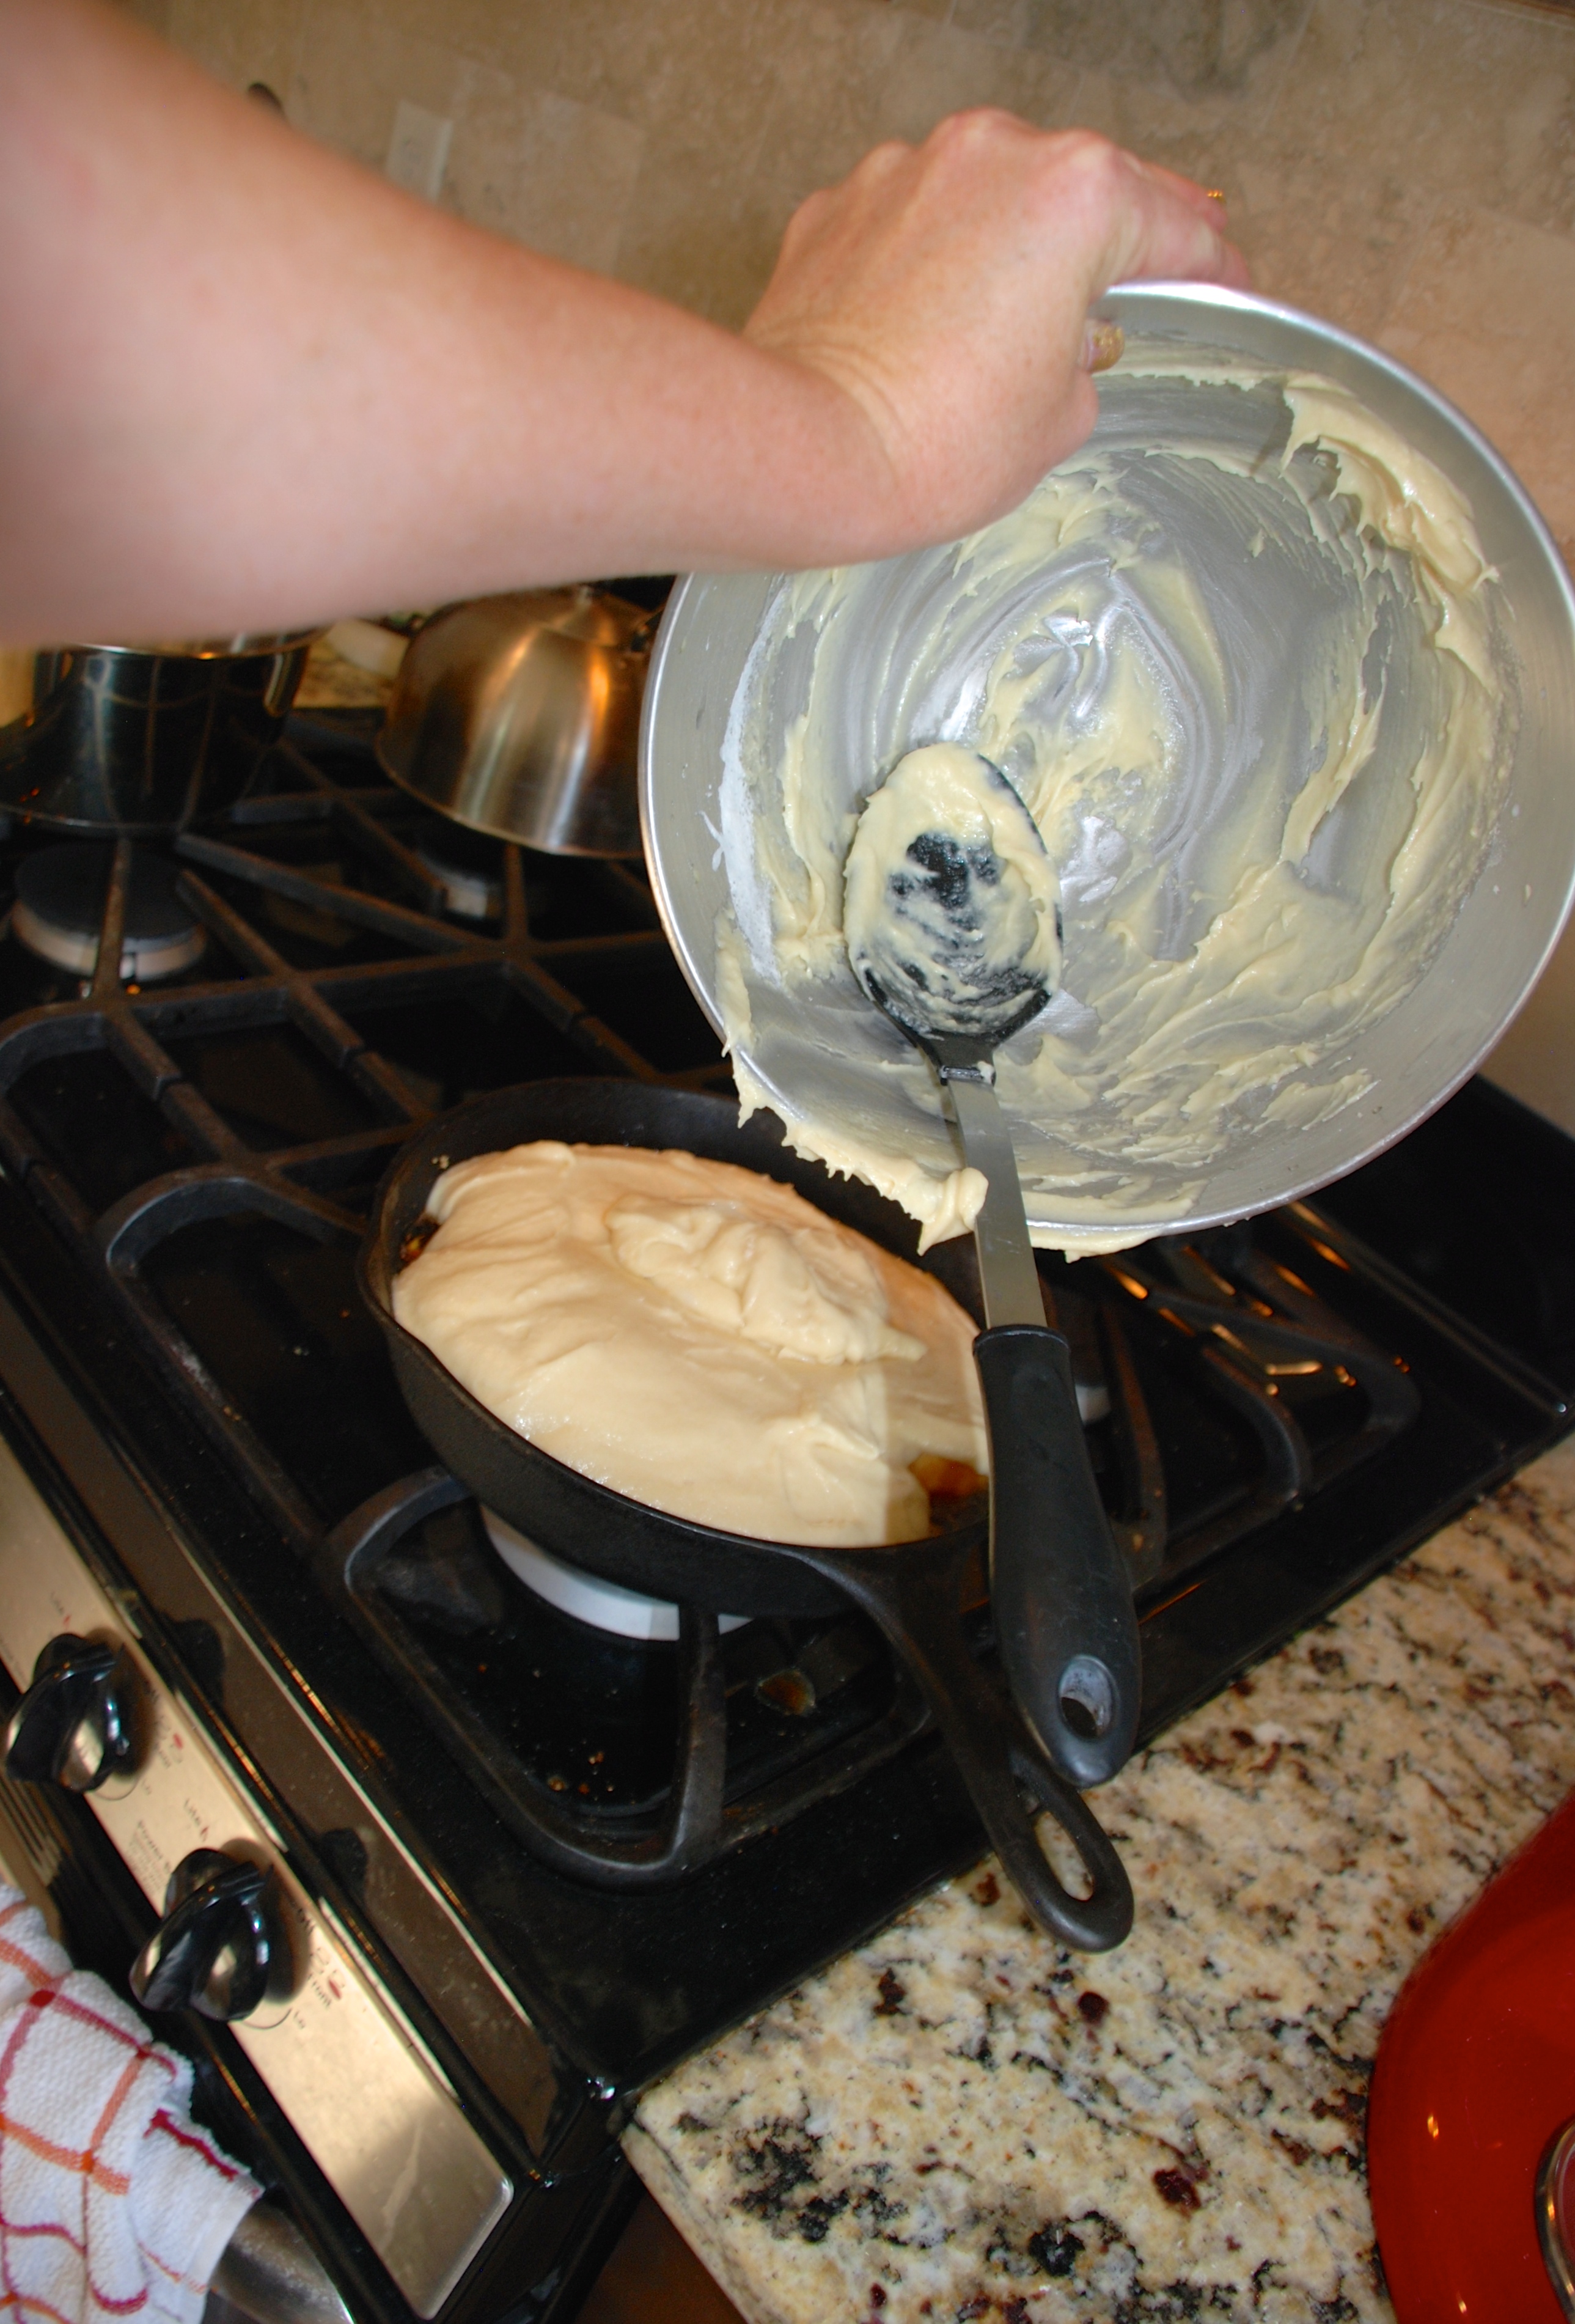
Carefully top the peaches with the cake batter, making sure that you fill all of the nooks and crannies.

DSC_0056

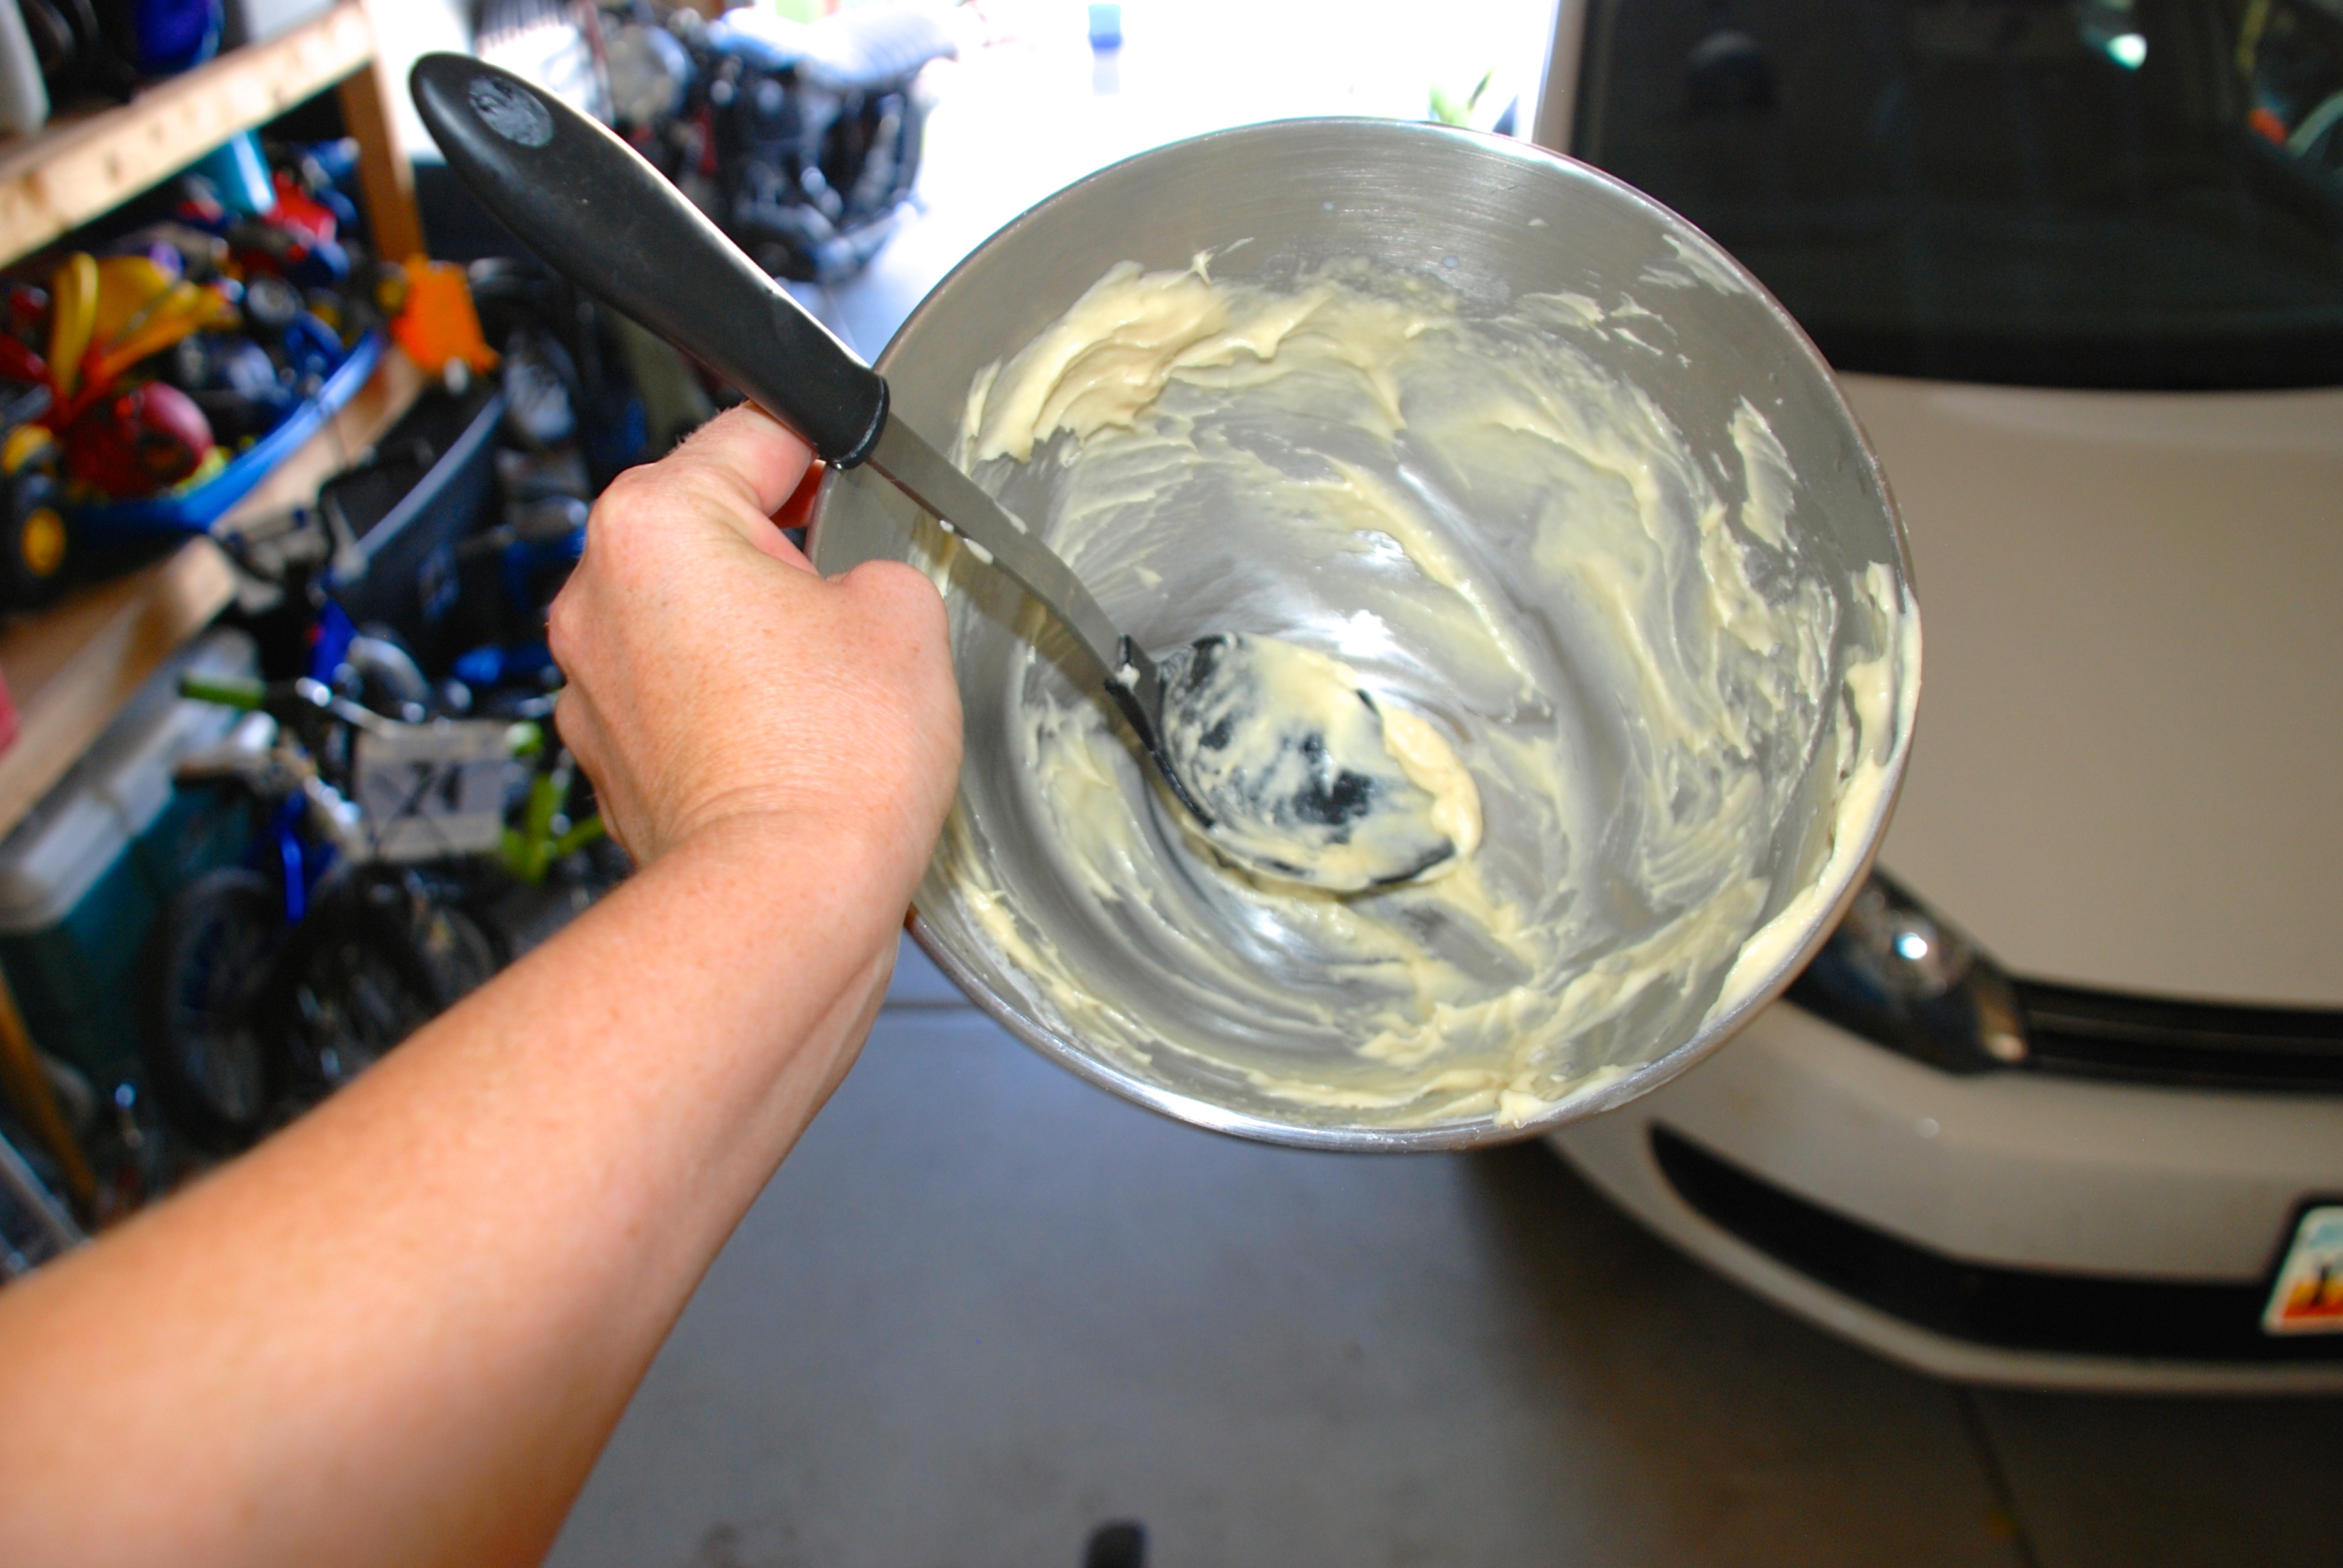
Try to give the batter to your kids. Denied. Lick up all that delicious batter yourself!

DSC_0059

Bake for 45 to 60 minutes. (I’d suggest putting a pan under your cake to catch any drips.)

DSC_0068 - Version 2

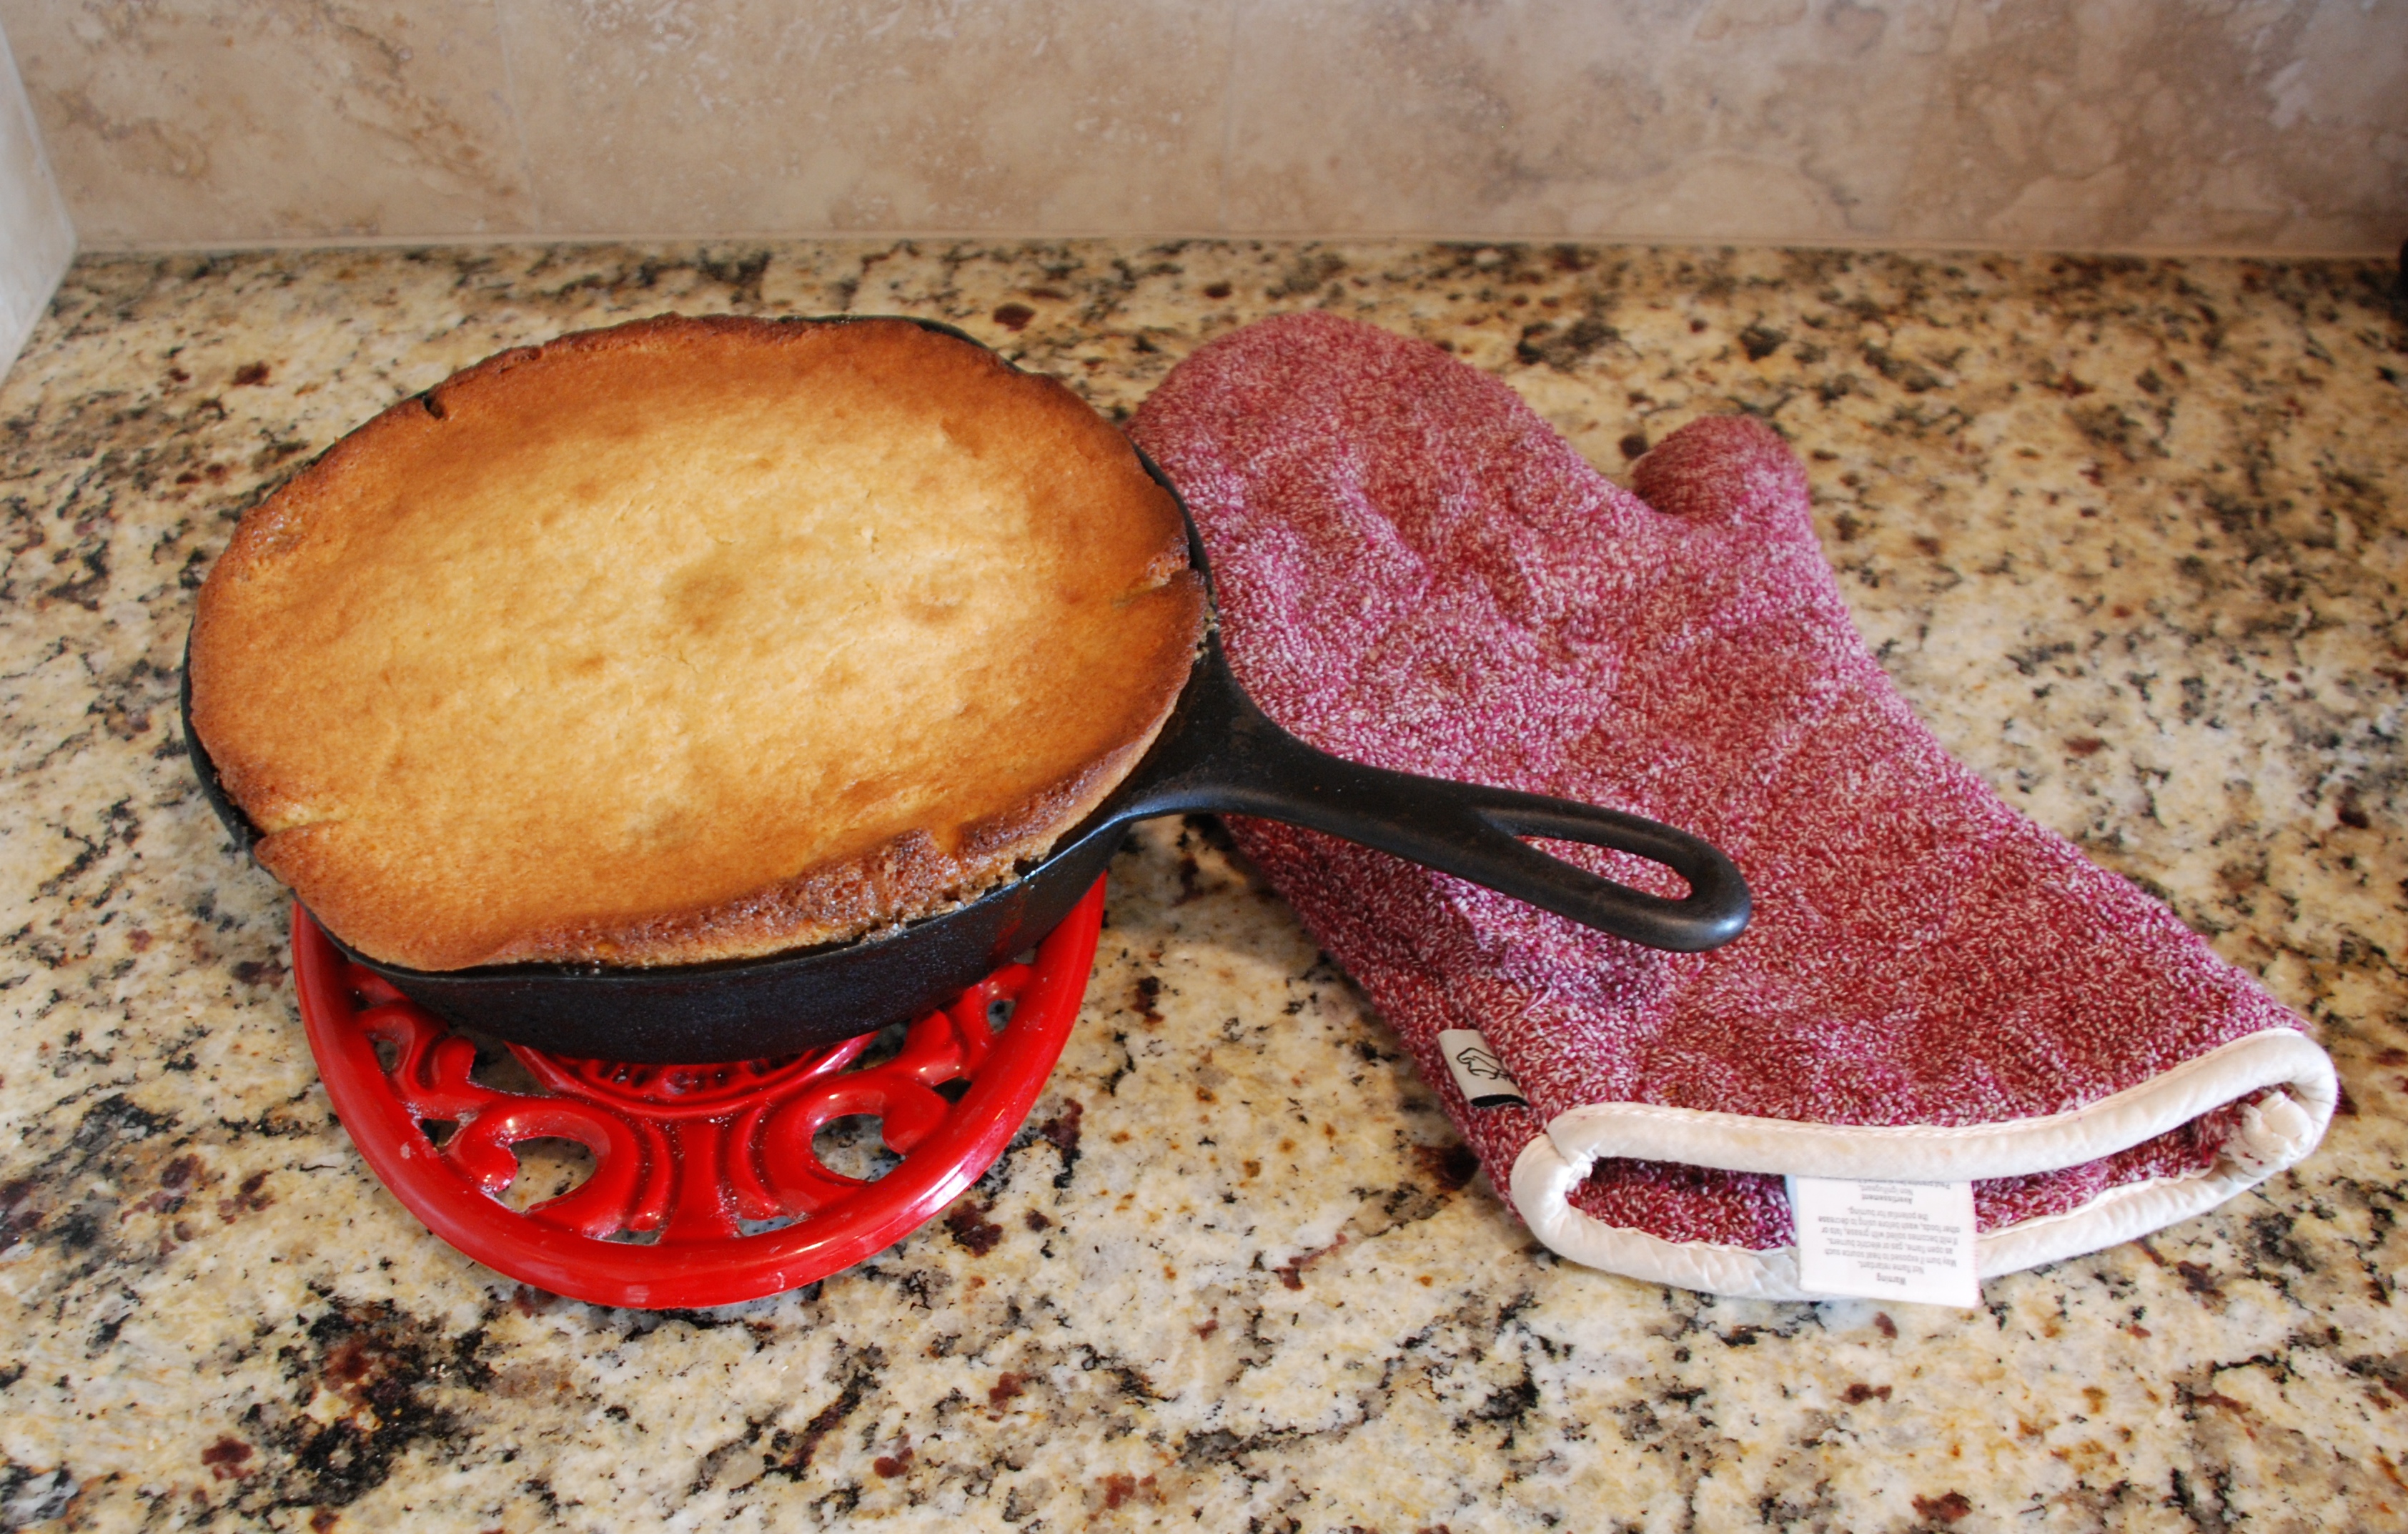
Let the cake cool for at least 20 minutes in your cast iron skillet or cake pan. Turn out onto a cake plate. ENJOY!

DSC_0079

School Lunch and School Snack Shenanigans

DSC_0085

UPDATE! The Scramble is giving away the Back to School Survival Kit away FREE to everyone through September 30th! Just follow this link! http://share.thescramble.com/bts/ Thank you, Aviva Goldfarb, and Team Scramble!!! – Megan

With the return of school comes the return of the school lunch. The school my oldest attends doesn’t have a lunch kitchen, so lunch is solely provided and packed by us. I grew up as a school lunch kid, meaning that my parents sent us with money to eat lunch from our lunch kitchen.

I’ve never been a very picky or discriminating eater, which may have been a boon for my time-strapped mother. Unfortunately for me, sometimes that meant that I would gladly eat ANY food, especially the processed, empty-calorie filled junk variety. I’m talking about the Velveta shells and cheese or Pringles chips by the stack, a candy bar from the school vending machine or a grease soaked piece of pizza.

While my eating choices have grown healthier as I’ve grown older, I’ve had to TEACH myself to eat more healthily. To be honest, I also have to constantly REMIND myself to make healthy choices in the kitchen (and at the grocery store, and at the restaurant). I’m going to say it again CONSTANTLY.

Basically this post is to share two fabulous school lunch connections we’ve made in our household this year. The first is our family’s favorite, tried and true meal planning service– The Scramble.

The other wonderful website you should check out (for their school lunch pictures alone!) is 100 Days of Real Food. I simply typed “School Lunch” in to her search box. You can subscribe to Lisa’s meal plans here, and at the very least you can gather ideas from the awesome photos of the school lunch she packs for her girls every. single. day!

So first, The Scramble. A few short days before school began I received a wonderful email in my inbox titled, “Your Free Back to School Survival Kit”. The email included three downloadable lists for Back to School meals. One for Breakfast, one for Lunch, and another for Power Snacks. I was over the moon.

My top three picks from The Scramble Back to School Meals download are as follows:

Breakfast

  1. A toasted whole wheat bagel with almond butter, avocado with a little coarse salt, cream cheese and smoked salmon or a smoked salmon spread.
  2. Egg and vegetable muffins such as these Garden Quichelettes.
  3. Scrambled eggs, salsa, sliced avocado, baby spinach, and shredded cheese in a warm corn tortilla or whole wheat flatbread or wrap.

Lunch

  1. Leftover vegetarian soup, stew or chili in a thermos (make a big batch on Sunday).
  2. Diced tofu drizzled with teriyaki sauce.
  3. Pizza bagel.

Power Snack

  1. Edamame: Kids and teens love salted edamame in their pods (sold frozen).
  2. Monkey Milkshake: In a blender, combine 1 frozen banana, 1 cup milk, 2 Tbsp. peanut butter (or other nut butter) and 1 tsp. unsweetened cocoa powder or cocoa nibs and blend for about 30 seconds.

  3. Black Bean Dip: In a food processor or blender, puree 15 oz. canned black beans, 1 Tbsp. olive oil, 1 Tbsp. orange juice, 2 Tbsp. lime juice, 1⁄4 tsp. each of garlic powder and salt, and 1⁄2 tsp. each of chili powder and ground cumin. If too thick, add 1/8 – 1/4 cup water. Serve with whole grain tortilla chips and cut up veggies.

I hope a few of these ideas resonate with you. I hope I’ll use a few more of these ideas this year as I prepare lunch for myself and my littles. Have an awesome Thursday!!!
XX, Megan

Quick N Spicy Cucumbers

DSC_0085

I used these cucumbers to top the Thai Turkey Burgers I posted last week. The combination is absolutely DYNAMITE! The truth is, these quick cucs are so good you can simply eat them plain if you’d like!

Enjoy!

XX, Megan

Spicy Cucumbers

1 english cucumber (sliced wafer thin)

3/4 C. rice wine vinegar (sometimes I do like, 3/4 rice wine vinegar and 1/4 water, or all vinegar is fine too, you decide)

1- 2 red thai chilis

Pinch of salt and

Pinch of sugar to taste (about 1/2 or 1 tsp. of each or so)

Place in the fridge for an hour, or longer if you want more  flavor.

DSC_0092

DSC_0098

Thai Turkey Burgers

DSC_0050

DSC_0026

To say that I was WOWED (insert heart eyes emoji) by these burgers at first bite is an understatement! I ate… oh, probably 3 of these babies the first time that my beautiful friend made them for us, and I’ve been dreaming of them since.

A last minute house guest was the perfect excuse to ask for the recipe from my friend and GO TO TOWN again on these delicious burgers. Our house guest asked, “What’s in these things? They are incredible!”

After a short pause, I replied, “Well, everything but the kitchen sink!”

But that description is base compared to the absolutely delightful flavor you are going to experience upon making these up! Working our way through the week, folks, I hope your Wednesday is a good middle marker.

XX, Megan

Ingredients

1 lb. ground turkey
3 cloves minced garlic
1 two-inch piece of peeled ginger, minced
1/2 bunch cilantro, chopped fine
1 red thai chili pepper (sometimes I use 2 for more heat)
1/4 c. bread crumbs
1 tbsp. soy sauce and fish sauce (enough to combine the mixture, I just eyeball it, a few shakes)

Peel. Chop. Mix. Grill. It’s as simple as that!

I grilled my burgers on medium heat for about 7 minutes. My friend recommends that you make the patties ahead and let the flavors marinate all together. Serve with whole wheat buns.

  1. Peel and chop.

DSC_0030

2. Mix

DSC_0038

3. Make into patties.

DSC_0043

4. Grill and EAT!

DSC_0055